Bees are more than just buzzing pollinators—they’re also a fun and versatile subject for artists. With their fuzzy bodies, striped abdomens, delicate wings, and expressive antennae, bees can be drawn in countless styles, from realistic and anatomical to cute, cartoonish, or graphic.
Whether you’re drawing for nature journals, children’s books, tattoos, animations, or simply for fun, learning how to draw a bee in different ways allows you to practice anatomy, symmetry, linework, and expression. In this detailed guide, you’ll learn multiple methods for drawing bees, explore tools, materials, techniques, and follow step-by-step tutorials for each style.
Contents
- Why Learn How to Draw a Bee
- Tools and Materials for Drawing Bees
- Understanding Bee Anatomy for Drawing
- How to Draw a Realistic Bee
- How to Draw a Simple Bee for Beginners
- How to Draw a Cartoon Bee
- How to Draw a Bee in Watercolor
- How to Draw a Bee Digitally
- How to Draw a Bee for a Tattoo Design
- How to Draw a Bee from the Side
- How to Draw a Bee in Flight
- Practice Exercises for Drawing Bees
- Common Mistakes to Avoid
- Inspiration for Drawing Bees
- Final Thoughts: Mastering the Art of Bee Drawing
Why Learn How to Draw a Bee
Symbolism and Aesthetic Appeal
Bees represent hard work, community, nature, and sweetness. Their association with flowers, seasons, and sustainability makes them a popular subject in modern art and design.
Diverse Artistic Styles
From hyper-realistic bees with shimmering wings to minimalist icon-style bees used in logos, there are endless creative possibilities to explore.
Useful for Practice
Drawing bees can help improve your skills in symmetry, segmenting anatomy, shading, wing structure, and pattern repetition.
Tools and Materials for Drawing Bees
Traditional Drawing Tools
- HB, 2B, 4B graphite pencils
- Fineliner pens or brush pens
- Colored pencils or markers
- Erasers and blending tools
- Bristol board, sketchbook, or mixed-media paper
Watercolor and Ink Drawing
- Cold-press watercolor paper
- Black waterproof pens for outlines
- Yellow, black, and gray watercolor paints
- Round and detail brushes
- White gel pen or masking fluid for highlights
Digital Drawing Tools
- iPad with Procreate, Wacom tablet, or stylus
- Digital art software (Photoshop, Krita, Clip Studio Paint)
- Custom brushes for texture and shading
- Layer management for outlines and color
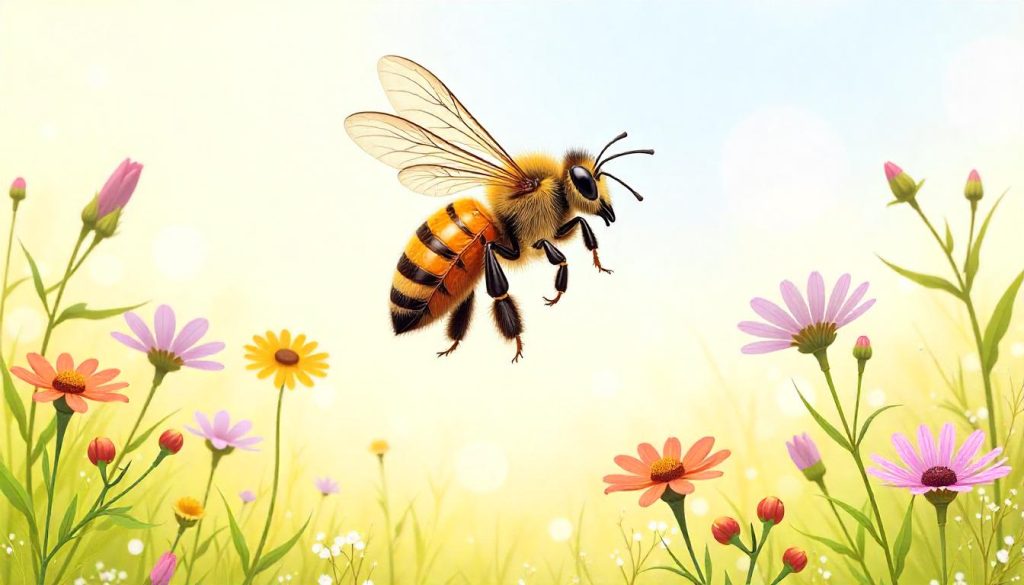
Understanding Bee Anatomy for Drawing
Basic Bee Structure
- Head: Includes eyes, antennae, and mandibles
- Thorax: Central segment where wings and legs attach
- Abdomen: Segmented and often striped
- Wings: Transparent, veined, and delicate
- Legs: Usually six in total, segmented and jointed
- Antennae: Thin, curved, and expressive
Observation from References
Study real bee photos to notice how their body tapers, how the wings overlap, and how the stripes vary depending on the species (honeybee, bumblebee, carpenter bee, etc.).
How to Draw a Realistic Bee
Step-by-Step Guide
- Draw a light circle for the head
Sketch a small circle where the head will be. - Add an oval for the thorax
Place this slightly overlapping the head. This section appears fuzzy and round. - Draw a tapered oval for the abdomen
This is the longest section and has visible segments. - Sketch out six legs and antennae
Add jointed legs extending from the thorax. Draw two antennae from the head. - Add wings
Draw two pairs of transparent wings with curved tops and angular bottoms. - Define fur texture and stripes
Use short strokes to show hair on the thorax. Add stripes on the abdomen. - Shade and refine
Darken the body, especially under the wings and joints. Use blending to soften shadows.
Tips for Realism
- Add tiny veins on the wings
- Use directional hatching for texture
- Observe light source for correct shadow placement
How to Draw a Simple Bee for Beginners
Beginner-Friendly Bee Drawing
- Start with a large oval for the body
Slightly rounded on both ends. - Add simple curved lines for antennae
Small hooks or loops work well. - Draw two wings on top
Petal-shaped, overlapping slightly in the center. - Add two eyes and a smiling face
Keep it friendly and cartoon-like. - Draw alternating stripes
Three to four curved lines across the body. - Finish with a stinger
A tiny triangle at the end of the abdomen.
Making It Fun
- Use bright yellow and black
- Add a flight path in a wavy line
- Place it near a simple flower for context
How to Draw a Cartoon Bee
Cartoon bees are excellent for children’s art, stickers, or animation.
Steps to Create a Cartoon Bee
- Draw a large circle for the head
Make it round and expressive. - Add a horizontal oval for the body
Tilt it slightly for a sense of motion. - Big eyes and a smile
Oversized oval eyes and a curved mouth make it friendly. - Antennae with curls or hearts
Stylize them with whimsical shapes. - Wings like rounded hearts
Attach at the top of the body. - Legs as simple lines or nubs
Keep them small and stubby. - Add sparkles or blush
Create a playful or kawaii style.
Cartoon Style Variations
- Kawaii (Japanese cute style): Add cheeks and tiny limbs
- Classic children’s book: Flat colors and bold outlines
- Disney-style: Expressive eyes and dynamic poses
How to Draw a Bee in Watercolor
Watercolor bees can be loose, expressive, or highly detailed depending on your style.
Watercolor Tutorial
- Lightly sketch your bee outline
Use pencil and keep the pressure minimal. - Begin with yellow washes
Paint the lighter body sections first. - Add black stripes and thorax fur
Use diluted black for layering; deepen as needed. - Paint translucent wings
Use light gray or pale blue with minimal pigment. - Use dry brush for fur texture
Create subtle hair texture on the thorax and legs. - Highlight with white pen
Add glints to the eyes and sheen to the wings.
Techniques to Try
- Wet-on-dry for clear lines
- Dry brushing for texture
- Salt for abstract texture in background
How to Draw a Bee Digitally
Digital Drawing Process
- Import reference or sketch
Use a guide layer with lowered opacity. - Ink the line art
Use a pressure-sensitive inking brush. - Add flat colors
Use one layer per color: yellow, black, gray, and blue. - Add shadows and light
Use soft brushes on multiply or overlay layers. - Add details and background
Customize with flowers, hives, or honeycomb textures.
Pro Tips
- Use clipping masks for clean coloring
- Adjust layer opacity for wing transparency
- Use texture brushes for a more painterly look
How to Draw a Bee for a Tattoo Design
Tattoo-style bees often use strong lines, bold shading, and stylized features.
Key Elements
- Symmetry is essential
Draw guidelines to keep wings and body balanced. - Bold outlines
Use thick black lines to define the shape. - Decorative elements
Add flowers, honeycomb, or moons for symbolism. - Dotwork or stippling
Great for shading the thorax or adding texture. - Banner or text
Add a scroll with a name, date, or quote.
How to Draw a Bee from the Side
This angle is useful for more realistic or scientific drawings.
Steps for Side View
- Draw a segmented body
Head, thorax, and abdomen from left to right. - Add the eye and curved antenna
Show the eye as an oval on the side. - Wings layered on top
Draw the far wing smaller or angled for perspective. - Legs stepping down
Show three legs bending downward in segments. - Stripes and texture
Use crosshatching or stippling for shading.
How to Draw a Bee in Flight
Capturing motion adds energy and realism.
Drawing Motion
- Tilt the bee’s body
Lean the body slightly forward. - Add curved wings mid-flap
Show wings arcing up or down with blur lines. - Trail line for motion
Use a dotted or dashed line behind the bee. - Optional blur effects
For digital or marker art, lightly blur wing edges.
Practice Exercises for Drawing Bees
Practice 1: Bee Body Anatomy
Draw the bee’s head, thorax, and abdomen from different angles.
Practice 2: Wing Studies
Focus on just the wings—veins, shape, and transparency.
Practice 3: Bee Expressions
Draw bees with different facial expressions: happy, angry, curious.
Practice 4: Bee and Flower Compositions
Sketch simple flowers (like daisies or sunflowers) and add a bee landing or hovering nearby.
Practice 5: Colored Pencil Bees
Use layering to shade and highlight without ink outlines.
Common Mistakes to Avoid
- Misplacing the stinger or omitting it
- Making the wings too short or solid
- Forgetting the segmentation of the legs
- Drawing the body as one solid shape (bees have three parts)
- Overusing outlines in transparent areas like wings
Inspiration for Drawing Bees
Where to Look
- Nature photography websites
- Scientific illustrations
- Tattoo flash art
- Botanical illustration books
- Animated cartoons and children’s illustrations
Bee Species to Explore
- Honeybee
- Bumblebee
- Carpenter bee
- Leafcutter bee
- Mason bee
Final Thoughts: Mastering the Art of Bee Drawing
Drawing bees in different ways not only improves your artistic skills but also deepens your appreciation for one of nature’s most important creatures. Whether you lean toward realistic anatomy or playful cartoons, the bee’s unique structure offers endless creative possibilities.
Start with simple sketches, explore various mediums, and challenge yourself with new angles and expressions. Keep practicing, observing, and experimenting. With time and patience, you’ll find your own buzzing style.
Let your art take flight—one bee at a time.