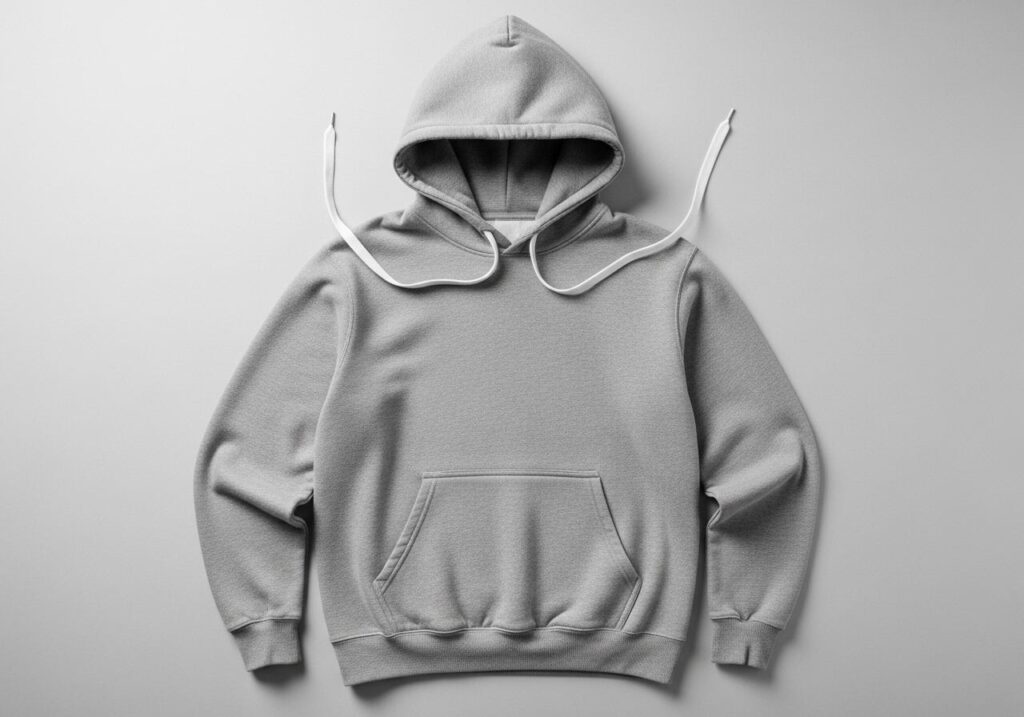
Clothing is one of the most fascinating subjects to draw because it combines structure, movement, and personality. Among the many clothing items, the hoodie is an iconic piece that blends comfort and style. From streetwear to casual outfits, hoodies are everywhere, making them a fun and useful subject to sketch.
Learning how to draw a hoodie step by step not only helps you improve your fashion illustration skills but also teaches you how fabric folds, curves, and drapes over the human body. This makes it an excellent practice for beginners who want to understand clothing details while keeping the drawing approachable.
In this guide, you’ll learn how to draw a hoodie step by step, explore different hoodie styles, practice shading techniques, and experiment with creative variations. By the end, you’ll be able to draw hoodies in multiple poses and styles with confidence.
Contents
- Why Learn to Draw a Hoodie
- Tools You’ll Need
- Step-by-Step Guide to Drawing a Hoodie
- Drawing the Hoodie Hood in Detail
- Drawing Different Hoodie Styles
- Understanding Fabric Folds on Hoodies
- Shading Techniques for Hoodie Drawings
- Creative Variations for Hoodie Drawings
- Tips for Beginners
- Common Mistakes to Avoid
- Practice Exercises
- Final Words
Why Learn to Draw a Hoodie
- Hoodies are versatile and appear in fashion, anime, and character design.
- Drawing hoodies helps you understand fabric folds and volume.
- Hoodies are simple enough for beginners but detailed enough for improvement.
- Learning hoodie proportions will improve your overall clothing sketches.
Tools You’ll Need
- Pencil (HB for sketching, 2B or 4B for shading)
- Eraser (kneaded eraser for highlights)
- Sketchbook or drawing paper
- Ruler (optional for guidelines)
- Colored pencils or markers (if you want to add color)
Step-by-Step Guide to Drawing a Hoodie
Step 1: Draw the Base Body Shape
Before sketching the hoodie, outline a simple figure or mannequin. This doesn’t need to be detailed—just a basic torso, shoulders, and arms. The hoodie will drape over this shape.
Step 2: Outline the Hoodie Shape
Lightly sketch the overall hoodie shape around the body. Keep it slightly wider than the body since hoodies are loose-fitting. Draw the shoulders, torso, and sleeves.
Step 3: Draw the Hoodie Hood
Sketch the hood resting on the shoulders or upright around the head. Use curved lines to show its round, soft structure. Add the opening with an oval or U-shape.
Step 4: Add the Hoodie Pockets
Most hoodies have a front pocket. Draw a large rectangle or curved pocket across the lower torso. Add slight curves to show depth.
Step 5: Sketch the Sleeves
Draw long, loose sleeves that taper toward the wrists. Add slight folds around the elbows and cuffs for realism.
Step 6: Add Details
- Draw the drawstrings hanging from the hood.
- Add ribbed cuffs at the wrists and bottom hem.
- Outline seams if desired for extra detail.
Step 7: Clean Up and Refine
Erase the base mannequin sketch, leaving only the hoodie outline. Darken the main lines for clarity.
Step 8: Shade and Add Texture
- Shade under the hood, inside the sleeves, and along the folds.
- Use hatching for fabric texture.
- Add highlights for a softer look.
Drawing the Hoodie Hood in Detail
Upright Hood
- Start with an oval or round shape around the head.
- Add folds around the edges to show fabric.
- Keep the drawstring loops visible.
Downward Hood
- Draw the hood resting on the shoulders.
- Show overlapping fabric folds.
- Add depth by shading inside the hood’s folds.
Drawing Different Hoodie Styles
Basic Pullover Hoodie
- Large front pocket
- Loose sleeves
- Simple ribbed cuffs
Zipper Hoodie
- Draw a zipper line down the center
- Add zipper teeth with small rectangles
- Place the hood slightly open
Oversized Hoodie
- Exaggerate the width of sleeves and torso
- Add deeper folds for extra fabric
- Extend the hem lower on the body
Cropped Hoodie
- Shorten the torso length
- Keep the sleeves full-length or oversized
- Add ribbed hem at the shorter waistline
Hoodie with Graphics
- Add text or logos on the chest
- Draw simple patterns like stripes or logos
- Use shading to show fabric wrapping around the body
Understanding Fabric Folds on Hoodies
Shoulder Folds
Fabric gathers around the shoulder joint. Add curved lines spreading outward.
Elbow Folds
When the arm bends, draw multiple overlapping folds at the elbow.
Pocket and Hem Folds
Sketch subtle folds around the pocket and hem for realism.
Hood Folds
Hoods naturally bunch up when down. Use layered curved lines to capture this look.
Shading Techniques for Hoodie Drawings
Light Source Shading
Choose where your light comes from. Shade the opposite areas for depth.
Hatching
Use parallel lines to add shadow along folds.
Cross-Hatching
Overlap lines in different directions for darker areas, like inside the hood.
Blending
Use a blending stump for smooth shadows, ideal for soft fabric.
Creative Variations for Hoodie Drawings
Hoodie on a Character
Sketch a character wearing the hoodie, adjusting the fabric according to their pose.
Hoodie in Motion
Draw the hoodie flowing slightly backward as if the character is walking or running.
Fantasy Hoodie
Add magical elements, glowing seams, or oversized hoods for a fantasy style.
Stylized Hoodie
Use exaggerated folds and oversized shapes for cartoon or anime art.
Tips for Beginners
- Always start with light pencil strokes.
- Practice drawing fabric folds by observing real hoodies.
- Don’t make the hoodie too tight—it should look slightly loose.
- Study how the hood rests in different positions.
- Experiment with adding logos or designs for fun.
Common Mistakes to Avoid
- Making the hoodie too narrow—remember hoodies are loose.
- Forgetting the pocket or drawstrings, which are signature details.
- Drawing stiff sleeves instead of natural fabric folds.
- Ignoring shading inside the hood, which flattens the drawing.
- Overcomplicating with too many folds—keep it balanced.
Practice Exercises
- Draw 5 hoodies in different styles: pullover, zipper, oversized, cropped, and graphic.
- Sketch the hood in three positions: up, down, and slightly tilted.
- Draw a character wearing a hoodie in different poses.
- Shade the same hoodie with light coming from different directions.
- Create a fashion sheet of hoodie designs with patterns and colors.
Final Words
Learning how to draw a hoodie step by step gives you a strong foundation in both clothing and character design. Hoodies are an excellent subject for beginners because they combine simple shapes with fun details like pockets, hoods, and folds. With practice, you’ll start to understand how fabric behaves, how light and shadow interact, and how to add personality to your hoodie sketches.
Whether you prefer realistic fashion drawings, stylized anime art, or creative hoodie designs, the skills you learn from drawing this clothing piece will help you in all areas of your art. Keep practicing, experiment with different hoodie styles, and most importantly, enjoy the process of bringing this cozy and stylish garment to life on paper.