Are your bathroom cabinets looking tired and outdated? A fresh coat of paint can transform them into a stunning focal point of your space.
Imagine stepping into your bathroom and feeling a sense of pride at how inviting and stylish it looks. You can achieve this with just a few simple steps. In this guide, you’ll discover easy techniques and valuable tips to give your cabinets a brand-new look.
Whether you’re a beginner or have some experience, you’ll find everything you need to know to make your project a success. Ready to elevate your bathroom? Let’s get started!
Contents
Choosing The Right Paint
Choosing the right paint is key for bathroom cabinets. A durable, moisture-resistant finish helps cabinets last longer. Consider color and sheen to create a fresh look in your space.
Choosing the right paint for your bathroom cabinets can make a significant difference in both aesthetics and durability. With moisture and humidity constantly present, selecting a paint that withstands these conditions is essential. You want a finish that not only looks great but also lasts. Let’s break down the options available to you.
Types Of Paint For Bathroom Cabinets
Different types of paint offer various finishes and levels of durability.
– Acrylic Latex Paint: This is a popular choice because it dries quickly and is easy to clean. It’s also less toxic than oil-based options.
– Oil-Based Paint: Known for its durability, oil-based paint provides a hard finish. However, it takes longer to dry and has a strong odor.
– Chalk Paint: If you’re looking for a matte finish and a vintage vibe, chalk paint is an excellent option. It adheres well to surfaces without extensive prep work.
Consider your cabinet material and the look you want to achieve. Do you want a glossy finish that reflects light or a flat look for a more muted atmosphere?
Best Colors For Small Spaces
Color can drastically change the perception of space. In a small bathroom, lighter shades can open up the area.
– Soft Whites: Whites can make the room feel larger and airier.
– Pastels: Light blues, greens, or pinks add a splash of color without overwhelming the senses.
– Neutral Grays: Gray offers sophistication and pairs well with various decor styles.
Think about how each color makes you feel. Do you prefer a calming environment or something more energetic?
Water-resistant Options
Given the high moisture levels in bathrooms, choosing water-resistant paint is crucial.
– Marine-Grade Paint: This type is specifically formulated to resist moisture and mildew.
– Semi-Gloss or Satin Finishes: These finishes are easier to clean and can repel water better than flat paints.
– Specialized Bathroom Paints: Many brands offer paints designed specifically for bathrooms, providing both durability and resistance to mold.
When selecting your paint, check for labels that indicate water resistance. Your choice will impact how often you need to repaint or touch up your cabinets.
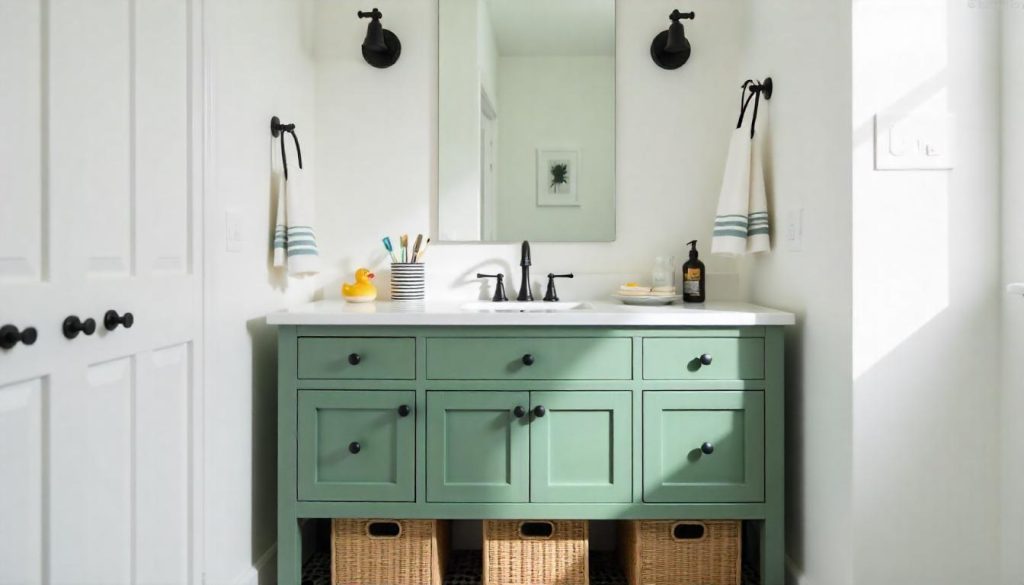
Choosing the right paint can transform your bathroom cabinets from drab to fab. Think about your personal style, the size of your space, and the conditions that your cabinets will face. With the right approach, your cabinets can become a stunning focal point in your bathroom.

Credit: lizpacini.com
Preparing The Cabinets
Preparing bathroom cabinets for painting involves cleaning and sanding the surfaces. Remove any hardware and dust the area well. Use a primer for better paint adhesion and a smoother finish. This step ensures a professional look that lasts longer.
Preparing the cabinets is a crucial step in painting your bathroom cabinets. The right preparation can make all the difference in the final outcome. A well-prepared surface ensures that your paint adheres properly and lasts longer. Let’s dive into the essential steps for getting your cabinets ready.
Cleaning And Degreasing
Start by cleaning your cabinets thoroughly. Use a mixture of warm water and mild detergent. Wipe down every surface to remove dust, dirt, and any grime.
Bathrooms often have moisture and oils that can cling to surfaces. A degreaser can help here. Apply it to areas where there might be built-up residue, especially around handles and hinges.
After cleaning, rinse with clean water and let everything dry completely. This step is vital. If any moisture remains, it can affect the paint’s adhesion.
Removing Hardware And Doors
Next, remove all hardware and doors from the cabinets. Take off knobs, handles, and hinges. This will give you a clean slate to work with.
Label each piece as you remove it. This makes reassembly easier. You don’t want to mix up screws or forget where each piece belongs.
For doors, consider laying them flat on a surface. This will prevent drips and ensure an even coat of paint. Trust me, you’ll thank yourself later for taking this extra step.
Sanding For A Smooth Finish
Sanding is a crucial step that many skip. Grab a fine-grit sandpaper and lightly sand all surfaces. This creates a texture that helps the paint stick better.
Pay special attention to any rough spots or previous paint drips. A smooth finish will make your cabinets look professionally done.
After sanding, wipe down the cabinets with a damp cloth to remove dust. This small act can significantly improve the final appearance of your paint job.
Are you ready to see how your cabinets will transform with a little effort? The preparation may take some time, but the results will be worth it.
Protecting Surrounding Areas
Protecting surrounding areas is key when painting bathroom cabinets. Use painter’s tape to cover walls and edges. Lay down drop cloths to catch any drips or spills. This preparation makes the process cleaner and easier. Enjoy a fresh look without the mess.
Protecting surrounding areas is a crucial step when painting bathroom cabinets. You want to ensure that your hard work doesn’t result in unwanted paint splatters on your walls, floors, or fixtures. A little preparation can save you from a bigger headache later.
Taping Edges And Walls
Start by using painter’s tape to cover the edges of your cabinets. This helps create a clean line and prevents paint from seeping onto your walls.
Make sure to press the tape down firmly to avoid any gaps.
Consider using a utility knife to trim the tape neatly along the edges for a crisp finish.
Don’t forget to tape around any handles or knobs. This small step makes a big difference in achieving a professional look.
Covering Floors And Fixtures
Protect your floors by laying down a drop cloth or old sheets. This will catch any drips or spills, making clean-up easier.
If you’re painting near sinks or toilets, cover those fixtures with plastic wrap or tape.
A simple trick is to place a cardboard piece beneath the cabinet to catch any paint that may fall.
Think about how messy painting can get. You might discover paint in places you never expected! Taking these precautions will save you from extra scrubbing later.
Have you ever tried painting without protecting your surroundings? The aftermath can be overwhelming. Taking the time to set up your space can lead to a smoother, more enjoyable painting experience.
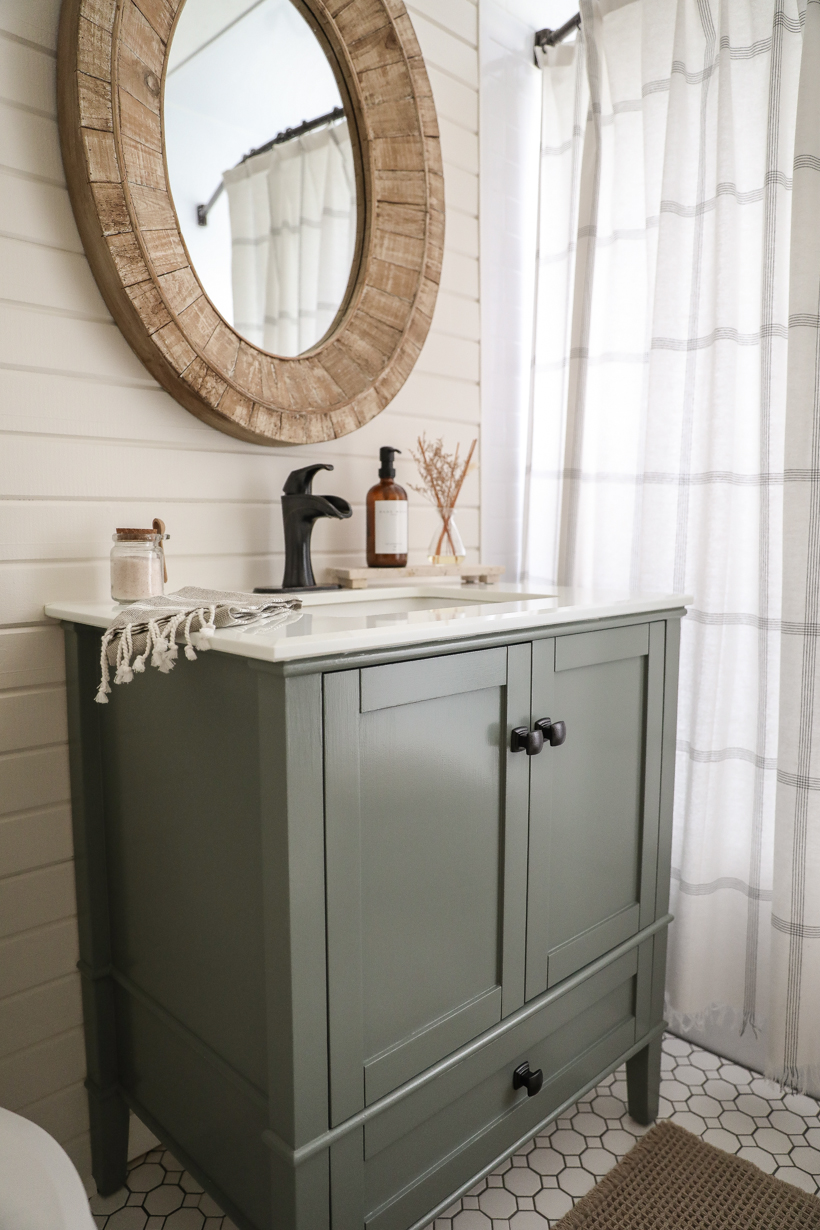
Credit: lovegrowswild.com
Applying Primer
Applying primer is an important step for painting bathroom cabinets. It helps the paint stick better and creates a smooth surface. Choose a quality primer and apply it evenly for the best results. This preparation ensures your cabinets look fresh and last longer.
Applying primer is a crucial step in painting your bathroom cabinets. It sets the foundation for a smooth, lasting finish. Without primer, your paint may not adhere well, leading to peeling or chipping down the road. Let’s dive into the essential aspects of applying primer effectively.
Benefits Of Priming
Priming offers several advantages that can make your painting project easier and more successful.
- Improved Adhesion: Primer creates a better surface for paint to stick to, reducing the chances of peeling.
- Even Color: It helps cover any stains or dark colors, ensuring your final coat has a consistent hue.
- Durability: Using primer increases the longevity of your paint job, especially in moisture-heavy areas like bathrooms.
Think about the last time you painted something without priming it first. Did the paint look uneven? Did it start to chip? A good primer can save you from those frustrations.
Choosing The Right Primer
Selecting the right primer is key to achieving a professional-looking finish.
- Water-Based Primer: Ideal for most bathroom cabinets. It dries quickly and cleans up easily.
- Oil-Based Primer: Offers great adhesion and stain-blocking, but takes longer to dry.
- Mold-Resistant Primer: Perfect for bathrooms, as it helps prevent mold and mildew growth.
Consider your cabinet material. If you have wood, a stain-blocking primer might be the best choice. If you’re working with laminate, look for a bonding primer that can adhere to slick surfaces.
How To Apply Primer Evenly
Applying primer evenly ensures a smooth finish for your cabinets. Here’s how to do it:
- Clean the Surface: Remove dirt, grease, and old paint. A clean surface allows the primer to adhere better.
- Use the Right Tools: A high-quality brush or roller will help achieve an even coat. A foam roller works well for smooth surfaces.
- Apply Thin Coats: Thin layers dry faster and reduce drips. Aim for two coats for the best results.
After applying the primer, take a moment to inspect your work. Look for any missed spots or uneven areas. Addressing these issues now will save you time later when you apply your paint.
Have you ever skipped the primer and regretted it later? Taking the extra step to prime can make a world of difference in your finished project.
Painting The Cabinets
Painting bathroom cabinets can refresh your space. Start by cleaning the surfaces well. Use a primer for better paint adhesion, then apply your chosen color. Finish with a protective coat for durability. Enjoy your updated bathroom look!
Painting your bathroom cabinets can breathe new life into your space. With a fresh coat of paint, those old, worn cabinets can transform into stunning focal points. Whether you’re looking to create a serene oasis or a bold statement, the right painting technique is key.
Using Brushes Vs. Rollers
Choosing the right tool can make a significant difference in your project.
Brushes are great for precision. They allow you to reach into corners and crevices easily. A high-quality brush will give you smooth, even coverage, especially when painting detailed areas.
Rollers, on the other hand, can cover larger surfaces quickly. They work well for flat cabinet faces, leaving a smooth finish without brush marks. If you’re short on time, rollers can help you speed up the process.
Combining both methods often leads to the best results. Use a brush for the edges and a roller for the flat surfaces to achieve a professional look.
Applying Multiple Coats
One coat rarely does the job. To ensure a durable finish, plan for at least two coats of paint. This not only enhances color vibrancy but also helps protect the wood.
After your first coat dries, check for any uneven areas. A light sanding between coats can help create a smooth surface. Don’t rush this step; it’s essential for that flawless finish.
Be patient and allow adequate drying time between coats. It might feel tedious, but the results will be worth it.
Avoiding Common Mistakes
Mistakes can happen, especially if you’re new to painting. One of the most common errors is skipping the prep work. Always clean your cabinets thoroughly before painting. A little dirt or grease can ruin your finish.
Another pitfall is not using primer. Primer helps the paint adhere better and improves durability. It’s especially important if you’re painting over a dark color or a glossy finish.
Lastly, resist the urge to rush. Take your time to apply even strokes. If you’re not careful, you might end up with drips or uneven patches that will be hard to fix later.
What tips have you found helpful in your own painting projects? Let’s hear your experiences!
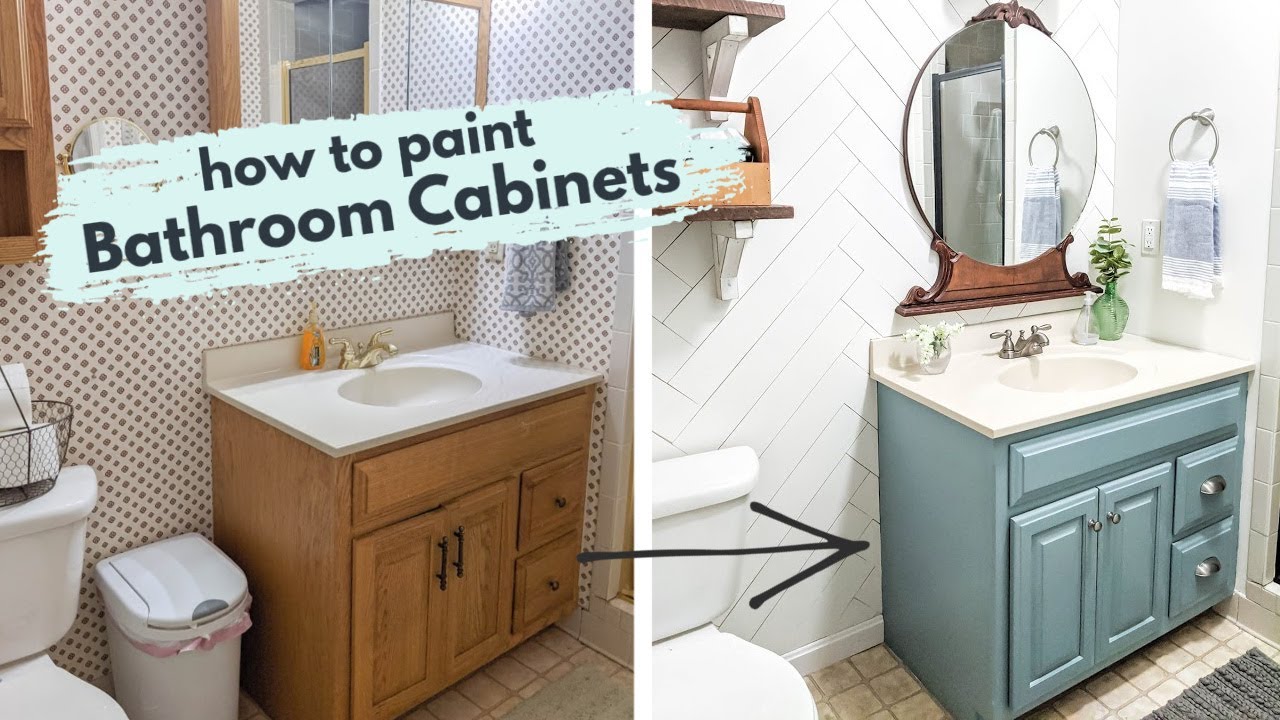
Credit: m.youtube.com
Sealing The Finish
Sealing the finish on your bathroom cabinets is crucial. A good sealant protects the paint. It helps your cabinets last longer. The right topcoat makes cleaning easier. It also keeps the color vibrant.
Why A Topcoat Is Essential
A topcoat adds a layer of protection. It guards against moisture and humidity. Bathrooms are often damp. A strong seal prevents peeling and chipping. It also protects against stains. Without a topcoat, paint can wear off quickly. A good finish enhances the overall look.
Types Of Sealants For Bathrooms
There are several types of sealants. Water-based sealants are popular. They dry fast and have low odor. Oil-based sealants offer strong protection. They take longer to dry but are very durable. Polyurethane is another option. It provides a hard finish. Choose a sealant that fits your needs. Consider the look and feel you want.
How To Apply A Durable Finish
Start by cleaning the surface. Remove dust and grease. Apply the sealant with a brush or roller. Use thin, even coats for best results. Allow each coat to dry completely. Lightly sand between coats for a smooth finish. Usually, two to three coats are best. Follow the manufacturer’s instructions closely. This ensures the best adhesion and durability.
Reassembling And Styling
After painting your bathroom cabinets, it’s time to reassemble them. This step brings your hard work to life. Proper reassembly is key to achieving a polished look.
Styling adds character. Small details can make a big difference. Let’s explore how to make your cabinets shine.
Reattaching Doors And Hardware
Start by reattaching the cabinet doors. Align them carefully. Use your screwdriver to secure the hinges. Check that they open and close smoothly.
Next, attach the hardware. Choose knobs or handles that match your style. Install them at the same height on each door for balance. This small detail enhances the overall look.
Adding Decorative Touches
Consider adding decorative touches. A fresh coat of paint is great, but accessories can elevate your cabinets.
Add baskets or decorative boxes inside. These keep items organized while looking nice. Consider adding a small plant or a decorative towel on top. Simple touches can brighten your space.
Maintaining The Fresh Look
To keep your cabinets looking fresh, clean them regularly. Use a soft cloth and mild soap. Avoid harsh chemicals, as they can damage the paint.
Inspect the hardware occasionally. Tighten any loose screws. This prevents wear and keeps your cabinets functional and stylish.
Frequently Asked Questions
What Kind Of Paint Do You Use On Bathroom Cabinets?
Use a high-quality, moisture-resistant paint for bathroom cabinets. Satin or semi-gloss finishes work best, providing durability and easy cleaning. Choose acrylic or latex paint for better adhesion and quick drying. Always ensure proper surface preparation before painting for optimal results.
Is It A Good Idea To Paint Bathroom Cabinets?
Painting bathroom cabinets can enhance their appearance and provide a fresh look. It’s a cost-effective way to update your space. Choose the right paint for moisture resistance. Proper preparation and sealing ensure durability. Overall, it’s a great DIY project that can improve your bathroom’s aesthetics.
How Do You Paint Bathroom Cabinets Without Brush Marks?
To paint bathroom cabinets without brush marks, use a high-quality foam roller for a smooth finish. Apply thin, even coats and allow adequate drying time between layers. Sand lightly between coats for extra smoothness. Finally, choose a self-leveling paint to minimize imperfections.
Can I Paint My Bathroom Cabinets Without Sanding?
Yes, you can paint bathroom cabinets without sanding. Use a bonding primer to ensure proper adhesion. Choose a high-quality paint designed for cabinets. Clean the surfaces thoroughly before painting. This method saves time and effort while achieving a smooth finish.
Always follow the manufacturer’s instructions for best results.
Conclusion
Painting bathroom cabinets can refresh your space. It is a simple way to improve your bathroom’s look. With the right steps, anyone can do it. Gather your materials and choose your colors. Take your time and follow each step. Soon, you will see a big change.
Enjoy your newly painted cabinets. They can make your bathroom feel new again. Happy painting!