
Learning how to paint grass with oil paint is one of the most valuable skills for landscape artists. Grass may seem simple at first glance, but creating realistic fields, lawns, meadows, and rolling hills requires careful observation, color variation, and layering techniques.
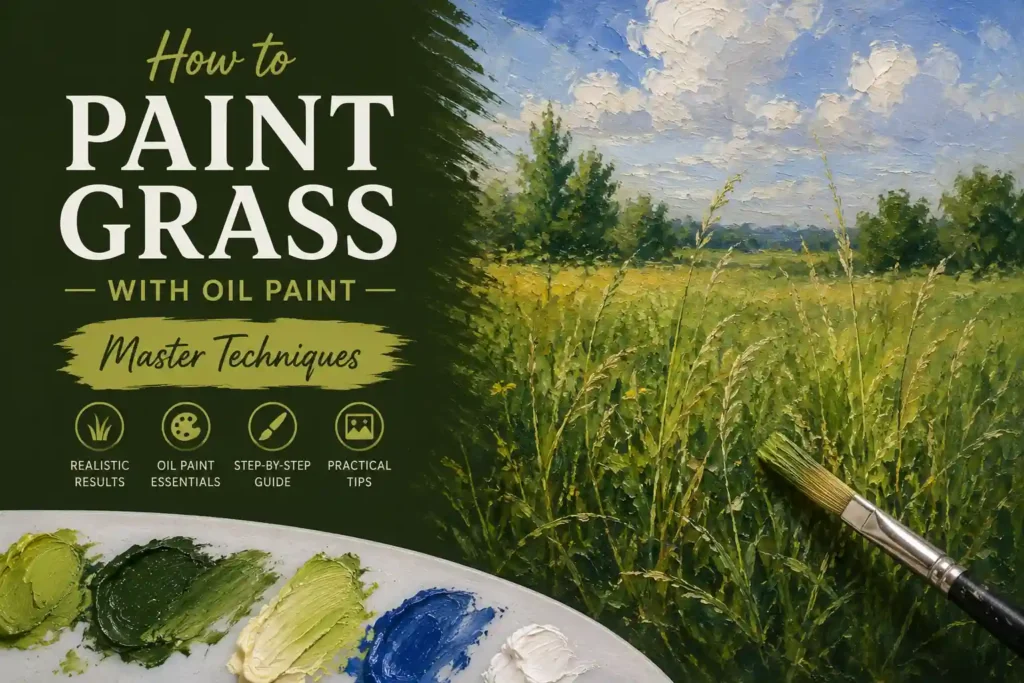
The good news is that oil paint is one of the best mediums for painting grass because of its rich colors, blendability, and slow drying time. Whether you’re a beginner or an experienced artist, mastering a few key techniques can help you create vibrant and lifelike landscapes.
Items to Buy
- Oil paint set
- Titanium White paint
- Cadmium Yellow paint
- Yellow Ochre paint
- Ultramarine Blue paint
- Phthalo Blue paint
- Sap Green paint
- Viridian Green paint
- Burnt Umber paint
- Raw Umber paint
- Canvas
- Paint palette
- Palette knife
- Linseed oil
- Odorless mineral spirits
- Paint brushes
- Fan brush
- Filbert brush
- Detail liner brush
- Paper towels
- Easel
- Reference photos
Why Grass Is Challenging to Paint
Many beginner artists make the mistake of thinking grass is simply green.
In reality, grass contains countless shades of green, yellow, blue, brown, and even purple depending on the lighting conditions. A grassy field viewed from a distance looks entirely different from grass viewed up close.
Understanding these variations is essential for creating convincing landscape paintings.
Understanding Light and Grass
Before painting, spend time observing how light affects grass.
Morning sunlight often creates warm yellow-green highlights, while cloudy days produce cooler tones. Shadows within grass can contain blues, violets, and dark greens rather than simple black.
Recognizing these subtle color shifts will dramatically improve the realism of your artwork.
Choosing the Right Green Mixtures
Rarely does grass appear as a single shade of green.
Most landscape painters mix multiple greens using combinations of blue, yellow, brown, and white. This creates depth and prevents the painting from looking flat or artificial.
Using several green mixtures throughout the painting helps mimic the natural variation found outdoors.
How to Paint Grass With Oil Paint Step by Step Guide
Step 1: Prepare Your Reference
Choose a quality landscape reference photo or work from direct observation.
Studying the scene beforehand helps identify major color areas, lighting conditions, and focal points.
Understanding the composition before painting leads to better results.
Step 2: Sketch the Landscape
Lightly sketch the major shapes onto your canvas.
Mark the horizon line, hills, trees, pathways, and other important elements. Avoid focusing on individual grass blades at this stage.
Think in terms of large shapes and values.
Step 3: Tone the Canvas
Apply a thin wash of Burnt Umber or Raw Umber across the canvas.
A toned surface helps unify the painting and prevents distracting white areas from showing through.
Allow the wash to become tacky before continuing.
Step 4: Block in the Background
Paint distant hills, trees, and sky first.
Establishing the background creates context for the grassy foreground and helps determine overall color relationships.
Work from back to front throughout the painting process.
Step 5: Apply Base Grass Colors
Mix a medium green using yellow and blue.
Cover the grassy areas with broad brushstrokes rather than individual blades. Focus on major color masses and value relationships.
This base layer serves as the foundation for later details.
Step 6: Add Shadow Areas
Mix darker greens using additional blue and a small amount of Burnt Umber.
Paint shadows within the grass, paying attention to the direction of light.
These darker values create depth and dimension.
Step 7: Build Midtone Variations
Introduce multiple green mixtures across the field.
Alternate warm and cool greens to avoid a monotonous appearance. Nature contains constant color variation, and your painting should reflect that diversity.
Blend selectively while maintaining visual interest.
Step 8: Create Texture
Use a fan brush, filbert brush, or palette knife to suggest grassy textures.
Vary brush pressure and direction to create a natural appearance.
Avoid repetitive patterns that can make grass look artificial.
Step 9: Paint Individual Grass Highlights
Using a lighter green mixture, add selective highlights where sunlight strikes the grass.
Focus on areas closest to the viewer because foreground details should generally be more visible.
Keep highlights varied and natural.
Step 10: Add Color Accents
Introduce touches of yellow, ochre, brown, or blue-green throughout the grass.
These subtle variations help break up large areas of green and create a more realistic landscape.
Small color shifts often make a significant difference.
Step 11: Refine the Foreground
Increase detail in the nearest grassy areas.
Use a liner brush to suggest clusters of grass rather than painting every blade individually.
Selective detail is more effective than excessive detail.
Step 12: Evaluate and Finish
Step back and examine the painting from a distance.
Adjust values, colors, and highlights as needed. Make final refinements while maintaining overall harmony.
Once satisfied, allow the painting to dry completely.
Best Brushes for Painting Grass
Different brushes create different grass effects.
Fan brushes are popular for creating soft grassy textures. Filbert brushes provide versatility for blending and shaping grass areas. Liner brushes are useful for adding individual blades and fine details.
Many artists use a combination of brush types to achieve the most realistic results.
Common Mistakes to Avoid
One common mistake is using only one green throughout the painting.
Another issue is painting every blade of grass individually. This often creates a stiff, unnatural appearance and can overwhelm the viewer.
Many beginners also neglect shadow colors, resulting in flat landscapes.
Focusing on values, texture, and color variation helps avoid these problems.
Tips for More Realistic Grass
Observe real landscapes whenever possible.
Notice how grass becomes less detailed in the distance and more textured in the foreground. Use atmospheric perspective by reducing contrast and saturation in distant areas.
Vary brushstrokes, color temperatures, and values throughout the painting.
These techniques create greater depth and realism.
Painting Different Types of Grass
Not all grass looks the same.
Fresh spring grass tends to be brighter and more yellow-green. Summer grass often contains rich greens and golden highlights. Dry grass may feature ochres, tans, and browns.
Adjusting your palette according to the season can significantly improve realism.
FAQs
What colors are best for painting grass?
Sap Green, Viridian, Yellow Ochre, Cadmium Yellow, Ultramarine Blue, and Burnt Umber are commonly used.
Should grass always be green?
No. Grass often contains yellow, brown, blue, and even purple tones depending on lighting and season.
What brush works best for grass?
Fan brushes, filbert brushes, and liner brushes are popular choices.
How do I paint realistic grass?
Focus on color variation, values, texture, and selective detail rather than individual blades.
Why does my grass look flat?
Insufficient value contrast and lack of color variation are common causes.
How do I paint distant grass?
Use softer edges, reduced detail, and cooler colors.
Should I paint every blade of grass?
No. Suggesting groups and textures is usually more effective.
Can beginners paint realistic grass?
Yes. With practice and observation, artists at any skill level can improve their grass-painting techniques.
Final Words
Mastering how to paint grass with oil paint takes practice, observation, and patience, but the results are worth the effort. By focusing on color variation, light, texture, and value relationships, you can create landscapes that feel vibrant and alive.
Remember that realistic grass is about suggestion rather than perfection. Use multiple green mixtures, vary your brushwork, and pay attention to how light interacts with the landscape. Over time, you’ll develop the confidence and skills needed to paint beautiful grassy scenes that bring your oil paintings to life.