Painting an aluminum boat is one of the best ways to refresh its appearance, protect it from corrosion, and extend its life on the water. Whether you’re restoring an old fishing boat, customizing a hunting vessel, or preparing a jon boat for saltwater use, a fresh coat of paint can make a huge difference in both aesthetics and durability.
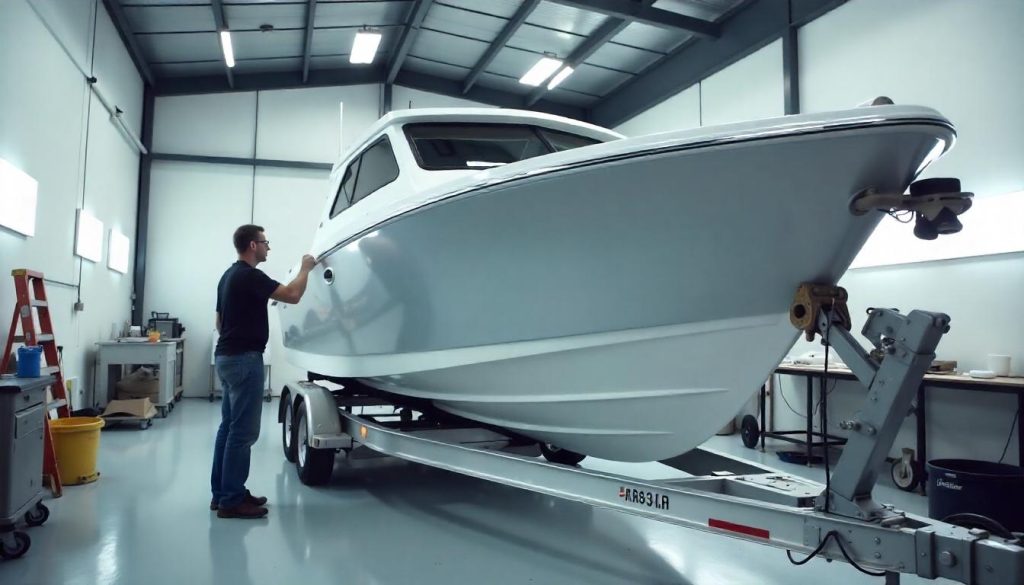
Unlike painting wood or fiberglass boats, aluminum requires specific preparation and products to ensure proper adhesion and a long-lasting finish. The metal’s slick, nonporous surface resists ordinary paint unless it’s correctly cleaned, etched, and primed. For beginners and DIYers, understanding the right steps is key to achieving a smooth, professional-looking finish.
This guide will walk you through every stage of painting an aluminum boat—from surface prep to final topcoat—along with tips, techniques, and product recommendations to make the job easier and more effective.
Contents
- Why Painting an Aluminum Boat Is Important
- What You’ll Need Before You Start
- Step 1: Move and Prepare the Boat
- Step 2: Clean the Entire Surface Thoroughly
- Step 3: Sand the Aluminum Surface
- Step 4: Repair Dents, Dings, and Holes
- Step 5: Apply a Self-Etching Primer
- Step 6: Paint the Boat with Marine-Grade Paint
- Step 7: Let the Paint Cure Completely
- Step 8: Apply a Protective Topcoat (Optional)
- Step 9: Reassemble and Touch Up
- Optional Custom Touches
- How to Maintain Your Painted Aluminum Boat
- Troubleshooting Common Painting Problems
- FAQs About Painting Aluminum Boats
- Final Thoughts
Why Painting an Aluminum Boat Is Important
Aluminum boats are popular because of their durability, lightweight structure, and resistance to rot or mold. However, bare aluminum is vulnerable to:
- Oxidation and corrosion over time
- UV damage and discoloration
- Wear from saltwater or harsh environments
- General cosmetic degradation
Painting your aluminum boat provides:
- A protective barrier against the elements
- An opportunity to customize color and finish
- Improved resale value
- Camouflage or reduced glare for hunting boats
A properly painted boat doesn’t just look better—it performs better over time.
What You’ll Need Before You Start
Preparation is the most critical part of the painting process. Gathering the right tools and materials beforehand ensures smoother workflow and better results.
Tools and Supplies
- Pressure washer or hose with nozzle
- Scrub brush and sponge
- Marine degreaser or boat cleaner
- Orbital sander or sanding block
- Sandpaper (80, 120, and 220 grit)
- Self-etching primer (for aluminum)
- Marine-grade or epoxy paint
- Topcoat or clear sealant (optional)
- Painter’s tape
- Plastic sheeting or tarps
- Respirator mask and gloves
- Paint rollers and brushes
- Spray gun (optional)
- Drop cloths and clean rags
Optional but helpful: aluminum boat polish, paint thinner, plastic filler for dents, UV-resistant topcoat
Step 1: Move and Prepare the Boat
Before any sanding or painting begins, set up your workspace.
How to Set Up Your Boat for Painting
- Move the boat to a dry, well-ventilated area.
- Elevate the boat off the ground using boat stands or blocks.
- Remove any accessories: seats, electronics, decals, and drain plugs.
- Cover the trailer (if painting while on it) with plastic sheeting or tarps.
- Tape off any areas you don’t want painted (e.g., handles, trim, ID plates).
Make sure your setup gives you 360° access to the hull and that you’re protected from wind, dust, and rain.
Step 2: Clean the Entire Surface Thoroughly
The boat’s surface must be completely clean of dirt, grime, old paint, or residue for the new paint to adhere properly.
Cleaning the Boat
- Spray the entire boat with a pressure washer or hose.
- Scrub with a stiff brush using marine boat soap or degreaser.
- Pay special attention to the waterline, corners, and rivets.
- Rinse thoroughly and allow to dry.
- Use mineral spirits to wipe down oily spots or fuel residue.
For heavy corrosion or mildew, use vinegar or aluminum brightener to neutralize stains before sanding.
Step 3: Sand the Aluminum Surface
Sanding roughens the surface and removes oxidation, which helps the primer grip the metal.
How to Sand an Aluminum Boat
- Use an orbital sander for large flat areas with 80-grit paper.
- Sand smaller or curved areas by hand using 120- or 220-grit sandpaper.
- Focus on removing gloss from old paint or oxidation on bare aluminum.
- Wipe down with a damp cloth to remove dust.
Optional: Use a chemical etcher instead of sanding for hard-to-reach areas, but always follow safety instructions.
Step 4: Repair Dents, Dings, and Holes
Now’s the time to fix surface damage before painting.
How to Make Minor Repairs
- Fill small dents with marine-grade aluminum epoxy or plastic filler.
- Let the filler dry completely as per product instructions.
- Sand the repaired area flush with surrounding metal.
- Clean off all dust or debris before priming.
Inspect welds, rivets, and seams for loose parts or cracks and make any necessary repairs.
Step 5: Apply a Self-Etching Primer
Aluminum requires a special primer—self-etching primer chemically bonds to the metal and creates a strong foundation for paint.
How to Apply Etching Primer
- Choose a day with low humidity and mild temperatures.
- Shake the can or mix primer thoroughly.
- Apply using a spray can, roller, or spray gun in thin, even coats.
- Work in small sections to avoid overspray and dripping.
- Let the primer dry fully (typically 4 to 8 hours, depending on brand).
Apply 1 to 2 coats depending on coverage and allow full drying before painting.
Step 6: Paint the Boat with Marine-Grade Paint
Now that your boat is primed and ready, it’s time for the fun part—applying the color.
Choosing the Right Paint
- Marine-grade enamel or polyurethane: Durable and UV-resistant
- Epoxy paint: Great for boats used in saltwater
- Camouflage paint: Ideal for duck boats and hunting applications
Make sure the paint you choose is compatible with your primer and surface material.
Painting Instructions
- Stir or shake your paint thoroughly.
- Apply with a roller for smooth areas or a brush for edges.
- Use a spray gun for an even, professional finish.
- Apply 2 to 3 thin coats, allowing full drying time between each.
- Sand lightly between coats with 220-grit paper for smoothness (optional).
Work in consistent strokes and avoid overloading the brush or roller.
Step 7: Let the Paint Cure Completely
After painting, your boat needs time to fully cure before hitting the water.
Curing Timeline
- Dry to touch: 2–4 hours
- Recoat time: 8–12 hours
- Full cure: 3–7 days depending on paint type and temperature
Avoid water exposure, handling, or mounting accessories during this period. Curing too soon may damage the finish or reduce its life.
Step 8: Apply a Protective Topcoat (Optional)
If you want maximum protection, especially in saltwater or sunny climates, a topcoat adds durability and gloss.
Using a Topcoat
- Choose a clear marine urethane or UV-resistant sealer.
- Apply in thin coats using a brush or sprayer.
- Let dry completely between coats.
- Allow full cure before use.
Topcoats are optional but helpful for extending the life of your paint job and enhancing color richness.
Step 9: Reassemble and Touch Up
Once the paint and topcoat are fully cured, it’s time to finish up.
Final Steps
- Remove painter’s tape and plastic coverings.
- Reinstall hardware, seats, and accessories.
- Use a small brush to touch up any areas missed.
- Clean the interior of the boat.
- Add anti-skid tape or traction mats if desired.
Your aluminum boat is now freshly painted, protected, and ready for action.
Optional Custom Touches
Painting your aluminum boat doesn’t have to be just practical—it can also be creative.
Design Ideas
- Use stencil kits to add names or registration numbers
- Add striping or decals for a sporty look
- Choose camouflage paint for waterfowl hunting
- Paint the inside a darker color to reduce glare
Experiment with color schemes that suit your style while still providing function.
How to Maintain Your Painted Aluminum Boat
Proper care will extend the life of your paint job.
Maintenance Tips
- Rinse the boat after each use, especially in saltwater
- Clean dirt and grime regularly with mild soap
- Store the boat covered when not in use
- Use a marine wax or polish once a year
- Touch up scratches immediately to prevent peeling
A little ongoing care can add years to your paint’s durability.
Troubleshooting Common Painting Problems
Sometimes even careful DIY painters run into issues.
Common Problems and Fixes
- Peeling paint: Usually caused by poor surface prep or incompatible primer. Sand, clean, and recoat.
- Bubbling or blistering: Happens when painting in high humidity or over wet primer. Allow layers to dry fully.
- Drips or streaks: Apply thinner coats with smoother, even strokes.
- Fading: Use UV-protective topcoat and store the boat away from constant sun exposure.
Preventing problems begins with proper prep and patience.
FAQs About Painting Aluminum Boats
Do I need to remove the old paint?
Not always. If the old paint is intact, you can sand it smooth and paint over it. But if it’s flaking, bubbling, or peeling, remove it fully.
Can I use automotive paint?
No. Automotive paint isn’t designed for metal exposed to water or marine conditions. Always use marine-grade or epoxy paint.
What if I want a camouflage pattern?
Use multiple spray paint colors and stencils. Paint the lightest color first, let it dry, then layer darker shades using grass or leaf-shaped templates.
How long does the paint job last?
A properly prepped and painted aluminum boat can last 3–10 years depending on environmental exposure and maintenance.
Final Thoughts
Painting an aluminum boat isn’t just about looks—it’s a functional, protective process that helps your vessel stay durable, corrosion-free, and uniquely yours. Whether you’re refreshing an old hull or customizing a new one, the right paint job can make your aluminum boat feel brand new.
With the proper preparation, tools, and techniques outlined in this guide, anyone can take on this project with confidence—even as a beginner. Just remember: the secret to success lies in the prep work, patience, and using the right marine-specific products.