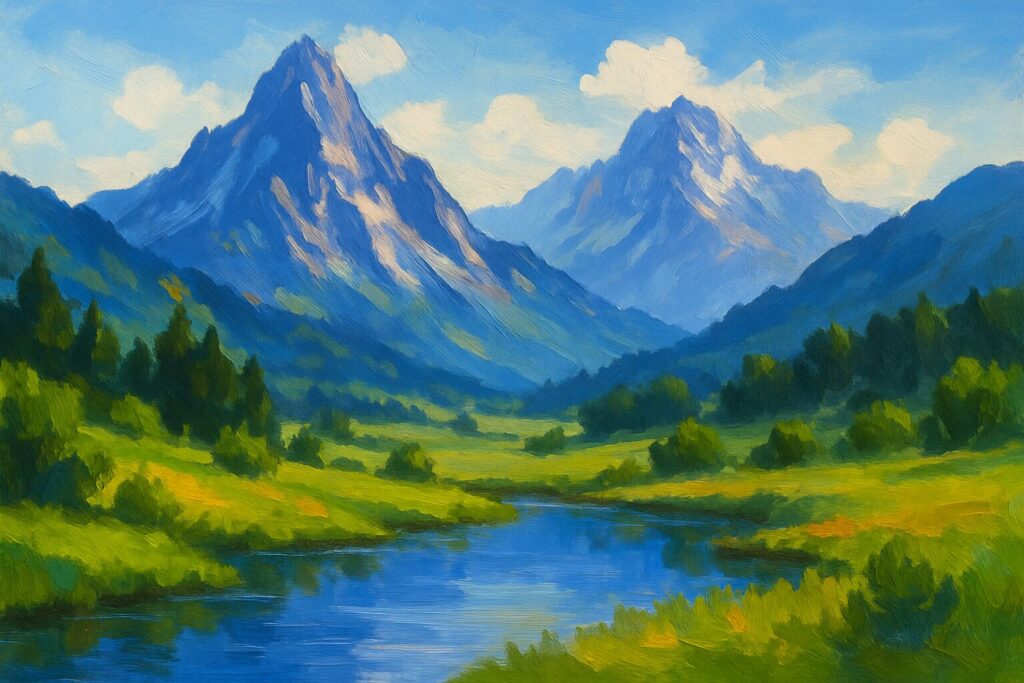
Mountains have long fascinated artists, from the serene snow-capped peaks of the Himalayas to the soft, misty hills in the distance of a countryside scene. Their grand scale and natural beauty make them one of the most iconic and fulfilling subjects to paint. But while painting mountains might seem daunting, it’s a skill that anyone can learn with practice, patience, and guidance.
This in-depth guide will walk you through everything you need to know about how to paint mountains — whether you’re using acrylics, oils, or watercolors. You’ll explore techniques for creating depth, form, and atmosphere, while learning how to master light, shadow, and perspective. This post is designed to be not only beginner-friendly, but also rich enough in detail to help any art enthusiast enhance their mountain painting skills.
—
Contents
- Why Mountains Are a Great Subject for Painting
- Materials You’ll Need
- Understanding Mountain Anatomy
- Step-by-Step Guide to Painting Mountains
- Step 1: Choose Your Composition
- Step 2: Sketch the Outline
- Step 3: Block in the Basic Shapes
- Step 4: Establish Light Source
- Step 5: Add Midtones and Details
- Step 6: Add Atmospheric Perspective
- Step 7: Paint Foreground Elements (Optional)
- Step 8: Final Highlights and Touches
- Tips for Different Painting Mediums
- Common Mistakes and How to Avoid Them
- Practice Exercises for Skill Building
- Exploring Styles: Realistic vs. Stylized Mountains
- Final Words
Why Mountains Are a Great Subject for Painting
Painting mountains allows artists to explore multiple artistic techniques in a single subject. They are ideal for practicing:
- Atmospheric perspective
- Light and shadow
- Textures and brushwork
- Compositional depth
Mountains can be realistic, abstract, simple, or highly detailed — making them versatile and perfect for artists of all skill levels.
—
Materials You’ll Need
Before diving into the painting process, gather your essential materials. These may vary depending on your medium of choice, but here’s a general list:
For Acrylic or Oil Painting:
- Canvas or canvas board
- Acrylic or oil paints (including white, ultramarine blue, burnt sienna, black, and other earth tones)
- Brushes (flat, round, fan)
- Palette
- Easel (optional)
- Water (for acrylics) or paint thinner (for oils)
- Palette knife (optional, for texture)
For Watercolor Painting:
- Watercolor paper (preferably 140 lb or higher)
- Watercolor paints (tubes or pans)
- Round and flat brushes
- Water container
- Mixing palette
- Paper towels or cloth
—
Understanding Mountain Anatomy
To paint mountains convincingly, it helps to understand their basic anatomy. No two mountains are alike, but they do share common features:
Peaks and Ridges
These are the highest points and outlines that define the mountain’s shape. They often have sharper, angular lines.
Slopes and Valleys
These are the inclines and dips between peaks. Their direction and lighting create the form of the mountain.
Light and Shadow
Mountains typically have one side illuminated and one side in shadow. Observing this helps define their 3D shape.
Texture and Surface Detail
Rocks, snow, grass, and trees all add texture. How detailed you go depends on the style you’re aiming for.
—
Step-by-Step Guide to Painting Mountains
Let’s walk through the entire process from planning to finishing.
—
Step 1: Choose Your Composition
Composition is the backbone of a strong painting. Think about:
- Foreground, middleground, background: Layering adds depth.
- Focal point: Which peak or feature will draw the eye?
- Atmosphere: Misty morning, sunset glow, or snowy peak?
Make thumbnail sketches or take reference photos to visualize your idea.
—
Step 2: Sketch the Outline
Using a light pencil or a diluted paint color, sketch the general outline of your mountains. Keep your lines light and loose — they’re just guides.
Tips:
- Use diagonal lines to represent slopes
- Overlap peaks for depth
- Avoid symmetry — nature is irregular
—
Step 3: Block in the Basic Shapes
Now, begin blocking in your large shapes and values.
Acrylic/Oil:
- Use a large flat brush to block in sky and mountain shapes
- Start with the background and move forward
- Use lighter tones for distant mountains
Watercolor:
- Start with a light wash for the sky
- Use a wet-on-wet technique for distant mountains
- Let layers dry before adding new ones
—
Step 4: Establish Light Source
Decide where your light is coming from — top left, top right, etc.
This will guide your shadows and highlights. Paint one side of the mountain lighter and the other darker to create a sense of form and direction.
Tips:
- Avoid pure black for shadows; use a mix of colors
- Highlights should be softer for distant peaks
—
Step 5: Add Midtones and Details
Once your initial layers dry, start adding more detail.
- Break up large shapes into smaller planes
- Use broken brushwork for rocky texture
- Introduce midtones between highlight and shadow areas
In watercolor, layering gradually builds depth. In acrylic and oil, use glazing or dry brushing for texture.
—
Step 6: Add Atmospheric Perspective
Atmospheric perspective makes distant mountains look lighter and cooler in color, while closer mountains appear darker and warmer.
- Distant peaks: use more blue or purple tones
- Closer ranges: use browns, greens, and warmer grays
This technique adds a natural sense of distance and depth.
—
Step 7: Paint Foreground Elements (Optional)
Including foreground elements like trees, meadows, or lakes can anchor your composition and make it more dynamic.
- Use higher contrast and sharper edges in the foreground
- Consider adding wildlife or a path for narrative interest
—
Step 8: Final Highlights and Touches
The finishing stage is all about refinement:
- Add subtle highlights to ridge tops or snow caps
- Refine shadows with glazes
- Check your color harmony and composition balance
Take a step back frequently to evaluate the whole picture.
—
Tips for Different Painting Mediums
Acrylics:
- Dry quickly, allowing fast layering
- Great for bold, graphic shapes
- Use glazing medium for smoother transitions
Oils:
- Longer drying time allows blending
- Rich color depth
- Use solvent and linseed oil for consistency
Watercolors:
- Transparency makes layering effective
- Use masking fluid for snow or sharp edges
- Work from light to dark
—
Common Mistakes and How to Avoid Them
Mistake 1: Overblending
Too much blending flattens your painting. Keep some hard edges.
Mistake 2: Lack of Value Contrast
Mountains need light and shadow. Use a value scale to ensure variety.
Mistake 3: Symmetrical Shapes
Nature is asymmetrical. Avoid “twin peaks” or mirrored forms.
Mistake 4: Ignoring Atmospheric Perspective
Mountains in the distance should never be as detailed or dark as those in the foreground.
—
Practice Exercises for Skill Building
Try these simple exercises to improve your mountain-painting skills:
- Paint a range of mountains using only 3 values
- Create a monochromatic mountain scene with one color
- Do quick 10-minute studies of different mountain references
—
Exploring Styles: Realistic vs. Stylized Mountains
Mountains can be rendered in many ways:
- Realistic: Focused on natural light, shadow, and detail
- Impressionistic: Emphasizes mood and brushstroke
- Minimalist: Simple shapes with strong design
- Fantasy: Exaggerated peaks and colors
Experiment to find the style that resonates with you.
—
Final Words
Painting mountains is a deeply rewarding artistic journey. It not only improves your landscape painting skills but also heightens your awareness of form, color, and composition. Whether you’re painting a misty mountain range at dawn or a sunlit cliffside in the afternoon, every brushstroke brings you closer to mastering nature’s most majestic forms.
Don’t rush the process. Take time to study, sketch, experiment, and refine. The more mountains you paint, the better you’ll understand their language and presence on the canvas.
So grab your brushes, choose your favorite scene, and start painting your own world of peaks and valleys.
Happy painting!