
Customizing a wooden snowboard is the ultimate way to make your gear stand out on the mountain. However, snowboards endure extreme conditions—freezing temperatures, constant flexing, high-velocity friction, and continuous moisture. If you use the best paint for wooden snowboards customization, your beautiful design will last; but if you use the wrong paint, it will crack and peel on your very first run.
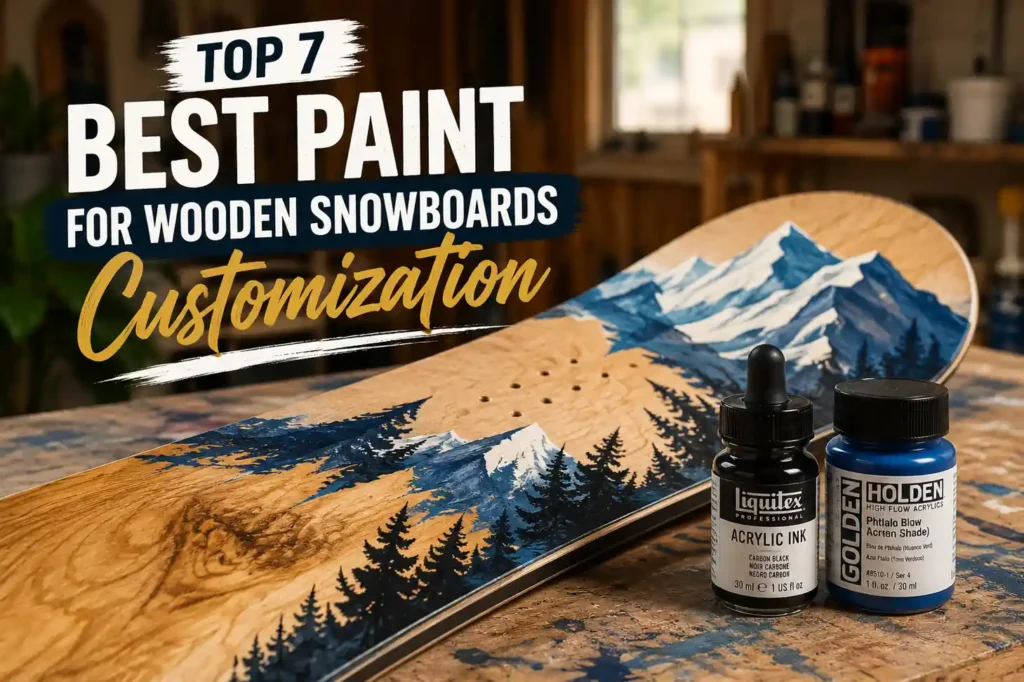
To ensure your artwork survives the slopes, you need a highly flexible, waterproof paint system. This guide breaks down the absolute best paints, primers, and sealers for wooden snowboards, followed by a bulletproof, step-by-step application masterclass.
Our Top Picks
If you are ready to set up your DIY workshop and want to grab the perfect materials right now, here are our recommended top picks:
- The Best Overall Base Paint: Montana Cans GOLD Acrylic Spray Paint — Specially formulated as a low-pressure, high-flexibility acrylic spray paint. It offers incredible control without cracking under freezing conditions.
- The Best for Detailed Hand-Painting: Liquitex Professional Heavy Body Acrylic — With an exceptionally high pigment load, this professional-grade acrylic dries into a highly flexible, plastic-like film that moves dynamically with your board’s natural flex.
- The Ultimate Protective Sealer (Mandatory): Spraymax 2K Clear Glamour — A commercial-grade, two-part polyurethane spray that creates a completely waterproof, UV-proof, and impact-resistant shield over your artwork. This is the secret to making your design indestructible.
- The Best for Fine Linework & Detail: Molotow ONE4ALL Acrylic Paint Markers — Highly UV-resistant and weather-proof, these markers are the gold standard for drawing intricate illustrations, typography, or clean outlines.
The Ultimate Snowboard Paint Comparison Table
This quick-reference guide helps you compare our top recommended paints, primers, and sealers:
| Product Name | Best For | Check Price |
| Montana Cans GOLD Acrylic | Best Base Coat & Stencils | |
| Liquitex Heavy Body Acrylic | Best for Hand-Brush Artwork | |
| Spraymax 2K Clear Glamour | Best Impermeable Protective Shield | |
| Molotow ONE4ALL Markers | Best for Fine Lines & Graphic Details | |
| Rust-Oleum Universal Primer | Best for Maximum Surface Adhesion | |
| Angelus Acrylic Leather Paint | Best Ultra-Flexible Specialty Paint | |
| Golden Heavy Body Acrylics | Best Professional-Grade Color Vibrancy | Check Price |
Why Standard Paints Fail on Wooden Snowboards
If you do not understand the physics of your board on the mountain, your paint job is destined to fail.
1. The Dynamic Flex Factor
A snowboard is a highly dynamic machine. As you carve, jump, or land, the wood core undergoes extreme bending and torsional flex. Standard household paints or generic spray paints cure into a rigid, non-elastic structure. When the board bends, the paint cannot stretch, leading to immediate cracking.
2. Thermal Shock
Snowboards experience massive, rapid temperature swings—going from a warm room ($20^\circ\text{C}$) to a freezing slope ($-10^\circ\text{C}$). Wood core and fiberglass layers expand and contract continuously based on these thermal shifts. Your paint must have molecular elasticity to adapt without losing its bond.
3. Moisture Infiltration
Wet snow continuously bombards the edges and surface of your board. If there is even a microscopic pinhole in your clear coat, water will find it. Once moisture gets under the paint layer, it freezes, expands, and lifts the paint off the topsheet.
Top 7 Best Paint for Wooden Snowboards Reviews
1. Montana Cans GOLD Acrylic Spray Paint — Best Base Coat & Stencils
If you are looking to apply a flawless, streak-free solid color base coat or want to execute intricate stencil designs, Montana Cans GOLD is the gold standard.
Design & Materials
Montana GOLD is a premium, low-pressure, acrylic-based aerosol paint. Unlike high-pressure hardware store spray cans, this low-pressure system allows you to apply incredibly thin, even, and highly controlled layers.
Orthopedic & Material Flexibility
Formulated with an ultra-flexible acrylic solvent base, this paint does not cure into a brittle shell. It retains a highly pliable, plastic-like elasticity when dry, allowing it to handle extreme torsional flexing without developing hairline fractures.
- Pros: Low-pressure system for maximum control, highly flexible formula, fast drying times.
- Cons: Strong solvent fumes during application (requires ventilation).
DIY Design Tip: Use a light grey base coat of Montana GOLD, lay down custom vinyl stencils, spray your accent colors, and peel the stencils back for razor-sharp graphics.
2. Liquitex Professional Heavy Body Acrylic — Best for Hand-Brush Artwork
For artists who want to paint custom illustrations, landscapes, or abstract art directly onto their boards with traditional brushes, Liquitex Professional Heavy Body Acrylic is the absolute best option.
Design & Materials
This professional-grade acrylic paint features an exceptionally high concentration of artist-grade pigments suspended in a state-of-the-art acrylic polymer emulsion.
Orthopedic & Material Flexibility
This high-quality polymer emulsion is the secret to its success. When traditional acrylic paint dries, the water evaporates, leaving behind a highly flexible matrix of pure acrylic plastic that can bend almost $180^\circ$ without cracking or separating from the primed wood surface.
- Pros: Professional-grade flexibility, incredibly vibrant colors, thick texture perfect for detailed brushwork.
- Cons: Takes longer to dry and cure fully (typically 24-48 hours) before clear coating.
DIY Design Tip: Keep your paint layers relatively thin and even. While heavy body acrylics are flexible, extremely thick globs of paint can trap moisture and are more prone to chipping.
3. Spraymax 2K Clear Glamour Sealer — Best Waterproof Protective Shield
No matter how beautiful your paint job is, it will not survive a single run on the mountain without a high-performance protective sealer. Spraymax 2K Clear Glamour is the undisputed champion.
Design & Materials
This is a two-component system containing a liquid polyurethane clear coat and an active chemical hardener catalyst inside the same can. You puncture a built-in cartridge at the bottom of the can to mix the hardener before spraying.
Orthopedic & Material Flexibility
Once mixed, the components chemically react to form a highly durable, commercial-grade polyurethane finish. Despite its extreme hardness, polyurethane remains highly elastomeric, meaning it flexes effortlessly with the snowboard.
- Pros: True professional-grade polyurethane shield, 100% waterproof and UV-resistant, self-leveling glossy finish.
- Cons: Highly toxic fumes during application (requires a proper respirator mask), can must be used within 48 hours of activation.
DIY Design Tip: Always apply Spraymax 2K in 3 very light, overlapping wet passes. Ensure you spray the sides and edges of the snowboard thoroughly to seal out moisture.
4. Molotow ONE4ALL Acrylic Paint Markers — Best for Fine Lines & Graphic Details
For intricate linework, hand lettering, cartoon illustrations, or precise mandalas, Molotow ONE4ALL Acrylic Paint Markers give you the control of a pen with the durability of professional paint.
Design & Materials
These paint pens are filled with a highly concentrated, premium acrylic-based pigment ink. The paint is solvent-free and designed to flow smoothly through high-tech capillary valve tips.
Orthopedic & Material Flexibility
Because the ink is made from a premium acrylic base, it shares the exact same flexible properties as heavy-body acrylic paints, bonding tightly and bending smoothly with the board’s movement.
- Pros: Incredible control for detailed drawing, highly opaque pigment that covers dark colors, refillable.
- Cons: Not meant for filling in massive background areas.
DIY Design Tip: After your base coat of spray paint has dried completely, use a silver or gold Molotow marker to add metallic highlights or intricate line details. Let it cure for 24 hours before clear coating.
5. Rust-Oleum Universal Bonding Primer — Best for Surface Adhesion
Even the best paint cannot stick to a surface if it is not prepared properly. Rust-Oleum Universal Bonding Primer provides the ultimate bridge between your snowboard and your custom artwork.
Design & Materials
This primer is specifically formulated to create a powerful bond to difficult surfaces—including bare wood, treated laminates, fiberglass, and plastics.
Orthopedic & Material Flexibility
It blocks old factory graphic colors from bleeding through your new artwork and creates a microscopic, slightly textured “grit” on the surface that gives subsequent paint layers something to grip.
- Pros: Exceptional bonding power, blocks color bleed-through, fast-drying, easy to wet-sand.
- Cons: Must be applied in very thin, light coats to prevent runs.
DIY Design Tip: Apply two thin coats of primer, let it dry for 24 hours, and then perform a very light wet-sanding with 400-grit sandpaper to create a perfectly flat, smooth canvas.
6. Angelus Acrylic Leather Paint — Best Ultra-Flexible Specialty Paint
While originally formulated for leather sneakers, Angelus Acrylic Leather Paint is a secret weapon for customizers who need the absolute highest level of elasticity possible.
Design & Materials
Angelus paints are formulated with a highly specialized, liquid-plastic acrylic resin. Because leather experiences continuous, intense bending, this paint is engineered to be significantly more flexible than traditional artist acrylics.
Orthopedic & Material Flexibility
When fully cured, Angelus paint behaves literally like a thin, stretchable layer of rubber. It can withstand violent twisting and bending without showing even a hint of cracking on a flexible snowboard core.
- Pros: Virtually crack-proof under extreme bending, highly fluid and easy to blend, excellent neon and metallic color options.
- Cons: Thinner consistency means you may need 3 to 4 coats for complete opacity.
7. Golden Artist Colors Heavy Body Acrylics — Best Professional-Grade Vibrancy
If your priority is museum-grade color vibrancy, deep pigmentation, and archival-quality lightfastness, Golden Artist Colors Heavy Body Acrylics are the absolute pinnacle.
Design & Materials
Each tube contains pure, unadulterated pigment suspended in a highly flexible 100% acrylic polymer emulsion with no cheap fillers or chalk added.
Orthopedic & Material Flexibility
Like Liquitex, Golden acrylics cure to a highly flexible, durable plastic matrix. The paint film remains incredibly strong, highly elastic, and highly resistant to degradation from cold and moisture.
- Pros: Unrivaled pigment concentration and color vibrancy, highly resistant to UV fading, exceptional blending.
- Cons: Premium price point.
🔍 Comprehensive Buying Guide: How to Match Materials to Your Surface
Snowboard Surface Quick Guide
| Material Type | Best Paint Option | Preparation Step | Sealer Choice |
| Bare Wood Core / Veneer | Acrylics or Wood Stains | Sand with 150-grit, prime thoroughly | 2K Polyurethane Clear Coat |
| Factory Glossy Topsheet | Acrylic Spray Paint | Scuff with 220-grit, apply Bonding Primer | 2K Polyurethane Clear Coat |
| Matte Textured Topsheet | Acrylic Paint Markers / Spray | Clean with alcohol, light scuffing | 2K Polyurethane Clear Coat |
Step-by-Step Snowboard Customization Masterclass
Follow this exact workflow to ensure your custom painted snowboard looks professional and lasts for seasons to come.
[ Prep & Clean ] ➔ [ Sanding & Taping ] ➔ [ Priming ] ➔ [ Custom Artwork ] ➔ [ 2K Sealer ] ➔ [ Cure ]
Step 1: Dismantle and Clean
- Remove the bindings, screws, and any stomp pads from your board.
- Clean the entire topsheet using isopropyl alcohol to strip away all dirt, grease, and old board wax.
Step 2: Sanding and Taping
- Use 220-grit sandpaper to lightly sand the entire top surface of the board until the factory shine is completely gone.
- Wipe away all sanding dust using a microfiber tack cloth.
- Use high-quality painter’s tape to cover the steel edges, sidewalls, and the base of the board.
Step 3: Apply the Bonding Primer
- Spray two thin, even coats of primer across the board, waiting 15 minutes between coats.
- Let the primer dry for 24 hours. Perform a very light wet-sanding with 400-grit sandpaper, then wipe clean.
Step 4: Paint Your Custom Artwork
- Apply your custom design using your choice of spray paint, acrylics, or paint markers. Keep your layers thin.
- Let the paint dry completely for 24 to 48 hours before sealing.
Step 5: The 2K Clear Coat Protection
- Put on an organic vapor respirator mask and work in a well-ventilated outdoor area.
- Activate the 2K polyurethane clear coat can using the red plunger.
- Spray 3 wet coats across the board, overlapping each pass by 50%. Wait 10-15 minutes between coats.
- Let the board cure in a warm, dust-free environment for at least 48 hours before mounting your bindings.
Frequently Asked Questions (FAQs)
Can I use regular mod podge or standard clear spray to seal my board?
No. Mod podge and standard aerosol clear lacquers are not waterproof or impact-resistant enough for winter sports. They will turn cloudy, absorb water, and flake off. You must use a commercial-grade 2K polyurethane clear coat.
How much weight will painting add to my snowboard?
If you apply thin, even layers, the custom paint job will add less than 2 ounces (approx. 50 grams) to your board. This is completely imperceptible and will not affect performance.
Can I paint the base (bottom) of my snowboard?
No! Never paint the base of your snowboard. The base is made of a porous material called Ptex, which is designed to absorb snowboard wax. Painting it will ruin its structural integrity and scratch off immediately on your first run.
Final Thoughts
Your snowboard should be as unique and adventurous as you are. By investing in the right materials—such as a flexible Montana Cans GOLD base, high-vibrancy Liquitex acrylics, and a bulletproof Spraymax 2K polyurethane shield—you can create a gorgeous custom board that turns heads on the chairlift.
Take your time with the preparation, keep your paint layers thin, and enjoy riding a true one-of-a-kind masterpiece on the slopes!