Yes, you can paint Starboard. Starboard is a durable material that can be painted to match your desired aesthetic.
Whether you want to refresh the color of your Starboard or add a custom design, painting it is a viable option. Starboard, a popular marine-grade material, is often used for boat components, outdoor furniture, and other applications. Painting Starboard can give it a fresh look and help protect it from environmental wear and tear.
In this blog post, we will explore the steps and considerations for painting Starboard, as well as the best practices to ensure a successful and long-lasting finish. Whether you’re a DIY enthusiast or a professional looking for guidance, this guide will provide you with the necessary information to paint Starboard effectively.
Contents
Intro To Starboard Material
What Is Starboard?
Starboard is a high-density polyethylene (HDPE) material known for its durability, weather-resistance, and versatility. It is a popular choice for outdoor and marine applications due to its ability to withstand harsh environmental conditions. Starboard is manufactured to be UV-stabilized, making it ideal for prolonged exposure to sunlight without deteriorating.
Common Uses Of Starboard
Starboard material is commonly used in various marine and outdoor applications, such as boat components, furniture, cutting boards, and outdoor cabinetry. Its resistance to rot, corrosion, and chemicals makes it suitable for marine construction, including as a material for boat seats, hatches, and other accessories. Additionally, it is often utilized in outdoor furniture and kitchen accessories due to its low-maintenance characteristics.
The Painting Challenge
Experience the ultimate test of your artistic skills with the Painting Challenge. Can you paint starboard? Join us in this exciting competition to showcase your painting talents and creativity. Let your imagination soar and create a masterpiece that captures the beauty of starboard.
Why Starboard Resists Paint
Starboard is a material widely used in boats, marine and outdoor applications due to its excellent resistance to water and weathering. It is a high-density polyethylene (HDPE) material that is UV stable, non-porous, and easy to clean. However, when it comes to painting, it poses a challenge. The smooth and non-porous surface of Starboard makes it difficult for paint to adhere to the surface. The paint tends to peel off or flake away quickly, resulting in a poor finish.Past Solutions And Their Downsides
In the past, some people have tried to overcome this challenge by using different types of primers and paints. Some have used epoxy-based paints, while others have tried to sand the surface of the Starboard to roughen it up before painting. However, these solutions have their downsides. Epoxy-based paints are expensive and time-consuming to apply, and they may not be suitable for all applications. Sanding the surface of the Starboard can damage it and reduce its lifespan.The Painting Solution
The good news is that there is a solution to this challenge. To paint Starboard, you need to follow a specific process that involves cleaning, priming, and painting the surface. First, you need to clean the surface thoroughly using a detergent or degreaser to remove any dirt, grease, or oil. Next, apply a coat of adhesion promoter to the surface. This will help the paint adhere better to the surface. Finally, apply a coat of paint suitable for plastic surfaces. To ensure the best results, it is essential to use the right type of paint and primer that are specifically designed for use on plastic surfaces. It is also crucial to follow the manufacturer’s instructions carefully and apply the paint in thin, even coats. With the right preparation and the right type of paint, you can achieve a long-lasting and durable finish on Starboard. In conclusion, painting Starboard is a challenge, but it is not impossible. With the right preparation, materials, and techniques, you can achieve a professional-looking finish that will enhance the appearance and durability of your Starboard.Preparation Is Key
Before painting Starboard, proper preparation is crucial to ensure a smooth and long-lasting finish. From cleaning the surface to sanding for better adhesion, each step plays a vital role in the success of the painting process. Let’s delve into the essential preparation steps for painting Starboard.
Cleaning The Surface
Begin by thoroughly cleaning the Starboard surface using a mild detergent and water solution. This will help remove any dirt, dust, or grease that could hinder paint adhesion. Rinse the surface with clean water and allow it to dry completely before proceeding to the next step.
Sanding For Better Adhesion
Sanding the Starboard is crucial to create a surface that promotes strong adhesion of the paint. Use fine-grit sandpaper to gently sand the surface, creating a slightly rough texture for the paint to grip onto. Be sure to remove any sanding residue by wiping the surface with a clean, damp cloth.
Credit: samuelearp.com
Choosing The Right Paint
Types Of Paint That Work
When painting Starboard, it’s crucial to select the right type of paint. Acrylic-based paints are often recommended for their durability and resistance to water. Another suitable option is polyurethane paint, known for its excellent adhesion and UV resistance. Marine-grade epoxy paints are also a popular choice due to their exceptional durability and resistance to abrasion.
Why Selection Matters
The selection of the right paint is paramount for the longevity and appearance of the painted Starboard. Using the wrong type of paint can lead to poor adhesion, premature peeling, and a lackluster finish. By choosing the appropriate paint, you can ensure a long-lasting and visually appealing result for your Starboard project.
Step-by-step Painting Guide
Yes, you can paint Starboard, a type of marine-grade plastic, by following a step-by-step painting guide. Start by cleaning the surface, then sanding and priming it before applying the paint. Use high-quality marine-grade paint for the best results and finish with a protective clear coat for durability.
If you’re looking to add a pop of color to your boat or create a custom design, painting your starboard is a great option. However, it’s important to follow the proper steps to ensure a long-lasting and professional-looking finish. Here is a step-by-step guide for painting starboard.Priming The Starboard
Before you begin painting, it’s essential to prime the starboard. Priming helps the paint adhere better and provides a smooth surface for the paint to go on. To prime the starboard, follow these steps:- Clean the starboard with soap and water to remove any dirt or grime.
- Sand the starboard with a fine-grit sandpaper to remove any gloss or shine.
- Apply a coat of primer specifically designed for use on plastics. Follow the manufacturer’s instructions for application and drying time.
- Once the primer is dry, lightly sand the surface with a fine-grit sandpaper to ensure a smooth surface for the paint to adhere to.
Applying The Base Coat
After priming the starboard, it’s time to apply the base coat. This is the color that will be the main color of your design. To apply the base coat, follow these steps:- Stir the paint thoroughly to ensure an even color.
- Using a high-quality brush or spray gun, apply a thin, even coat of paint to the starboard. Be sure to follow the manufacturer’s instructions for application and drying time.
- Allow the paint to dry completely before adding additional coats.
Adding Layers For Vibrancy
Once the base coat is dry, it’s time to add additional layers for vibrancy and depth. This is where you can get creative and add designs or patterns to your starboard. To add layers, follow these steps:- Decide on the design or pattern you want to add to the starboard.
- Use a high-quality brush or spray gun to apply additional coats of paint in the desired colors. Be sure to follow the manufacturer’s instructions for application and drying time.
- Allow the paint to dry completely between each layer.
- Once you’re satisfied with the design, apply a coat of clear sealant to protect the paint from fading or chipping.

Credit: www.reddit.com
Sealing And Protection
When it comes to protecting and sealing Starboard, selecting the right sealant and applying it correctly is crucial. By effectively sealing the material, you can safeguard it against moisture, UV rays, and general wear and tear, extending its lifespan and maintaining its aesthetic appeal. Here, we’ll explore the different types of sealants available and the best application techniques for sealing and protecting Starboard.
Types Of Sealants
There are various types of sealants that are suitable for use on Starboard, each with its own unique properties and application methods. It’s important to choose a sealant that is specifically designed for use with high-density polyethylene (HDPE) materials like Starboard to ensure optimal protection and adhesion.
- Marine Sealants: Formulated for use in marine environments, these sealants are resistant to saltwater, UV exposure, and extreme weather conditions.
- Polyurethane Sealants: Known for their flexibility and durability, polyurethane sealants provide excellent adhesion and are ideal for outdoor applications.
- Silicone Sealants: Offering superior water resistance and flexibility, silicone sealants are well-suited for sealing joints and gaps in Starboard installations.
Application Techniques
Applying sealant to Starboard requires precision and attention to detail to ensure maximum effectiveness. Before starting the application process, it’s essential to thoroughly clean the surface of the Starboard to remove any dirt, grease, or residue that could interfere with the adhesion of the sealant.
When applying the sealant, use a caulking gun to dispense a consistent bead of sealant along the seams and edges of the Starboard, ensuring complete coverage and a watertight seal. Smooth out the sealant with a putty knife or caulking tool to achieve a clean, professional finish.
Once the sealant has been applied, allow it to cure according to the manufacturer’s instructions before subjecting the Starboard to any moisture or environmental exposure.
Creative Ideas And Inspirations
Are you looking to add a touch of creativity and personality to your starboard? Painting starboard is a fantastic way to transform its appearance and make it truly unique. Whether you want to add a pop of color or experiment with different patterns, the possibilities are endless. In this section, we will explore some creative ideas and inspirations to help you get started on your starboard painting project.
Color Schemes And Patterns
Choosing the right color scheme is crucial when it comes to painting starboard. It can completely change the mood and atmosphere of the space. Here are a few popular color schemes to consider:
- Monochromatic: Stick to a single color and use different shades and tones to create depth and dimension.
- Complementary: Combine colors that are opposite each other on the color wheel to create a vibrant and eye-catching look.
- Analogous: Select colors that are next to each other on the color wheel for a harmonious and cohesive feel.
- Triadic: Choose three colors that are evenly spaced on the color wheel to create a bold and energetic palette.
Once you have decided on a color scheme, you can explore various patterns to add visual interest to your starboard. Some popular patterns include:
- Stripes: Vertical, horizontal, or diagonal stripes can add a sense of movement and playfulness to your starboard.
- Geometric Shapes: Experiment with triangles, squares, circles, or even abstract geometric patterns to create a modern and stylish look.
- Stencils: Use stencils to create intricate designs or motifs that reflect your personal style and interests.
- Ombre: Gradually blend two or more colors together to create a stunning ombre effect.
Projects To Spark Your Imagination
If you’re looking for inspiration, here are a few exciting starboard painting projects that can help spark your imagination:
| Project | Description |
|---|---|
| Nautical Theme | Create a beachy and coastal vibe by painting your starboard with a nautical theme. Think anchors, sailboats, and waves. |
| Nature-Inspired | Bring the beauty of nature indoors by painting your starboard with elements like flowers, leaves, or landscapes. |
| Graffiti Art | Channel your inner street artist and create a bold and edgy look with graffiti-inspired designs and vibrant colors. |
| Whimsical Patterns | Add a touch of whimsy to your starboard by painting playful patterns like polka dots, chevron, or even animal prints. |
Remember, the key to a successful starboard painting project is to let your creativity run wild. Don’t be afraid to think outside the box and experiment with different colors, patterns, and themes. With a little imagination and the right tools, you can transform your starboard into a stunning work of art!
Maintaining Your Painted Starboard
Maintaining your painted starboard is crucial to ensure its longevity. While it is possible to paint starboard, it is important to follow the manufacturer’s recommendations and use the appropriate paint and techniques to avoid damaging the material. Regular cleaning and maintenance will also help preserve the painted finish.
Maintaining Your Painted Starboard Proper maintenance of your painted Starboard is essential to ensure that it lasts for a long time. With routine care and maintenance, you can prevent scratches, wear, and other damage, ensuring that your painted Starboard looks good as new for years to come. Routine Care Tips To maintain your painted Starboard, you must follow some routine care tips. These tips include: 1. Regular cleaning: Use a mild detergent to clean your painted Starboard. Avoid using harsh chemicals or abrasive cleaners that can scratch the surface. 2. Wipe off spills: If you spill any liquid on your Starboard, wipe it off immediately with a clean, dry cloth. 3. Keep it dry: Avoid leaving your painted Starboard wet for long periods. Always dry it off with a clean, dry cloth after cleaning. 4. Avoid extreme temperatures: Do not expose your painted Starboard to extreme temperatures, as it can cause the paint to crack or peel. Repairing Scratches and Wear Even with proper care, your painted Starboard may develop scratches and wear over time. To repair these issues, follow these steps: 1. Sand the damaged area: Use a fine-grit sandpaper to sand the damaged area until it is smooth. 2. Clean the area: Wipe the sanded area with a clean, dry cloth to remove any dust or debris. 3. Apply touch-up paint: Apply a small amount of touch-up paint to the damaged area and let it dry. 4. Sand and polish: Once the touch-up paint is dry, sand the area lightly with a fine-grit sandpaper and polish it with a clean, dry cloth. In conclusion, maintaining your painted Starboard is crucial to ensure that it lasts for a long time. With routine care and maintenance, you can prevent scratches and wear, and repair any damage that may occur. Follow these tips to keep your painted Starboard looking as good as new for years to come.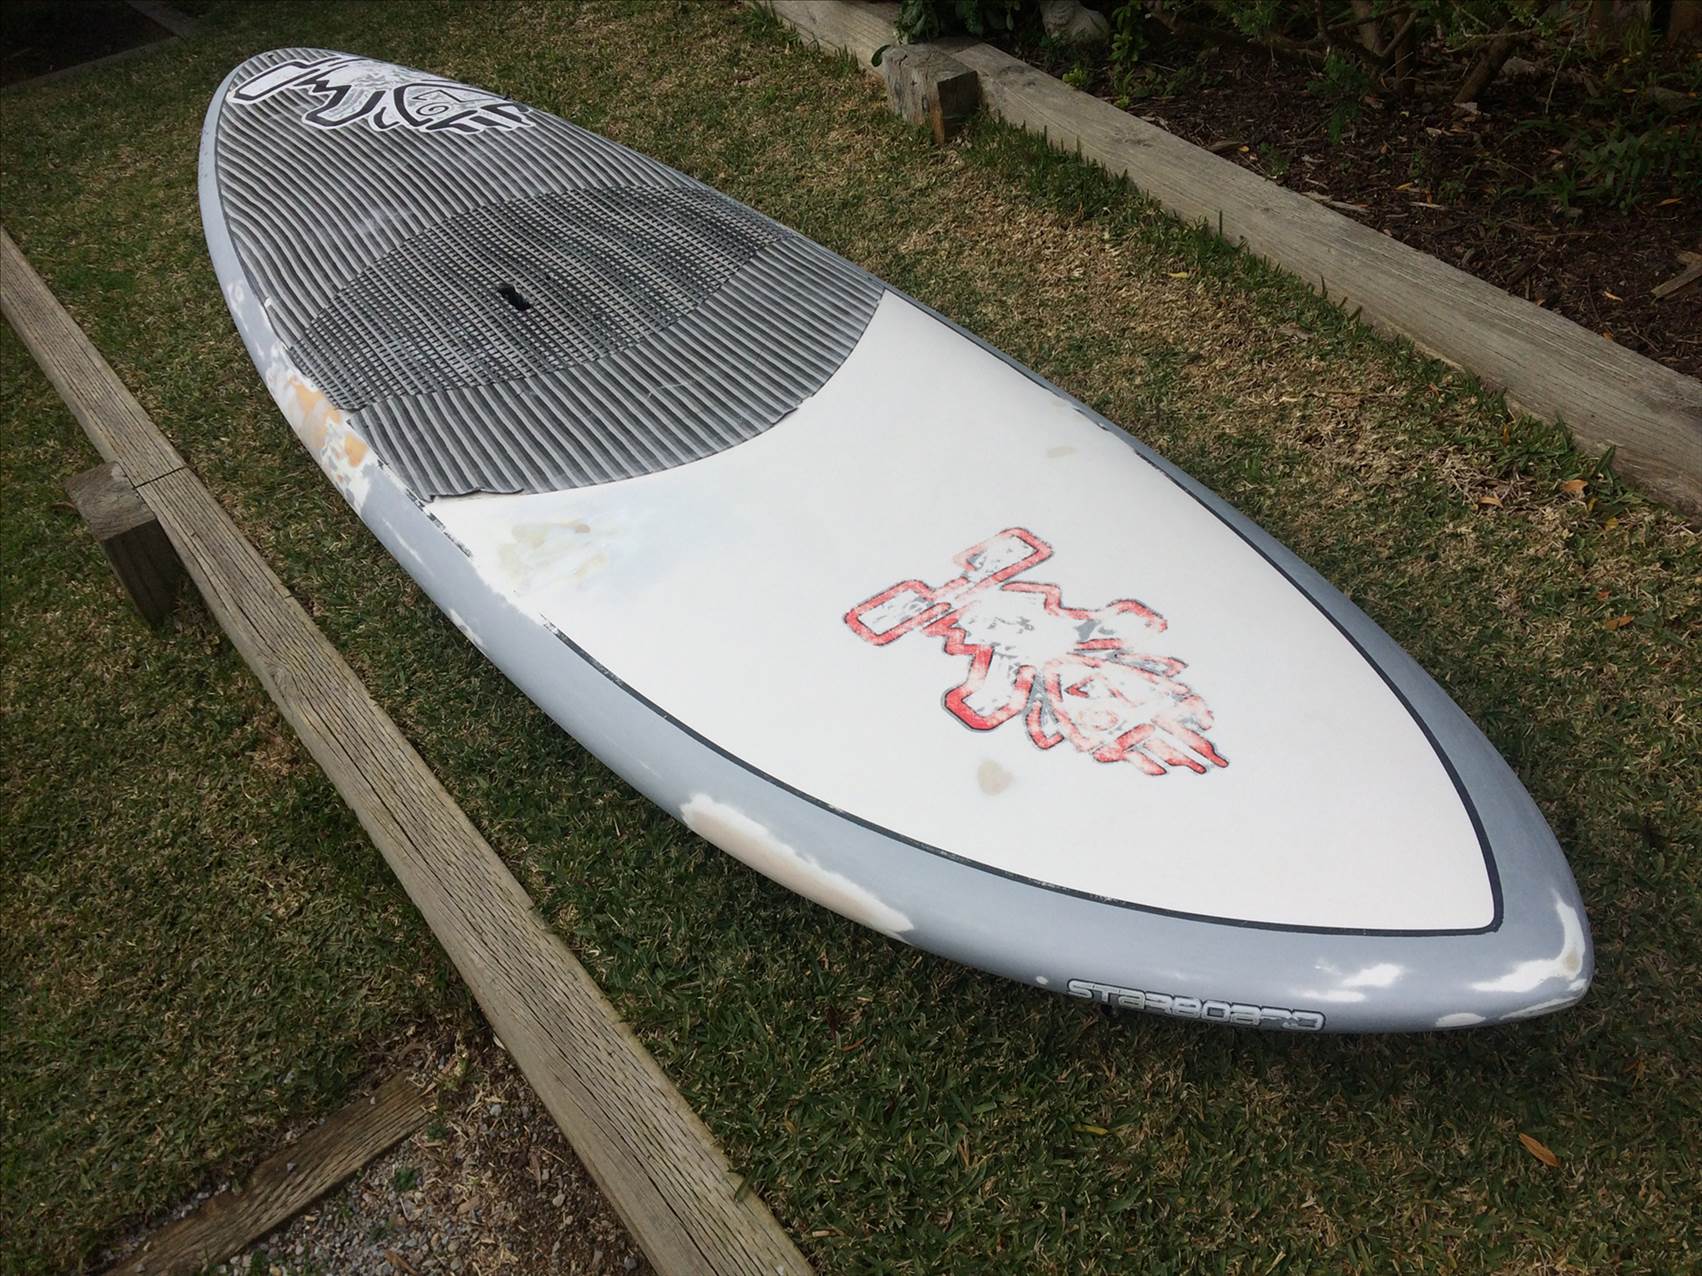
Credit: www.seabreeze.com.au
Frequently Asked Questions
How Do You Clean King Starboard?
To clean King StarBoard, gently wipe it with a soft cloth or sponge dampened with soapy water. Rinse thoroughly and dry with a clean cloth. Avoid using abrasive cleaners or scouring pads as they may damage the surface. Regular cleaning will keep King StarBoard looking its best.
What Is The Melting Point Of King Starboard?
The melting point of King StarBoard is approximately 180°F to 200°F. This makes it suitable for various applications requiring heat resistance.
Can You Paint Starboard?
Yes, you can paint Starboard. Starboard is a high-density polyethylene material commonly used in marine applications. To ensure proper adhesion, it is recommended to clean the surface thoroughly and use a primer specifically designed for plastic. Apply multiple thin coats of paint for better durability and finish.
Conclusion
Painting starboard is possible if you follow the proper steps and use the right materials. It’s important to clean and sand the surface beforehand, and then apply a primer and a marine-grade paint. With the right approach, you can achieve a beautiful and long-lasting finish on your starboard surfaces.
Just remember to take your time and follow the instructions carefully. Happy painting!