Drawing flowers is a beautiful and relaxing way to improve your artistic skills. Whether you want to sketch a simple daisy or create an intricate rose, understanding the basics of flower drawing will help you bring floral illustrations to life.
This guide will walk you through the steps of drawing different types of flowers while covering key techniques such as shading, proportions, and detailing.
Contents
Materials Needed
Before you begin, gather the right materials to make the drawing process smoother.
Traditional Drawing Materials
- Pencils (HB, 2B, 4B, 6B) – For sketching and shading
- Eraser (kneaded or standard) – For corrections and highlights
- Blending stump or cotton swab – For soft shading
- Drawing paper or sketchbook
Digital Drawing Tools
For digital artists, you may need:
- A drawing tablet (Wacom, iPad, or XP-Pen)
- Software like Procreate, Photoshop, or Krita
- Brushes for sketching and blending
Understanding Flower Shapes and Proportions
Before drawing flowers, it’s important to understand their basic structure. Most flowers follow a radial symmetry, meaning their petals extend evenly from a center point.
Common Flower Shapes
- Round (Daisy, Sunflower) – Circular petal arrangement
- Trumpet (Lily, Morning Glory) – Elongated petals with a funnel shape
- Bell (Bluebell, Fuchsia) – Hanging petals resembling a bell
- Spiral (Rose, Camellia) – Overlapping petals in a circular pattern
Step-by-Step Guide to Drawing a Flower
Step 1: Draw the Basic Shape
- Start with a light circle – This will be the base for your flower.
- Mark the center of the flower – A small dot will help align the petals.
- Draw petal guidelines – Lightly sketch lines radiating from the center.
This step ensures symmetry and proportion.
Step 2: Sketch the Petals
- Draw the first few petals – Keep them slightly curved for a natural look.
- Add more petals behind the first layer – Overlap them to create depth.
- Vary the size and shape – This prevents the flower from looking too uniform.
Each petal should have soft edges to maintain an organic feel.
Step 3: Add the Stem and Leaves
- Extend a vertical line from the base of the flower – This is the stem.
- Sketch leaves on either side – Draw elongated shapes with pointed tips.
- Add details to the leaves – Include veins and slight curves for realism.
Stems and leaves provide balance to your composition.
Step 4: Refine the Flower Details
- Darken the petal edges – Use a sharper pencil or thicker lines.
- Add small folds and creases – This enhances texture.
- Draw tiny lines near the center – These details give the flower dimension.
The more details you add, the more realistic the flower will appear.
Step 5: Add Shading and Texture
- Identify the light source – This determines where shadows will fall.
- Shade the base of the petals – Use a soft pencil for a gradient effect.
- Darken the stem and leaves – Apply shading where they overlap.
- Use a blending tool – Smooth out harsh pencil marks.
Shading is key to making the flower look three-dimensional.
Drawing Different Types of Flowers
How to Draw a Rose
- Start with a spiral in the center – This will be the rosebud.
- Add overlapping petals around it – Each petal should curve outward.
- Continue adding layers – The outer petals should be larger.
- Sketch a long stem with thorns – Add shading for depth.
A rose is one of the most detailed flowers, requiring patience and precision.
How to Draw a Daisy
- Draw a small circle for the center – This will hold the petals.
- Sketch long, thin petals around the circle – Keep them evenly spaced.
- Add texture to the flower center – Use dots and tiny strokes.
- Draw a slightly curved stem – Add small leaves for extra detail.
Daisies are simple but elegant, making them great for beginners.
How to Draw a Tulip
- Start with a U-shape for the base – This forms the tulip cup.
- Draw three overlapping petals – The middle petal should be the largest.
- Add a tall, slender stem – Tulips have straight stems.
- Sketch long, pointed leaves – Curve them slightly for realism.
Tulips are sleek and easy to sketch with smooth, flowing lines.
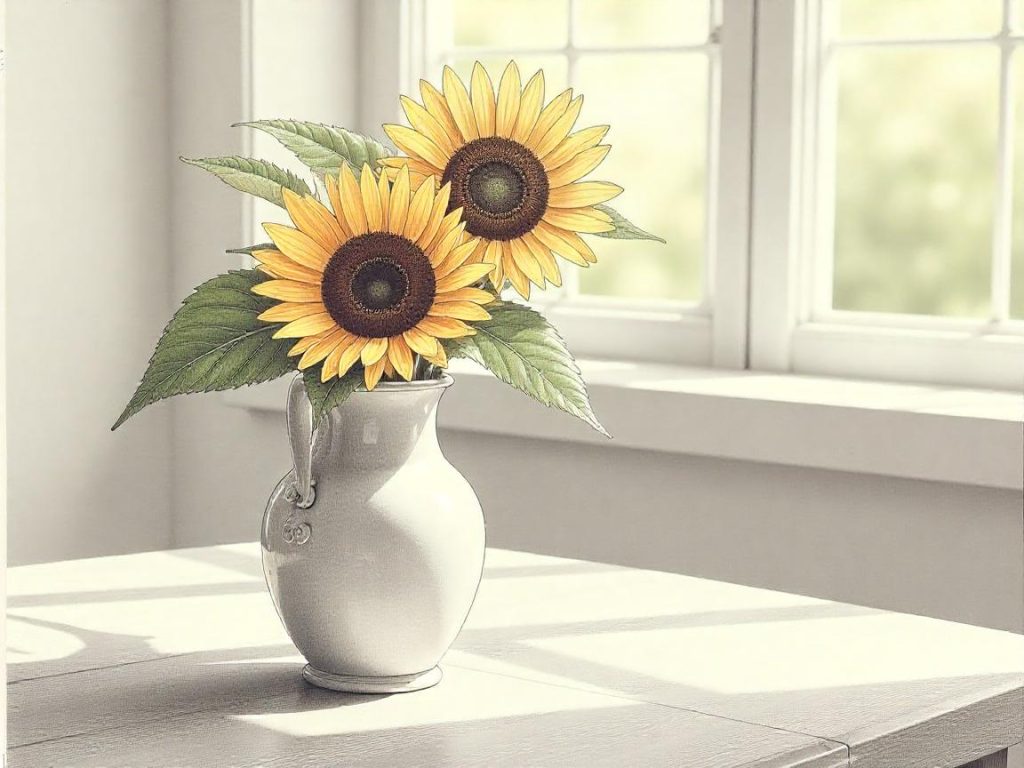
How to Draw a Sunflower
- Draw a large circle for the center – Sunflowers have big, detailed centers.
- Add small oval-shaped petals around it – Keep them close together.
- Create a second layer of petals behind the first – This adds fullness.
- Fill the center with tiny dots and lines – This gives it texture.
Sunflowers require careful detailing but are striking in appearance.
Tips for Improving Your Flower Drawings
Study Real Flowers
Observing real flowers or reference photos helps capture their natural details. Pay attention to how petals fold and how light interacts with different textures.
Use Light Strokes First
Start with soft, light lines so mistakes are easier to erase. Once satisfied, you can darken the outlines.
Experiment with Different Styles
Try sketching flowers in different styles, such as:
- Realistic – Detailed shading and textures
- Minimalist – Simple outlines with clean lines
- Cartoonish – Exaggerated shapes and bright colors
Changing styles helps you develop versatility as an artist.
Practice Different Angles
Instead of always drawing flowers from the front, try sketching them from different perspectives, such as:
- Side view – Shows depth and dimension
- Top-down view – Captures radial symmetry
- Close-up – Focuses on petal textures and fine details
Practicing multiple angles enhances your drawing skills.
Common Mistakes and How to Fix Them
Petals Look Too Stiff
- Solution: Use curved lines instead of straight ones.
- Fix: Lightly sketch the petals first, then refine them.
Lack of Depth
- Solution: Add shading and overlapping petals.
- Fix: Use a blending tool for smooth transitions.
Uneven Proportions
- Solution: Use guidelines for symmetry.
- Fix: Adjust petal placement before finalizing the sketch.
Conclusion
Drawing flowers is a rewarding and enjoyable artistic practice. By following this step-by-step guide, you can create beautiful floral illustrations with ease. Remember to practice regularly, experiment with different flower types, and explore shading techniques to enhance your drawings.
Now, grab your sketchbook and start drawing!