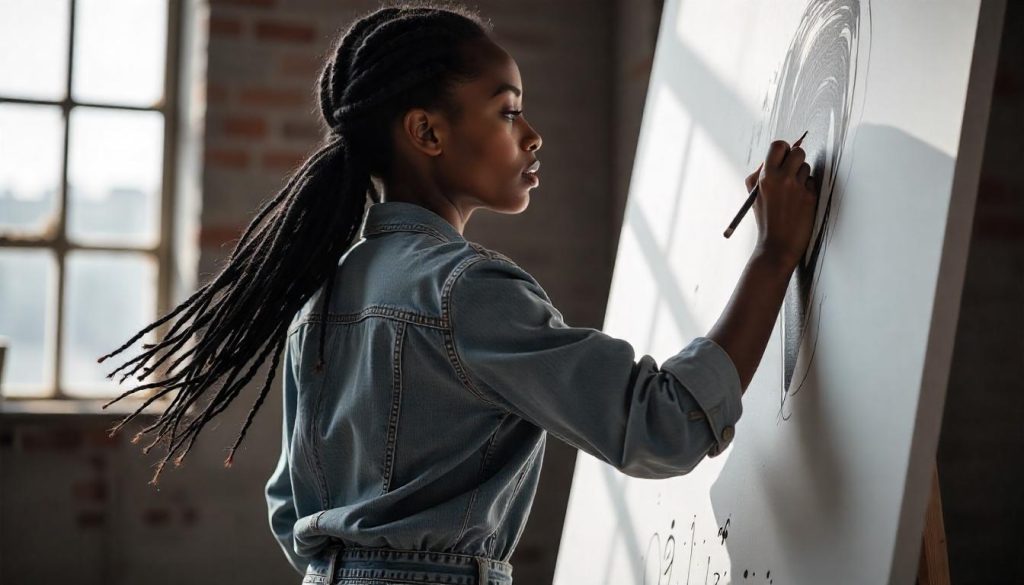
Drawing hair can be one of the most challenging aspects of portrait art, but with the right approach, it becomes an opportunity to add depth and realism to your work.

This comprehensive guide will walk you through the process of drawing hair, from understanding its structure to mastering various techniques for different hair types.
Contents
Understanding Hair Structure
Before you begin drawing, it’s essential to comprehend the basic structure of hair. Hair grows from follicles in the scalp and tends to follow a natural flow influenced by gravity, head shape, and styling. Recognizing these patterns will help you depict hair more realistically.
Essential Tools for Drawing Hair
To achieve the desired texture and depth in your hair drawings, consider using the following tools:
- Pencils: A range from hard (H) to soft (B) pencils allows for varying line weights and shading.
- Erasers: Kneaded erasers are excellent for lifting graphite and creating highlights.Erika Lancaster Art
- Blending Tools: Tortillons or blending stumps help in smoothing out pencil strokes for a more natural look.
- Paper: A medium-textured paper provides the right amount of tooth for capturing fine details.
Step-by-Step Guide to Drawing Hair
Step 1: Outline the Head and Hairline
Begin by sketching the basic shape of the head. Then, lightly draw the hairline, considering the hairstyle you plan to depict. This sets the foundation for the hair’s flow and volume.
Step 2: Define the Hair’s Overall Shape
Sketch the general outline of the hairstyle, focusing on its volume and direction. Avoid detailing individual strands at this stage; instead, concentrate on the hair’s mass and how it sits on the head.
Step 3: Segment the Hair into Sections
Divide the hair into manageable sections or clumps. This approach simplifies the drawing process and helps in understanding how light interacts with different parts of the hair.
Step 4: Add Flow Lines
Within each section, draw lines that follow the natural flow of the hair. These lines guide the direction of your pencil strokes and help in creating a realistic texture.
Step 5: Shade the Hair
Begin shading the hair, keeping in mind the light source. Use softer pencils (like 2B or 4B) for darker areas and harder pencils (like H or HB) for lighter regions. Blend the shading to achieve a smooth transition between tones.
Step 6: Add Highlights and Details
Use an eraser to lift graphite and create highlights where the light hits the hair. Add finer details, such as stray hairs or subtle variations in tone, to enhance realism.
Techniques for Different Hair Types
Straight Hair
Straight hair tends to reflect light uniformly. Focus on smooth, consistent strokes and pay attention to the hair’s shine by incorporating well-placed highlights.
Wavy Hair
Wavy hair has gentle curves and varying light reflections. Use flowing lines to depict the waves and adjust your shading to capture the hair’s undulating nature.
Curly Hair
Curly hair is characterized by tight loops and a voluminous appearance. Draw spiral shapes to represent curls and layer your shading to convey depth and texture.
Coily/Kinky Hair
Coily or kinky hair has a dense, springy texture. Use small, tight curls and focus on the hair’s overall shape and volume. Shading should emphasize the hair’s density and the way light interacts with its surface.
Common Mistakes and How to Avoid Them
- Drawing Individual Strands: Attempting to draw every hair strand can make the drawing look unnatural. Focus on clumps and overall flow instead.
- Ignoring Light Source: Always determine where the light is coming from to ensure consistent shading and highlights.
- Overblending: While blending is essential, overdoing it can flatten the hair’s texture. Maintain some sharp lines to preserve definition.
Practice Exercises
- Study Photographs: Practice by drawing hair from reference photos, paying close attention to light, shadow, and texture.
- Experiment with Different Tools: Try various pencils and blending techniques to discover what works best for you.
- Draw Various Hairstyles: Challenge yourself by drawing different hair types and styles to broaden your skills.
Conclusion
Mastering the art of drawing hair requires patience and practice. By understanding hair’s structure, using the right tools, and applying appropriate techniques, you can create realistic and dynamic hair in your drawings.
Remember to observe real-life examples and continually refine your approach to improve your skills.
