
Lava is one of the most exciting natural elements an artist can draw. With its glowing colors, flowing movement, and dramatic volcanic landscapes, lava offers endless opportunities for creativity. Whether you’re drawing a volcanic eruption, a river of molten rock, or a fantasy scene filled with fiery effects, learning how to draw lava can make your artwork more dynamic and visually striking.
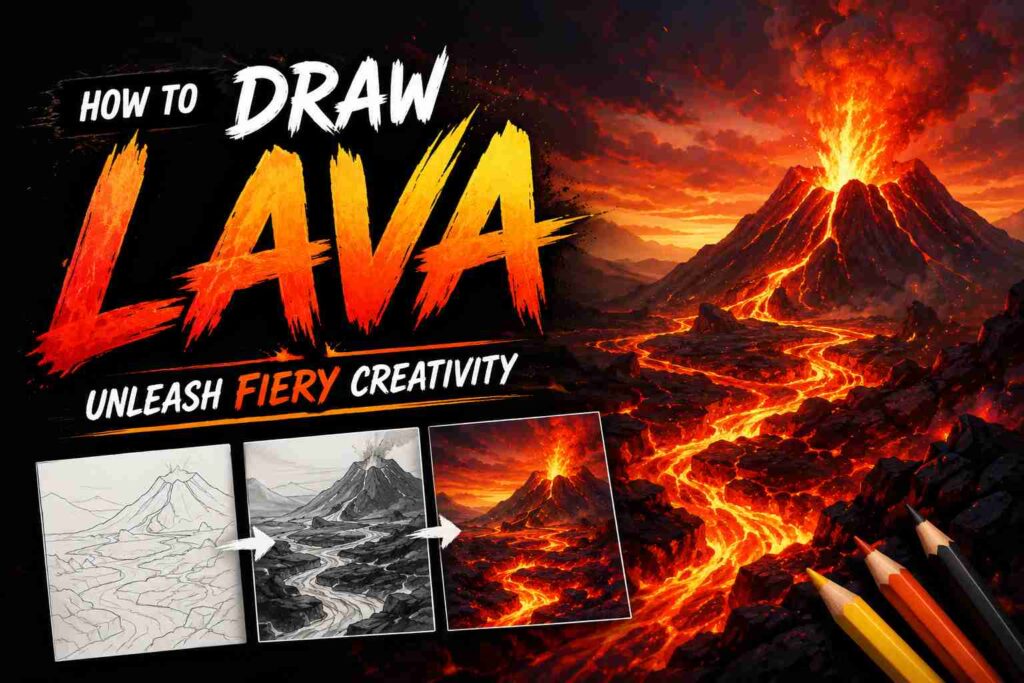
The good news is that lava is easier to draw than it looks. By combining simple shapes, bold colors, and strategic shading, you can create realistic or stylized lava effects that appear hot, energetic, and full of motion.
Things You’ll Need
Before you begin, gather the following materials.
Essential Drawing Supplies
- Pencil
- Eraser
- Drawing paper
- Sharpener
- Ruler
Optional Supplies
- Colored pencils
- Markers
- Gel pens
- Fine-tip black pen
- Charcoal pencils
- Digital drawing tablet
Bright coloring tools are especially useful for creating glowing lava effects.
Different Ways to Draw Lava
There are many artistic styles you can explore.
Simple Cartoon Lava
Perfect for beginners and younger artists.
Realistic Lava Flow
Focuses on texture, movement, and glowing effects.
Volcanic Eruption
Features exploding lava, smoke, and ash.
Fantasy Lava
Includes magical colors and imaginative landscapes.
Lava River
Depicts streams of molten rock flowing through terrain.
Cracked Lava Ground
Shows glowing magma visible through dark rock cracks.
Anime-Style Lava
Uses dramatic colors and bold visual effects.
Digital Lava Art
Utilizes blending and lighting techniques for highly detailed results.
Why Learn How to Draw Lava?
Drawing lava helps artists practice several important skills.
Benefits include:
- Improves shading techniques
- Develops understanding of light sources
- Enhances color blending abilities
- Encourages creativity
- Builds confidence in landscape drawing
- Creates dramatic visual effects
Lava is also excellent for learning how to create glowing objects in artwork.
Understanding Lava Before Drawing
Before you begin, it’s helpful to understand how lava looks.
Key characteristics include:
- Bright glowing centers
- Dark cooling crust
- Irregular flowing shapes
- Strong contrast between light and dark areas
- Cracks and texture patterns
Observing photos of volcanic lava can help you create more realistic drawings.
How to Draw Lava Step by Step
Step 1: Sketch the Basic Lava Shape
Start by drawing a flowing, winding shape across your paper.
Avoid perfectly straight lines.
Lava naturally follows irregular paths as it moves across the ground.
Step 2: Create Lava Streams
Add smaller branching streams connected to the main flow.
These secondary channels help create a natural appearance.
Allow some sections to widen and others to narrow.
Step 3: Outline the Cooled Crust
Draw uneven borders around the lava.
These borders represent the darker rock that cools on the surface.
Keep the shapes organic and unpredictable.
Step 4: Add Cracks and Openings
Inside the lava flow, sketch irregular cracks and broken sections.
These areas will later become the brightest glowing parts.
Vary the size and direction of the cracks.
Step 5: Draw Surrounding Terrain
Add rocks, hills, volcanic slopes, or ground textures around the lava.
This helps establish the environment.
Simple background elements are enough for beginners.
Step 6: Ink the Main Lines
Trace the important outlines with a fine-tip pen or darker pencil.
Keep the edges uneven to maintain a natural look.
Erase any unnecessary guidelines afterward.
Step 7: Add Base Colors
Color the hottest parts of the lava using:
- Bright yellow
- Orange
- Red
Place yellow in the center and blend outward into orange and red.
This creates the appearance of heat.
Step 8: Color the Cooling Rock
Use darker shades such as:
- Black
- Dark gray
- Dark brown
These colors represent hardened volcanic rock.
Contrast is essential for realism.
Step 9: Create a Glow Effect
Lightly blend warm colors around the edges of the lava.
This simulates the intense heat radiating from the molten rock.
Digital artists can use glow brushes, while traditional artists can blend colored pencils or markers.
Step 10: Add Shadows and Highlights
Darken areas beneath rocks and terrain features.
Add bright highlights to the hottest sections.
The stronger the contrast, the more dramatic the lava will appear.
Step 11: Refine the Details
Add:
- Small cracks
- Rock textures
- Splashes of lava
- Smoke effects
These details increase realism and visual interest.
Step 12: Finish the Artwork
Review the drawing and strengthen important areas.
Enhance the brightest sections if needed.
Your lava drawing is now complete.
Easy Lava Drawing Ideas
Need inspiration? Try one of these concepts.
Volcano Eruption
Draw lava exploding from an active volcano.
Lava Cave
Create a glowing underground magma chamber.
Fantasy Lava Dragon
Combine molten lava with a mythical creature.
Cracked Lava Ground
Depict glowing magma beneath broken rock surfaces.
Lava Waterfall
Imagine molten rock flowing over a cliff.
Alien Lava Landscape
Use unusual colors and imaginative terrain features.
Common Mistakes to Avoid
Using Only One Color
Realistic lava requires multiple colors and gradients.
Making the Lava Too Uniform
Natural lava flows are irregular and unpredictable.
Ignoring Glow Effects
The glow is one of the most important visual features.
Overusing Black
Too much dark color can hide the lava’s brightness.
Skipping Shadows
Shadows add depth and realism to the scene.
Tips for Drawing Realistic Lava
Study Reference Images
Observe how real lava behaves and cools.
Use Strong Contrast
Bright lava stands out against dark volcanic rock.
Blend Colors Smoothly
Gradual transitions create a realistic heat effect.
Focus on Light Sources
The lava itself acts as the primary light source.
Experiment With Texture
Cracks, bubbles, and rough surfaces make lava more believable.
Final Thoughts
Learning how to draw lava is a fun and creative way to explore color, contrast, movement, and lighting. Whether you’re illustrating a realistic volcanic eruption or creating a fantasy landscape filled with molten rivers, lava offers endless opportunities for artistic expression.
By practicing these techniques and experimenting with different styles, you’ll be able to create fiery artwork that captures the power and beauty of molten rock.
Frequently Asked Questions
Is lava difficult to draw?
No. Once you understand the basic shapes and color transitions, lava becomes much easier to draw.
What colors should I use for lava?
Yellow, orange, red, and black are the most common colors for realistic lava.
How do I make lava look like it’s glowing?
Use bright colors in the center and blend them outward into darker shades.
Can beginners draw lava?
Absolutely. Lava is a great subject for practicing color blending and creative effects.
Should lava always be red?
No. Depending on temperature and artistic style, lava can include yellow, orange, red, and even fantasy colors.
What is the most important part of drawing lava?
Creating strong contrast between the glowing molten rock and the dark cooled crust is the key to making lava look realistic.