
Learning how to make a GIF image with Microsoft Paint is useful when you want to turn a series of simple drawings into a short animation. Microsoft Paint is excellent for creating individual frames, adding text, sketching illustrations, and editing images, but classic Paint does not provide a built-in animation timeline or direct animated-GIF export.
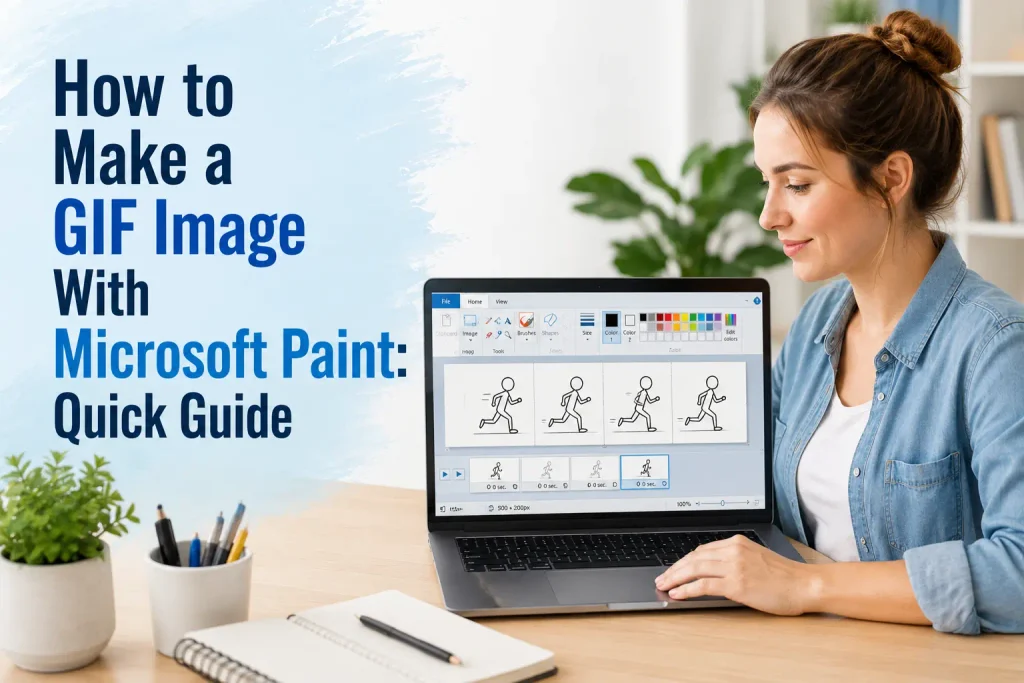
The workaround is simple: create several slightly different frames in Paint, save each frame as an individual image, and then combine those images with a GIF-making application or service. This approach is beginner-friendly and works especially well for drawings, icons, simple animations, and step-by-step illustrations.
What You Need
- Microsoft Paint
- Windows computer
- Mouse or drawing tablet
- Several image frames
- A GIF-making program or tool
- PNG or JPEG image files
- Optional image editor
How GIF Animation Works
A GIF animation is essentially a sequence of still images displayed one after another.
For example:
Frame 1 → Frame 2 → Frame 3 → Frame 4 → Animated GIF
The more noticeable the difference between frames, the more movement you’ll see.
For a smooth animation, make small changes between consecutive frames rather than completely redrawing the subject each time.
How to Make a GIF Image With Microsoft Paint
Step 1: Decide What You Want to Animate
Start with a simple idea.
Good beginner projects include:
- A bouncing ball
- A waving hand
- A blinking eye
- A smiling face
- Moving text
- A simple character
- A changing flower
- A rotating shape
- A growing drawing
Keep your first animation short and simple.
Step 2: Choose Your Canvas Size
Open Microsoft Paint and create a new canvas.
A smaller canvas is usually better for GIFs because it keeps the final file manageable.
For example, you might use a square or horizontal canvas depending on where you plan to use the animation.
Try to keep the dimensions identical for every frame.
Step 3: Create the First Frame
Draw the starting position of your animation.
For example, if you’re making a bouncing ball, place the ball near the bottom of the canvas.
Add any background elements that should remain unchanged.
Save this image as something like:
frame-01.png
Using PNG files can help preserve clean lines and text.
Step 4: Create the Next Frame
Make a copy of your first frame or recreate the same canvas.
Move your subject slightly.
For the bouncing-ball example, move the ball a little higher.
Save it as:
frame-02.png
The important thing is to keep the canvas size and background consistent.
Step 5: Continue Creating Frames
Repeat the process several times.
For example:
- Frame 1: Ball at bottom
- Frame 2: Ball slightly higher
- Frame 3: Ball halfway up
- Frame 4: Ball near the top
- Frame 5: Ball coming back down
Small changes between frames generally produce smoother-looking movement.
Step 6: Keep Every Frame the Same Size
This step is extremely important.
Every image should have exactly the same:
- Width
- Height
- Canvas position
- Background placement
If one frame is a different size, the finished animation may jump or shift while playing.
Step 7: Name the Frames in Order
Use a simple numbering system.
For example:
frame-01.pngframe-02.pngframe-03.pngframe-04.pngframe-05.png
Numbering your files makes it much easier to place them in the correct order when creating the GIF.
Step 8: Combine the Frames Into a GIF
Paint itself doesn’t provide the complete animation workflow in its basic interface, so you’ll need a separate GIF-capable application or online tool to combine your individual frames.
Import your images in numerical order.
Then adjust the frame delay.
A shorter delay makes the animation faster, while a longer delay makes it slower.
Step 9: Preview the Animation
Play your GIF before saving the final version.
Look for:
- Jerky movement
- Incorrect frame order
- Sudden jumps
- Incorrect timing
- Missing frames
- Unwanted background changes
If the animation doesn’t look smooth, return to Paint and adjust the individual frames.
Step 10: Export the Finished GIF
When you’re satisfied with the animation, export or save it in GIF format.
Make sure the animation option is enabled if your GIF-making application provides one.
Then open the finished file in a browser or image viewer to confirm that it plays correctly.
How to Make a Simple Bouncing Ball GIF
A bouncing ball is one of the easiest projects to try.
Draw the ball near the bottom of the canvas in your first frame.
Move it gradually upward in the next few frames. As it reaches the top, reverse the process and move it downward.
For a more realistic bounce, make the ball move slowly near the highest point and faster as it approaches the ground.
How to Make a Blinking Face GIF
Create a simple face in Paint.
Use one frame with both eyes open.
Then create another frame with the eyes partially closed.
Finally, create a frame with the eyes completely closed.
Repeat the sequence:
Open → Half Closed → Closed → Open
Keep the closed-eye frame visible for only a short time to create a natural blink.
How to Make a Waving Hand GIF
Draw the hand in a starting position.
For each new frame, rotate the hand slightly from side to side.
For example:
Left → Center → Right → Center → Left
Keep the arm in exactly the same position while changing only the hand angle.
This creates a simple waving animation.
How to Make a GIF From Paint Drawings
If you’ve created several drawings in Paint, you can turn them into an animation.
For example, you could create:
- A blank canvas
- First drawing stage
- Second drawing stage
- Third drawing stage
- Completed drawing
When played in sequence, the GIF can look like the illustration is being drawn automatically.
This technique works especially well for art tutorials and simple drawing demonstrations.
Tips for Better GIFs
Keep the Animation Short
Simple GIFs often work best when they contain a short repeating movement.
Use Consistent Backgrounds
If the background changes accidentally between frames, the animation can appear to shake.
Make Small Changes
Small movements usually create smoother animation than large jumps.
Use Fewer Colors When Appropriate
Simple graphics can produce smaller GIF files.
Preview Before Exporting
Always check the animation speed and frame order.
Keep Important Details Away From the Edges
Some platforms may display GIFs at different sizes, so central compositions are generally easier to see.
Common Problems and Solutions
The GIF Doesn’t Animate
Check that your GIF-making tool has created an animated GIF, not a single-frame GIF.
The Animation Looks Jerky
Create more intermediate frames and make smaller changes between them.
The Subject Jumps Around
Make sure the canvas and background remain in exactly the same position in every frame.
The GIF Is Too Fast
Increase the delay between frames.
The GIF Is Too Slow
Reduce the frame delay.
The File Is Too Large
Reduce the canvas dimensions, number of frames, or unnecessary detail.
Can Microsoft Paint Directly Create Animated GIFs?
Classic Microsoft Paint is primarily an image-editing and drawing application rather than an animation editor. It can create the individual images needed for an animation, but you generally need another GIF-capable application or service to combine those frames into an animated GIF.
The good news is that Paint is perfectly suitable for preparing the artwork. The animation stage simply happens afterward.
Paint vs. Dedicated Animation Software
Paint is best for:
- Simple drawings
- Individual frames
- Basic shapes
- Pixel art
- Simple illustrations
- Text graphics
Dedicated animation software is better when you need:
- Timelines
- Onion skinning
- Keyframes
- Complex movement
- Audio
- Layer animation
- Advanced effects
For a basic GIF, however, creating individual frames in Paint can be more than enough.
FAQs
Can I make a GIF using Microsoft Paint?
Yes, but Paint is mainly used to create the individual frames. You’ll typically need another GIF-capable tool to combine those frames into an animated GIF.
Does Paint have an animation timeline?
Classic Microsoft Paint does not function as a full timeline-based animation editor.
What format should I save Paint frames in?
PNG is a good choice for drawings because it preserves sharp lines and supports lossless image quality.
How many frames should a beginner use?
Start with around 4–10 frames for a simple animation. You can increase the number as you become more comfortable.
Why does my GIF look choppy?
There may be too much difference between consecutive frames. Add intermediate frames with smaller movements.
Can I make a GIF from drawings?
Yes. Create each stage of the drawing as a separate image and combine them in sequence.
Can I make a GIF with text in Paint?
Yes. Create separate frames where the text changes, moves, appears, or disappears.
How do I make a GIF smaller?
Reduce the image dimensions, remove unnecessary frames, simplify the artwork, or adjust the GIF’s color settings.
Final Words
Learning how to make a GIF image with Microsoft Paint is straightforward once you understand that the animation is built from individual frames. Use Paint to create each image, keep your canvas dimensions consistent, make small changes between frames, and save the images in an organized sequence.
After creating your frames, combine them with a GIF-capable application or service, adjust the timing, preview the animation, and export the finished GIF. Start with a simple bouncing ball, blinking face, or waving hand, then gradually experiment with more creative animations as your skills improve.