
Want to give old furniture, décor pieces, or craft projects a beautiful matte finish without buying specialty paint? Learning how to make chalk paint with acrylic paint is an easy and budget-friendly solution. With a few simple ingredients, you can transform ordinary acrylic paint into a chalk-style paint that’s perfect for furniture makeovers, vintage-inspired décor, and creative DIY projects.
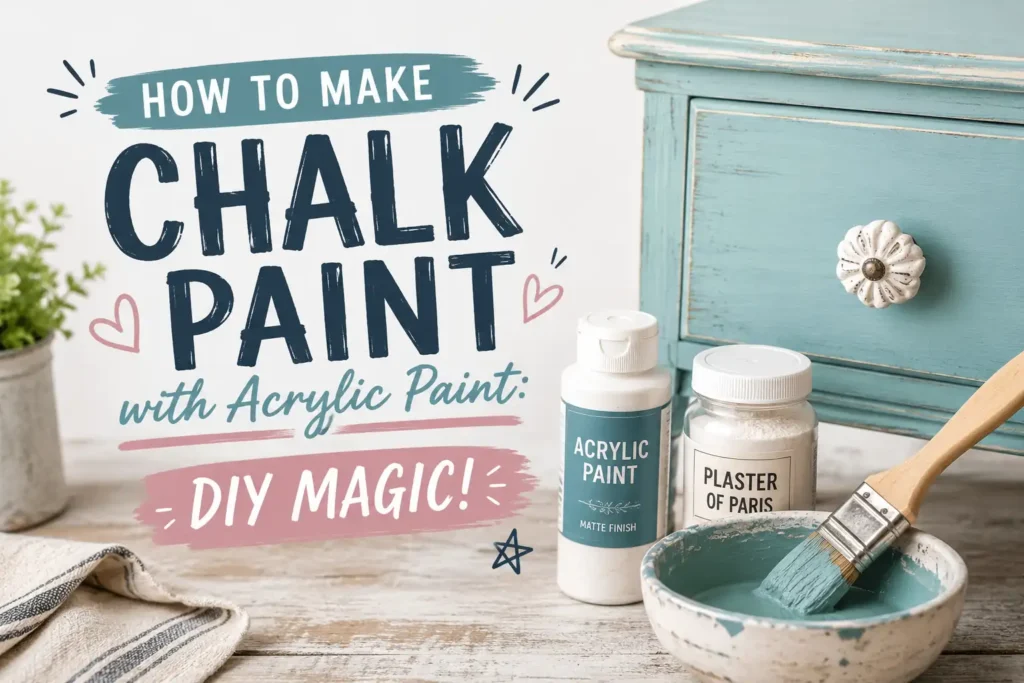
Homemade chalk paint is popular because it’s affordable, customizable, and simple to prepare. It creates a soft, matte appearance that works beautifully on wood, metal, ceramics, and many other surfaces. In this guide, you’ll discover everything you need to know about making and using DIY chalk paint successfully.
Items to Buy
- Acrylic paint
- Baking soda
- Calcium carbonate powder
- Plaster of Paris
- Distilled water
- Mixing bowl
- Measuring spoons
- Stirring stick
- Paintbrushes
- Foam roller
- Paint tray
- Fine mesh strainer
- Sandpaper
- Wax finish
- Polycrylic sealer
- Drop cloth
- Disposable gloves
- Airtight containers
- Paper towels
- Microfiber cloth
What Is Chalk Paint?
Chalk paint is a decorative paint known for its matte, velvety finish and excellent furniture coverage. Unlike traditional paints, chalk paint often requires minimal surface preparation and creates a vintage or distressed appearance with ease.
Commercial chalk paints are widely used for furniture refinishing because they adhere well to many surfaces and produce a smooth, soft look. Homemade versions mimic many of these characteristics using common household ingredients.
The result is a versatile paint that can completely transform outdated furniture and décor pieces.
Why Make Chalk Paint With Acrylic Paint?
There are several reasons why DIY enthusiasts choose to make chalk paint from acrylic paint.
First, acrylic paint is readily available in countless colors. This allows you to create custom chalk paint shades without being limited to commercial options.
Second, homemade chalk paint can be significantly less expensive than store-bought versions, especially when working on larger projects.
Finally, making your own paint gives you greater control over consistency, texture, and finish.
For many DIYers, the flexibility and cost savings make homemade chalk paint an appealing option.
How Homemade Chalk Paint Works
The secret behind homemade chalk paint is the addition of a powder that changes the texture and finish of the acrylic paint.
Ingredients such as baking soda, calcium carbonate, or Plaster of Paris help create the signature matte appearance associated with chalk paint. These additives also thicken the paint and alter how it behaves during application.
When mixed correctly, the resulting paint offers excellent coverage and a beautiful chalky finish suitable for many DIY projects.
Understanding how these ingredients work makes it easier to achieve consistent results.
Choosing the Best Additive
Several ingredients can be used to create chalk paint, and each produces slightly different results.
Calcium carbonate is often considered the best option because it creates a smooth finish without adding noticeable texture.
Plaster of Paris provides excellent durability and is commonly used in furniture refinishing projects.
Baking soda is the easiest ingredient to find and works well for many basic DIY applications, although it may produce a slightly more textured finish.
Choosing the right additive depends on your project goals and available materials.
Best Acrylic Paint for Chalk Paint
Most acrylic paints can be converted into chalk paint successfully.
High-quality acrylic craft paints and latex-based acrylic paints generally produce the best results. The color and quality of the original paint significantly influence the appearance of the finished product.
For furniture projects, many DIYers prefer acrylic paints with strong pigmentation and durable formulations.
Starting with quality paint helps ensure better coverage and longevity.
How to Make Chalk Paint With Acrylic Paint Step by Step Guide
Step 1: Prepare Your Workspace
Choose a clean work area with adequate ventilation and lighting.
Lay down a drop cloth to protect surrounding surfaces and gather all materials before beginning. Having everything ready makes the mixing process faster and more efficient.
Organization helps prevent spills and ensures smoother workflow.
Step 2: Select Your Acrylic Paint
Choose the acrylic paint color you want for your project.
Consider the final look you’re trying to achieve and remember that chalk paint often dries slightly lighter than it appears when wet.
Measure the amount of paint needed based on the size of your project.
Step 3: Choose Your Additive
Decide whether you will use baking soda, calcium carbonate, or Plaster of Paris.
Each option creates a chalky finish, but calcium carbonate generally provides the smoothest results. Select the additive that best fits your project requirements.
Prepare the powder before combining it with the paint.
Step 4: Mix the Powder With Water
In a separate bowl, combine your chosen powder with a small amount of distilled water.
Mix thoroughly until a smooth paste forms. Breaking up lumps at this stage helps prevent texture problems later.
The mixture should be creamy and free from clumps.
Step 5: Add the Acrylic Paint
Slowly add the acrylic paint to the prepared paste.
Stir continuously to ensure the ingredients blend evenly. Mix until the consistency becomes smooth and uniform throughout.
Take your time to achieve a fully integrated mixture.
Step 6: Adjust the Consistency
Evaluate the texture of the paint carefully.
If the paint feels too thick, add a small amount of water. If it seems too thin, add a bit more powder mixture.
The ideal consistency should resemble commercial chalk paint—smooth, creamy, and easy to spread.
Step 7: Test the Paint
Apply a small sample to a scrap surface.
Allow it to dry completely and inspect the finish. Testing helps confirm that the consistency, coverage, and texture meet your expectations.
Make adjustments if necessary before proceeding with the main project.
Step 8: Prepare the Project Surface
Clean the furniture or object you plan to paint.
Remove dirt, grease, dust, and debris using a suitable cleaner. While chalk paint often requires less preparation than traditional paint, a clean surface still improves results.
Allow the surface to dry completely.
Step 9: Apply the First Coat
Use a brush or foam roller to apply the first coat of chalk paint.
Work in smooth, even strokes and avoid applying excessively thick layers. Thin coats generally produce better results and dry more consistently.
Cover all visible surfaces evenly.
Step 10: Allow the Paint to Dry
Let the first coat dry thoroughly before applying additional coats.
Drying times vary depending on temperature, humidity, and paint formulation. Avoid touching the surface unnecessarily during this stage.
Patience helps prevent imperfections.
Step 11: Apply Additional Coats
Most projects benefit from two to three coats of chalk paint.
Apply each coat evenly and allow adequate drying time between applications. Additional coats improve color depth and overall coverage.
Inspect the project after each coat and touch up any missed areas.
Step 12: Seal the Finish
Once the paint has dried completely, protect the surface with furniture wax or a clear sealer.
Sealing helps improve durability and protects against scratches, stains, and moisture. Follow the manufacturer’s instructions for best results.
Allow the finish to cure before regular use.
Popular Chalk Paint Recipes
Several homemade chalk paint recipes are commonly used by DIY enthusiasts.
Baking Soda Recipe
- 1 cup acrylic paint
- 2 tablespoons baking soda
- Small amount of water
This recipe is simple, affordable, and works well for decorative projects.
Calcium Carbonate Recipe
- 1 cup acrylic paint
- 2 to 4 tablespoons calcium carbonate
- Small amount of water
This option creates a smoother, more professional finish.
Plaster of Paris Recipe
- 1 cup acrylic paint
- 2 tablespoons Plaster of Paris
- Small amount of water
This mixture offers excellent durability and coverage.
Best Surfaces for Homemade Chalk Paint
Homemade chalk paint works on many surfaces.
Wood furniture is one of the most popular applications because the matte finish complements both rustic and modern styles. It can also be used on metal, ceramic, terracotta, glass, and decorative accessories.
Many DIYers use chalk paint to update dressers, cabinets, tables, picture frames, and home décor items.
Proper sealing helps improve performance on high-traffic surfaces.
Common Mistakes to Avoid
One common mistake is failing to dissolve the powder completely before mixing it into the paint. Undissolved particles can create unwanted texture.
Another issue is making the paint too thick. Excessively thick paint may leave brush marks and uneven coverage.
Skipping the testing stage can also lead to surprises later in the project.
Finally, neglecting a protective topcoat may reduce durability and increase wear over time.
Tips for Better Results
Mix only the amount of paint needed for the project whenever possible. Homemade chalk paint does not always store as well as commercial products.
Use quality brushes and rollers to achieve a smoother finish. Applying multiple thin coats usually produces better results than one heavy coat.
Experiment with distressing techniques if you want a vintage or farmhouse-style appearance.
Most importantly, allow sufficient drying and curing time between steps.
FAQs
Can I make chalk paint with any acrylic paint?
Yes. Most acrylic paints can be converted into chalk paint using appropriate additives.
What is the best additive for homemade chalk paint?
Calcium carbonate is often considered the best because it creates a smooth, professional-looking finish.
Is baking soda a good chalk paint additive?
Yes. Baking soda is inexpensive and easy to find, though it may create a slightly textured finish.
Do I need to sand before using chalk paint?
In many cases, minimal sanding is required, though cleaning the surface is still important.
How long does homemade chalk paint last?
It is best used shortly after mixing, although short-term storage in airtight containers may be possible.
Do I need a sealer?
Yes. Furniture wax or a clear protective topcoat helps improve durability.
Can homemade chalk paint be used on furniture?
Absolutely. Furniture refinishing is one of the most popular uses for chalk paint.
Why is my chalk paint lumpy?
Lumps usually occur when the powder additive is not mixed thoroughly before combining it with the paint.
Final Words
Learning how to make chalk paint with acrylic paint is a simple and rewarding DIY skill that can help you transform furniture, décor, and craft projects on a budget. By combining acrylic paint with additives such as calcium carbonate, baking soda, or Plaster of Paris, you can create a beautiful matte finish that rivals many commercial chalk paints.
With proper mixing, careful application, and a durable protective topcoat, homemade chalk paint can deliver impressive results on a wide variety of surfaces. Whether you’re updating an old dresser, refreshing home décor, or exploring creative projects, DIY chalk paint offers an affordable and versatile solution for bringing new life to your ideas.