
Painting a cooler is an easy and affordable way to turn an ordinary ice chest into a personalized masterpiece. Whether you want a beach-inspired design, your favorite sports team colors, or a fun custom pattern, learning how to paint a cooler helps you create a durable finish that stands up to outdoor adventures.
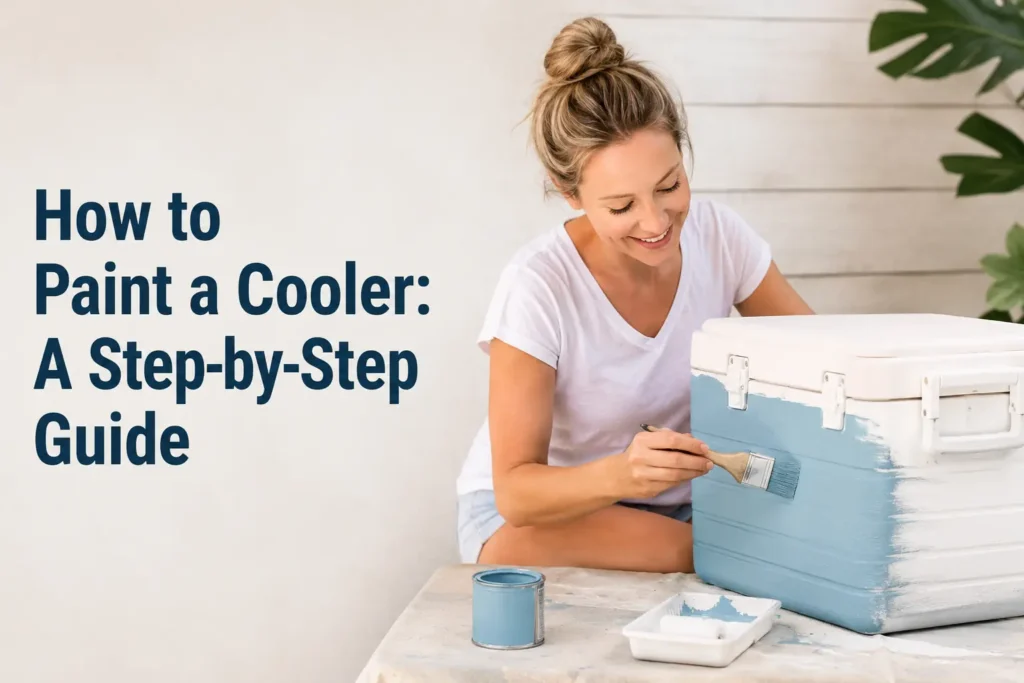
With the right preparation and materials, you can transform plastic or metal coolers into eye-catching accessories for camping trips, tailgates, picnics, and backyard parties. This guide covers everything from choosing supplies to sealing your finished design.
Items to Buy
Before you begin, gather these supplies:
- Acrylic paint or spray paint for plastic
- Plastic bonding primer
- Fine-grit sandpaper (220–400 grit)
- Mild soap and water
- Isopropyl alcohol
- Microfiber cloth
- Painter’s tape
- Paintbrushes or foam brushes
- Foam roller (optional)
- Stencils (optional)
- Pencil or chalk for sketching
- Drop cloth or newspaper
- Clear outdoor acrylic sealer
- Disposable gloves
- Dust mask
Why Paint a Cooler?
Painting a cooler allows you to customize it with unique artwork, colors, or personalized lettering. A custom cooler is perfect for family gatherings, camping trips, weddings, sporting events, or as a thoughtful handmade gift.
It also gives new life to an old cooler that still works well but has faded or scratched surfaces. A fresh coat of paint can make it look brand new while expressing your personal style.
Choosing the Right Paint
Most coolers are made from plastic, so selecting paint designed for plastic surfaces is essential. Acrylic paint works well when paired with a plastic bonding primer, while specialty spray paints for plastic offer another durable option.
If your cooler is metal, choose an acrylic paint suitable for metal surfaces and use the appropriate primer to improve adhesion and durability.
Preparing the Cooler
Proper preparation is the key to a long-lasting paint job. Wash the cooler thoroughly using mild soap and water to remove dirt, grease, and residue.
Once dry, lightly sand the exterior to reduce the glossy finish. Wipe away the dust with a microfiber cloth and clean the surface with isopropyl alcohol before painting.
How to Paint a Cooler Step by Step Guide
Step 1: Clean the Surface
Wash the cooler with soap and water, then allow it to dry completely.
Remove any remaining grease or oils using isopropyl alcohol.
Step 2: Sand the Exterior
Lightly sand the entire surface with fine-grit sandpaper.
This creates a slightly rough texture that helps the primer and paint adhere better.
Step 3: Apply Plastic Bonding Primer
Spray or brush on a thin, even coat of primer.
Allow it to dry completely according to the manufacturer’s instructions before moving to the next step.
Step 4: Paint the Base Coat
Apply your chosen base color using smooth, even strokes.
Use several thin coats instead of one thick layer for better coverage and a smoother finish.
Step 5: Add Your Design
Once the base coat is dry, paint your artwork, patterns, lettering, or use stencils for clean designs.
Allow each color to dry before adding another to avoid smudging.
Step 6: Touch Up the Details
Inspect the cooler for uneven spots or small mistakes.
Use a fine detail brush to sharpen lines, add highlights, or make final corrections.
Step 7: Seal the Cooler
After the paint has fully dried, apply two or three light coats of a clear outdoor acrylic sealer.
Allow the cooler to cure completely before using it outdoors.
Creative Cooler Painting Ideas
You can decorate your cooler with tropical themes, mountain landscapes, floral artwork, geometric patterns, or personalized monograms. Bright colors and bold graphics make your cooler easy to recognize at parties and events.
Seasonal themes, holiday designs, or favorite team colors are also popular choices. Planning your design on paper beforehand helps create a more polished final result.
Common Mistakes to Avoid
Skipping primer is one of the biggest reasons paint peels from plastic coolers. A quality bonding primer significantly improves adhesion and durability.
Another common mistake is applying heavy coats of paint. Thick layers dry unevenly and are more likely to chip or develop drips. Thin coats produce a stronger and smoother finish.
How to Care for a Painted Cooler
Clean the cooler using a soft cloth, mild soap, and water. Avoid abrasive scrubbers or harsh chemicals that could damage the painted surface.
Store the cooler indoors when not in use to help preserve the paint and protective sealer. If you notice wear over time, apply another coat of clear sealer to maintain durability.
FAQs
Can you paint a plastic cooler?
Yes. Plastic coolers can be painted successfully using a plastic bonding primer and acrylic or plastic-specific paint.
What kind of paint works best on a cooler?
High-quality acrylic paint with a bonding primer or spray paint designed for plastic provides excellent durability and coverage.
Do I need to sand the cooler first?
Yes. Light sanding improves paint adhesion by reducing the glossy finish and creating a better surface for primer.
Should I seal a painted cooler?
Yes. A clear outdoor acrylic sealer protects the paint from moisture, scratches, and UV exposure.
How many coats of paint should I apply?
Two to three thin coats usually provide smooth, even coverage with long-lasting results.
Can beginners paint a cooler?
Absolutely. With proper preparation and patience, beginners can create beautiful custom-painted coolers for personal use or gifts.
Final Words
Learning how to paint a cooler is a fun DIY project that lets you transform a plain ice chest into a one-of-a-kind creation. By cleaning the surface, applying a bonding primer, using multiple thin coats of paint, and sealing the finished design, you can achieve a durable and professional-looking finish.
Take your time with each step and let every layer dry completely before continuing. With a little creativity and the right materials, your custom-painted cooler will be ready for countless outdoor adventures while showcasing your unique style.