
Learning how to paint a parking lot is essential for maintaining a safe, organized, and professional-looking property. Fresh parking lot markings improve traffic flow, maximize parking capacity, and help drivers navigate the area safely. Whether you’re refreshing faded lines or marking a newly paved lot, proper preparation and painting techniques can make a significant difference in the final result.
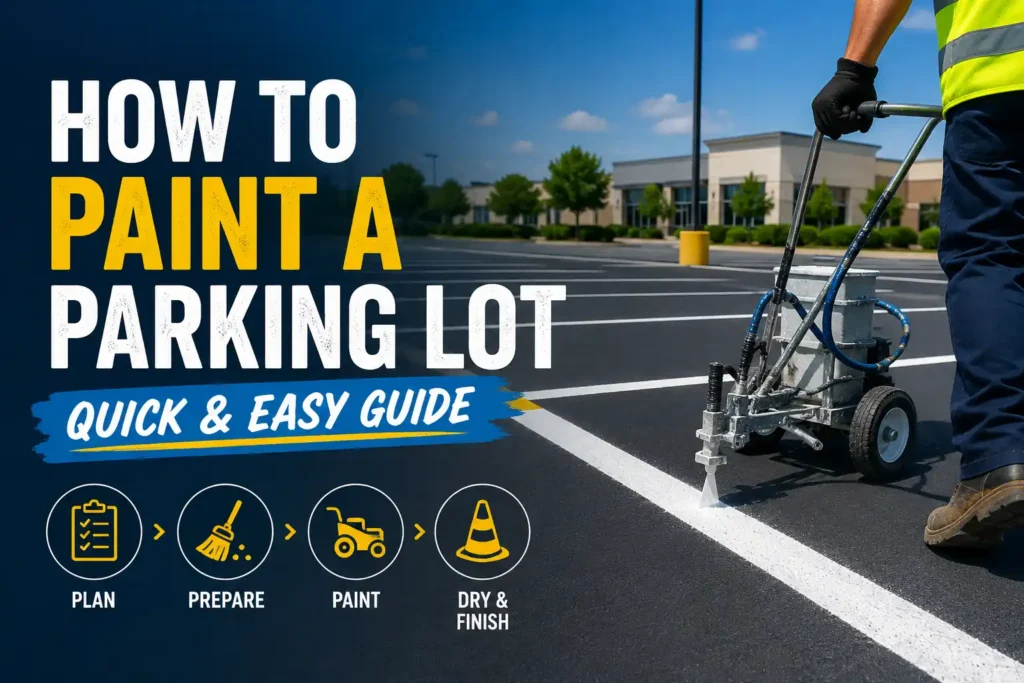
A well-painted parking lot not only enhances curb appeal but also helps businesses comply with local regulations and accessibility requirements. This guide will walk you through the tools, preparation, and step-by-step process needed to achieve clean, durable parking lot markings.
Items to Buy
- Parking lot striping paint
- Asphalt primer (if needed)
- Line striping machine
- Measuring tape
- Chalk line
- String line
- Traffic cones
- Stencils
- Leaf blower
- Push broom
- Pressure washer
- Degreaser
- Safety vest
- Work gloves
- Safety glasses
- Painter’s tape
- Marking chalk
- Wheel stop markers
- Reflective beads (optional)
- Sealcoat (optional)
Why Parking Lot Striping Matters
Parking lot striping is about more than appearance.
Clear lines help drivers park correctly, improve traffic flow, and reduce confusion. Well-defined parking spaces can maximize the number of vehicles that fit within a lot while maintaining safe driving lanes.
Fresh markings also create a positive first impression for customers, tenants, and visitors.
Choosing the Right Parking Lot Paint
Not all paints are suitable for parking lots.
Traffic-grade striping paint is specifically designed to withstand vehicle traffic, weather exposure, and UV rays. Water-based traffic paint is commonly used because it dries quickly and is easy to apply.
Choosing high-quality paint helps ensure the markings remain visible for a longer period.
Preparing the Surface Before Painting
Preparation is one of the most important parts of the project.
Dirt, debris, oil stains, and loose materials can interfere with paint adhesion. Cleaning the surface thoroughly helps create crisp lines and a longer-lasting finish.
Proper preparation often determines how professional the final results look.
How to Paint a Parking Lot Step by Step Guide
Step 1: Check Weather Conditions
Choose a dry day with mild temperatures.
Avoid painting when rain is expected or when temperatures fall outside the paint manufacturer’s recommended range.
Good weather helps ensure proper drying and curing.
Step 2: Clear the Parking Lot
Remove all vehicles, equipment, and obstacles from the work area.
An empty parking lot allows you to work efficiently and helps prevent accidental paint damage.
Use cones to block off access if necessary.
Step 3: Clean the Surface
Use a leaf blower, broom, or pressure washer to remove dirt and debris.
Pay special attention to areas with oil, grease, or heavy buildup. Clean surfaces allow paint to bond more effectively.
Let the pavement dry completely before continuing.
Step 4: Measure the Layout
Determine the size and spacing of parking spaces.
Measure carefully to ensure compliance with local regulations and accessibility requirements. Consistent spacing creates a professional appearance.
Double-check all measurements before marking.
Step 5: Mark Guidelines
Use chalk lines, string lines, or marking chalk to outline parking spaces.
These temporary guidelines serve as a reference during painting and help maintain straight, uniform lines.
Accuracy at this stage improves the final result.
Step 6: Set Up the Striping Machine
Prepare the line striping machine according to the manufacturer’s instructions.
Fill it with traffic striping paint and test it on a scrap surface if possible.
Verify that the spray pattern is even and properly aligned.
Step 7: Paint the Parking Lines
Follow the chalk guidelines and apply the paint steadily.
Maintain consistent speed and pressure throughout each line. Smooth, continuous movement helps produce clean, professional markings.
Avoid stopping mid-line whenever possible.
Step 8: Paint Special Markings
Use stencils for handicap symbols, arrows, numbers, and other required markings.
Position stencils carefully and apply paint evenly to prevent smudging.
Allow each marking to dry before removing the stencil.
Step 9: Inspect Coverage
Review all painted lines and markings.
Look for thin spots, uneven edges, or missed sections. Touch up any problem areas before the paint dries completely.
Quality control helps ensure a professional finish.
Step 10: Apply a Second Coat if Needed
Some parking lots benefit from a second coat for improved visibility and durability.
Follow the paint manufacturer’s recommendations regarding recoat times.
Additional coats often extend the life of the markings.
Step 11: Allow the Paint to Dry
Keep vehicles and foot traffic off the painted areas.
Drying times vary depending on weather conditions and paint type. Allow sufficient drying time before reopening the lot.
Premature traffic can damage fresh markings.
Step 12: Reopen the Parking Lot
Once the paint has dried completely, remove cones and barriers.
Inspect the lot one final time to ensure all markings are clearly visible and fully cured.
The parking lot is now ready for normal use.
Common Parking Lot Markings
Most parking lots contain more than standard parking space lines.
Common markings include:
- Handicap parking spaces
- Directional arrows
- Fire lanes
- Crosswalks
- Loading zones
- Reserved parking spaces
- Stop bars
- No parking zones
- Numbered spaces
- Pedestrian walkways
Proper markings improve safety and organization throughout the property.
Common Mistakes to Avoid
One common mistake is painting on dirty pavement.
Dust, oil, and debris can reduce paint adhesion and shorten the lifespan of the markings. Another issue is failing to measure accurately, which may result in uneven parking spaces.
Rushing the drying process can also damage fresh paint.
Taking time to prepare properly helps avoid these problems.
How Often Should a Parking Lot Be Repainted?
The frequency depends on traffic volume, weather conditions, and paint quality.
High-traffic commercial lots may require restriping every one to two years, while lower-traffic areas may last longer.
Regular inspections help determine when repainting is necessary.
Fresh markings improve both safety and appearance.
Tips for Long-Lasting Results
Use high-quality traffic paint designed for asphalt or concrete surfaces.
Keep the parking lot clean and address pavement damage promptly. Consider sealcoating the lot periodically to protect the surface and extend the life of painted markings.
Routine maintenance can significantly reduce long-term costs.
FAQs
What type of paint is used for parking lots?
Traffic-grade striping paint is commonly used because it is durable and weather resistant.
Can I paint parking lot lines by hand?
Yes, but a striping machine typically produces straighter and more professional results.
How wide should parking lot lines be?
Most parking lot lines are approximately 4 inches wide, though local requirements may vary.
How long does parking lot paint take to dry?
Many traffic paints dry within 30 minutes to a few hours, depending on conditions.
Do I need to clean the pavement first?
Yes. Proper cleaning improves paint adhesion and durability.
Can I paint over old parking lot lines?
Yes, but faded lines may require preparation or additional coats for proper coverage.
How often should parking lot striping be redone?
Most commercial lots require repainting every one to two years.
Is parking lot striping worth it?
Absolutely. Clear markings improve safety, organization, and the overall appearance of the property.
Final Words
Learning how to paint a parking lot can help you maintain a safer, more attractive, and better-organized property. With the right tools, proper preparation, and careful application techniques, you can create durable markings that guide traffic efficiently and enhance curb appeal.
By cleaning the surface thoroughly, measuring accurately, and using high-quality striping paint, you’ll achieve professional-looking results that remain visible and effective for years to come.