
Freshly painted doors can dramatically improve a room, but old, tarnished, or mismatched hinges can stand out and detract from the finished look. Learning how to paint door hinges is an affordable way to update hardware without replacing it entirely. Whether you’re renovating a room, updating your home’s style, or simply refreshing worn hardware, painting door hinges can help create a more cohesive and polished appearance.
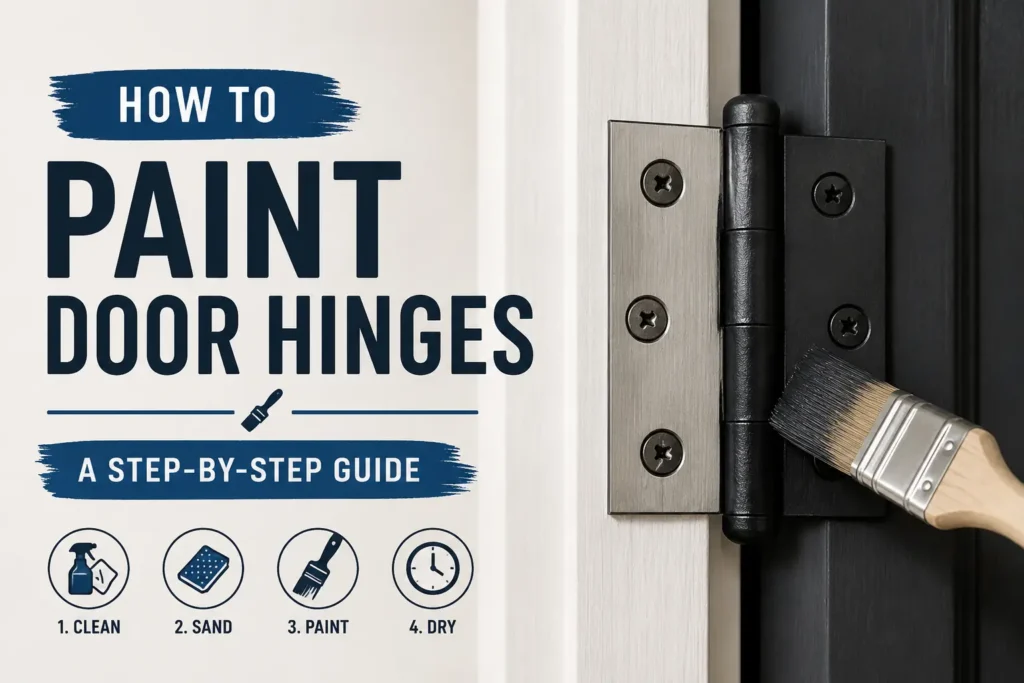
While painting hinges may seem straightforward, proper preparation is essential for achieving a durable finish that won’t chip, peel, or interfere with the hinge’s function. This guide covers everything from choosing the right paint to applying a professional-looking finish that lasts.
Items to Buy
- Screwdriver
- Drop cloth
- Painter’s tape
- Degreaser cleaner
- Mild soap
- Microfiber cloths
- Fine-grit sandpaper (220-400 grit)
- Metal primer
- Spray primer
- Metal paint
- Spray paint for metal
- Small paintbrush
- Foam brush
- Paint tray
- Disposable gloves
- Safety glasses
- Dust mask
- Cardboard or painting board
- Clear protective topcoat
- Steel wool
- Tack cloth
Why Paint Door Hinges?
Replacing door hinges throughout an entire home can be expensive, especially if you have multiple doors. Painting existing hinges provides a budget-friendly alternative while still delivering a fresh, updated look.
Many homeowners paint hinges to match new door hardware, complement updated paint colors, or create a modern finish such as matte black, satin nickel, bronze, or brushed gold.
When done correctly, painted hinges can blend seamlessly with the overall design and make doors appear more refined and intentional.
Should You Remove Hinges Before Painting?
One of the biggest decisions when painting hinges is whether to remove them from the door.
Removing hinges generally produces the best results because it allows complete coverage and reduces the risk of paint buildup in moving parts. It also prevents accidental paint marks on doors and trim.
However, hinges can sometimes be painted while installed if removal isn’t practical. Careful masking and controlled application become especially important in these situations.
For the most professional finish, removal is usually recommended.
Choosing the Best Paint for Door Hinges
Door hinges experience frequent movement, making durability a key consideration.
Paints specifically designed for metal surfaces often provide the best results. Spray paints formulated for metal hardware are particularly popular because they create smooth, even finishes.
Many homeowners choose finishes such as matte black, satin bronze, oil-rubbed bronze, brushed nickel, or metallic gold to complement their décor.
Using a quality primer significantly improves adhesion and longevity.
Selecting the Right Finish
The finish you choose can dramatically affect the appearance of the hardware.
Matte finishes create a modern and understated look. Satin finishes offer a subtle sheen that works well in many home styles. Glossy finishes can make hardware stand out but may also reveal imperfections more easily.
Consider matching the hinge finish to nearby door handles, locks, cabinet hardware, and other fixtures for a coordinated appearance.
Consistency often creates a more polished design.
Preparing Hinges Properly
Preparation is one of the most important steps in the entire project.
Door hinges accumulate dirt, grease, oils, and residue over time. These contaminants can prevent paint from adhering properly and lead to premature peeling.
Thorough cleaning and light sanding create a strong foundation for primer and paint, resulting in a more durable finish.
Taking extra time during preparation can significantly improve the final outcome.
How To Paint Door Hinges Step by Step Guide
Step 1: Remove the Hinges
Using a screwdriver, carefully remove the hinges from the door and frame.
Keep screws organized so reinstallation is easier later. Labeling hardware for each door can be especially helpful when working on multiple doors.
Removing the hinges allows for more complete coverage and cleaner results.
Step 2: Clean Thoroughly
Wash the hinges using a degreaser or warm soapy water.
Remove dirt, grease, fingerprints, and any buildup that may interfere with paint adhesion. Use a brush if necessary to reach small crevices.
Rinse and allow the hinges to dry completely before continuing.
Step 3: Inspect for Damage
Examine the hinges closely for rust, corrosion, scratches, or worn areas.
Minor imperfections can often be corrected during preparation. Severely damaged hinges may be better replaced than painted.
Addressing issues early helps create a smoother final finish.
Step 4: Sand the Surface
Lightly sand all visible surfaces using fine-grit sandpaper.
The goal is to scuff the existing finish and create a texture that helps primer adhere. Focus on achieving a consistent surface rather than removing all previous coating.
Wipe away sanding dust afterward with a tack cloth.
Step 5: Set Up a Painting Area
Place the hinges on cardboard, a drop cloth, or another protected surface.
Ensure the workspace is well-ventilated and free from dust. Elevating the hinges slightly can make it easier to paint edges and achieve more complete coverage.
A clean environment helps produce a smoother finish.
Step 6: Apply Metal Primer
Apply a thin, even coat of metal primer.
Primer helps paint bond to the hinge surface and improves durability. Spray primers often provide the most uniform coverage, but brush-on primers can also work well.
Allow the primer to dry completely according to the manufacturer’s instructions.
Step 7: Apply the First Coat of Paint
Begin applying your chosen paint in light, even coats.
Whether using a spray can or brush, avoid heavy application that could create drips or obscure hinge details.
Thin coats generally produce a more professional finish and reduce the risk of chipping.
Step 8: Allow Proper Drying Time
Resist the temptation to rush the project.
Allow the first coat to dry fully before applying additional layers. Drying times vary depending on the paint type, humidity, and temperature.
Proper drying improves adhesion and overall durability.
Step 9: Apply Additional Coats
Most hinges benefit from two to three coats of paint.
Multiple thin coats provide better coverage and a more durable finish than one thick coat. Inspect the hinges between coats and touch up any missed areas.
Consistent coverage contributes to a polished appearance.
Step 10: Add a Protective Topcoat
After the paint has dried, apply a clear protective topcoat if desired.
A topcoat can improve scratch resistance and help preserve the finish, especially on frequently used doors.
Choose a compatible product that matches the desired sheen.
Step 11: Allow Full Curing
Even if the paint feels dry, it may still require additional curing time.
Follow the paint manufacturer’s recommendations and avoid handling the hinges excessively during this period.
Full curing maximizes durability and reduces the likelihood of damage during installation.
Step 12: Reinstall the Hinges
Carefully reattach the hinges to the door and frame.
Check that the door opens and closes smoothly. If paint has accumulated in moving areas, gently remove excess material to restore proper operation.
A properly painted hinge should function normally while providing an updated appearance.
Common Mistakes to Avoid
One of the most common mistakes is painting hinges without cleaning them first. Dirt and grease can prevent paint from adhering properly.
Another issue is applying paint too heavily. Thick coats often result in drips, uneven finishes, and reduced durability.
Many DIYers also neglect primer, which can significantly affect adhesion on metal surfaces.
Finally, reinstalling hinges before the paint has fully cured can lead to scratches and damage.
Tips for a Professional Finish
Removing the hinges before painting usually yields the best results. Using high-quality primers and paints designed for metal surfaces also improves durability.
Spray painting often produces the smoothest finish, particularly for detailed hardware. Applying multiple thin coats instead of one thick layer helps create a factory-like appearance.
Patience throughout the drying and curing process is one of the most important factors in achieving professional-quality results.
Best Colors for Painted Door Hinges
Matte black remains one of the most popular choices because it complements both modern and traditional interiors.
Bronze finishes provide warmth and elegance, while brushed nickel offers a timeless and versatile look. Gold tones have also become increasingly popular in contemporary and luxury-inspired spaces.
Choosing a finish that coordinates with nearby hardware creates a cohesive appearance throughout the room.
How to Maintain Painted Hinges
Proper care helps extend the life of painted hardware.
Clean hinges occasionally using a soft cloth and mild cleaner. Avoid abrasive products that may scratch the finish.
Inspect hinges periodically for chips or wear and perform touch-ups as needed. Keeping hardware clean and protected helps preserve its appearance for years.
With proper maintenance, painted hinges can continue looking fresh and attractive long after the project is complete.
FAQs
Can door hinges be painted?
Yes. Door hinges can be painted successfully with proper cleaning, sanding, priming, and painting techniques.
Should I remove hinges before painting?
Removing hinges generally provides the best results and allows for more complete coverage.
What type of paint works best?
Metal-specific spray paint and durable enamel paints are popular choices for door hinges.
Do I need to use primer?
Yes. Primer improves adhesion and helps create a longer-lasting finish.
How many coats of paint should I apply?
Most projects require two to three thin coats for optimal coverage and durability.
Can painted hinges still function properly?
Yes. As long as paint is not allowed to build up excessively in moving parts, the hinges should function normally.
How long should painted hinges cure?
Curing times vary by product, but many paints require at least 24 to 48 hours for optimal durability.
Will painted hinges chip over time?
Proper preparation, quality materials, and careful application greatly reduce the risk of chipping and peeling.
Final Words
Learning how to paint door hinges is a simple and cost-effective way to refresh outdated hardware and improve the overall appearance of your doors. By cleaning thoroughly, preparing the surface properly, applying quality primer and paint, and allowing adequate curing time, you can achieve a durable finish that looks professionally done.
Whether you’re updating a single room or giving your entire home a makeover, painted door hinges can make a surprisingly big impact. With patience and attention to detail, you can transform ordinary hardware into a stylish design feature that complements your décor and enhances the finished look of your space.