
Learning how to paint motorcycle rims is an affordable way to customize your bike, refresh worn wheels, and create a striking new look. Whether your rims have scratches, faded paint, or simply no longer match your style, a quality paint job can dramatically improve the motorcycle’s appearance without the expense of replacing the wheels.
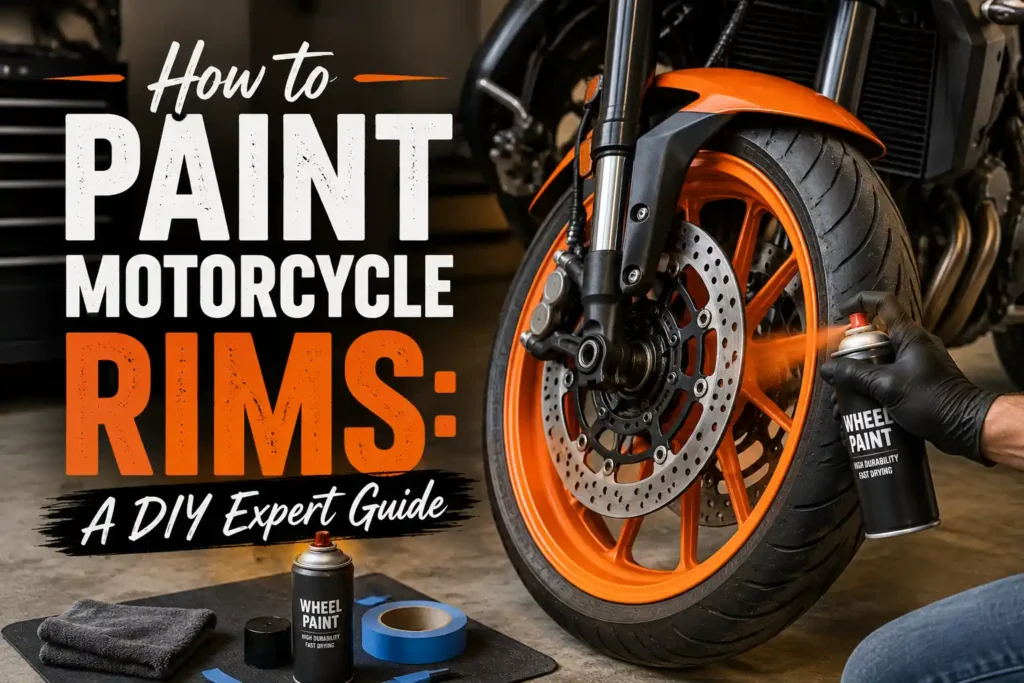
Because motorcycle rims endure road debris, brake dust, moisture, and constant wear, proper preparation is essential. Using the correct primer, paint, and finishing techniques will help create a durable finish that resists chipping and fading. This guide covers everything you need to know to achieve professional-looking results at home.
Items to Buy
- Wheel cleaner
- Degreaser
- Bucket
- Microfiber cloths
- Sandpaper
- Sanding block
- Scotch-Brite pad
- Tack cloth
- Painter’s tape
- Index cards
- Plastic sheeting
- Drop cloths
- Self-etching primer
- Wheel paint
- Automotive spray paint
- Clear coat
- Paint respirator
- Safety goggles
- Nitrile gloves
- Jack stand
- Tire shine remover
Why Paint Motorcycle Rims?
Painting motorcycle rims offers several benefits.
Common advantages include:
- Custom appearance
- Affordable upgrade
- Covers scratches
- Refreshes faded wheels
- Protects metal surfaces
- Improves overall bike aesthetics
- Matches custom paint schemes
- Increases visual appeal
A fresh rim color can completely change the personality of a motorcycle.
Can Motorcycle Rims Be Painted?
Yes, most motorcycle rims can be painted successfully.
Aluminum, alloy, and steel rims are all suitable candidates for painting when properly prepared. The key is ensuring the surface is clean, lightly sanded, and primed before paint application.
Skipping preparation often leads to peeling, chipping, or poor adhesion.
When done correctly, painted rims can remain attractive for years.
Best Paint for Motorcycle Rims
Choosing the right paint is critical for durability.
Popular options include:
- Wheel paint
- Automotive spray paint
- Acrylic enamel paint
- Urethane wheel coatings
- High-performance wheel paint
Wheel-specific paints are often preferred because they are formulated to resist road debris, brake dust, and weather exposure.
Popular Rim Colors
Motorcycle rims can be painted in nearly any color.
Popular choices include:
- Gloss black
- Satin black
- Matte black
- White
- Silver
- Gunmetal gray
- Bronze
- Gold
- Red
- Blue
Choose a color that complements the motorcycle’s overall design.
Should You Remove the Wheels First?
Painting can be done with the wheels installed or removed.
Painting With Wheels Removed
Advantages include:
- Easier access
- Better coverage
- Reduced overspray risk
- Professional results
Painting With Wheels Installed
Advantages include:
- Faster setup
- Less mechanical work
- Suitable for simple projects
Many DIY enthusiasts achieve the best results by removing the wheels before painting.
Preparing Motorcycle Rims for Painting
Preparation is the foundation of a durable finish.
Motorcycle rims accumulate brake dust, grease, tire residue, and road grime. Thorough cleaning ensures the primer and paint bond properly.
Taking time during preparation often determines the overall success of the project.
Never rush this stage.
How to Paint Motorcycle Rims Step by Step Guide
Step 1: Clean the Rims Thoroughly
Wash the rims using wheel cleaner and degreaser.
Remove dirt, grease, brake dust, and road contaminants.
Rinse thoroughly and allow the wheels to dry completely.
Step 2: Remove Tire Shine Residue
If tire dressings have been used, clean the wheel edges carefully.
Residual tire products can interfere with paint adhesion.
A completely clean surface is essential.
Step 3: Sand the Existing Finish
Lightly sand the rims using fine-grit sandpaper or a Scotch-Brite pad.
The goal is to create a slightly rough surface that helps the primer adhere.
Avoid deep scratches.
Step 4: Repair Minor Damage
Inspect the rims for chips, scratches, or curb rash.
Smooth damaged areas as much as possible before painting.
Minor repairs improve the finished appearance.
Step 5: Remove Sanding Dust
Wipe the rims thoroughly with a tack cloth.
Remove all dust and debris before applying primer.
Even small particles can affect the finish.
Step 6: Mask the Tires
Use painter’s tape and index cards inserted between the tire and rim.
This creates a clean edge and protects the tire from overspray.
Take your time during masking.
Step 7: Apply Self-Etching Primer
Spray a light coat of self-etching primer onto the rim surface.
Apply smooth, even passes while maintaining consistent coverage.
Primer helps create a strong bond between the metal and paint.
Step 8: Allow the Primer to Dry
Follow the manufacturer’s recommended drying time.
Proper drying improves adhesion and reduces future paint problems.
Avoid touching the surface.
Step 9: Apply the First Coat of Paint
Shake the paint thoroughly.
Apply a thin, even coat while keeping the spray can moving continuously.
Thin coats reduce the risk of drips and runs.
Step 10: Apply Additional Paint Coats
Most motorcycle rims require two to four coats.
Allow each layer to dry before applying the next.
Gradually building coverage produces better durability.
Step 11: Apply Clear Coat
Once the paint has dried, apply several light coats of clear coat.
The clear layer helps protect the finish from chips, UV damage, and weather exposure.
It also enhances gloss and depth.
Step 12: Allow the Finish to Cure
Let the paint cure fully before riding the motorcycle.
Curing times vary depending on the products used.
Following the manufacturer’s recommendations helps maximize durability.
Common Mistakes to Avoid
One common mistake is skipping the sanding process.
Without proper surface preparation, paint may fail to adhere effectively. Another issue is applying thick coats of paint, which often results in runs and uneven finishes.
Many beginners also neglect proper masking, leading to overspray on tires and brake components.
Careful preparation helps avoid these problems.
Tips for a Professional Finish
For the best results:
- Clean thoroughly
- Sand evenly
- Use self-etching primer
- Apply thin coats
- Maintain proper spray distance
- Work in a dust-free area
- Allow adequate drying time
Small details often make the difference between an average finish and a professional-looking one.
How Long Does Rim Paint Last?
The lifespan of painted rims depends on:
- Surface preparation
- Paint quality
- Riding conditions
- Weather exposure
- Maintenance habits
With proper preparation and quality materials, painted motorcycle rims can remain attractive for several years before requiring touch-ups.
Maintaining Painted Motorcycle Rims
Routine maintenance helps preserve the finish.
Wash rims regularly using mild soap and water. Remove brake dust promptly and avoid harsh chemicals that may damage the paint.
Inspect the wheels periodically for chips or scratches and repair minor damage before it worsens.
Proper care helps extend the life of the finish.
Matte vs Gloss Rim Finishes
Both finishes offer unique advantages.
Matte Finish
Benefits include:
- Modern appearance
- Hides minor imperfections
- Low glare
Gloss Finish
Benefits include:
- High shine
- Easier cleaning
- Richer color depth
Choose the finish that best matches your motorcycle’s style.
FAQs
Can motorcycle rims be painted?
Yes, aluminum, alloy, and steel rims can all be painted successfully.
Do I need to sand the rims first?
Yes, light sanding improves primer and paint adhesion.
What paint should I use?
Wheel-specific automotive paint is often the best choice.
Should I use primer?
Yes, self-etching primer helps create a durable bond.
How many coats of paint are needed?
Most rims require two to four paint coats for full coverage.
Is clear coat necessary?
While optional, clear coat significantly improves protection and durability.
Can I paint rims without removing the tires?
Yes, but careful masking is required.
How long should the paint cure?
Always follow the manufacturer’s curing recommendations before riding.
Final Words
Learning how to paint motorcycle rims is a rewarding DIY project that can dramatically enhance your motorcycle’s appearance. By cleaning thoroughly, sanding properly, applying self-etching primer, and building multiple thin paint layers, you can create a durable finish that withstands daily riding conditions.
Whether you’re aiming for a sleek black finish, a bold custom color, or a complete bike makeover, patience and proper preparation are the keys to success. With the techniques outlined in this guide, you can achieve professional-looking motorcycle rims that turn heads wherever you ride.