
Learning how to paint needlepoint canvas can add a personal touch to your stitching projects and open up endless creative possibilities. Whether you want to create a custom design, add background colors, or speed up a large needlepoint project, painting a canvas allows you to achieve beautiful results while maintaining the traditional charm of needlepoint.
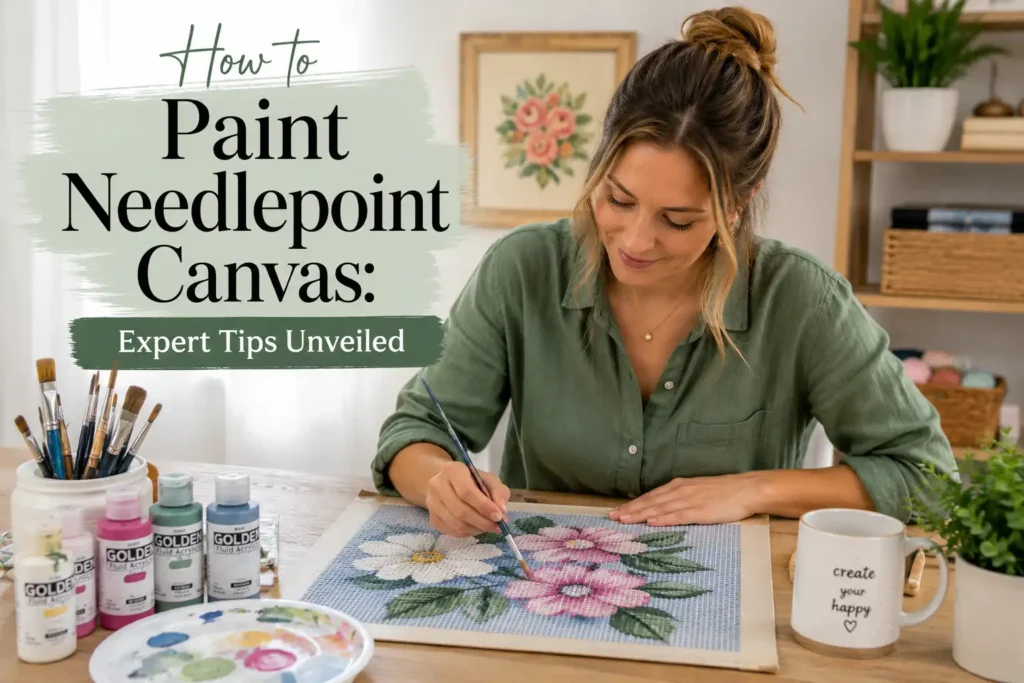
The process requires patience, the right materials, and a few proven techniques. With proper preparation and careful paint application, you can create a vibrant painted canvas that serves as the perfect foundation for your needlepoint masterpiece.
Items to Buy
- Blank needlepoint canvas
- Acrylic paint
- Fabric paint
- Textile medium
- Fine-tip paint brushes
- Detail brushes
- Paint palette
- Water container
- Paper towels
- Pencil
- Waterproof marker
- Ruler
- Lightbox (optional)
- Design template
- Painter’s tape
- Magnifying lamp
- Canvas stretcher bars
- Protective gloves
- Spray bottle
- Clear storage folder
What Is a Painted Needlepoint Canvas?
A painted needlepoint canvas is a blank mesh canvas that has been painted with a design before stitching begins.
The painted areas act as guides for stitch placement and color selection. Instead of following a printed chart alone, stitchers can work directly from the painted design.
Many commercial needlepoint kits feature hand-painted canvases because they make stitching easier and more visually intuitive.
Painting your own canvas allows complete creative freedom.
Why Paint a Needlepoint Canvas?
Painting a needlepoint canvas offers several advantages.
You can create custom designs, personalize gifts, reproduce favorite artwork, or experiment with unique color combinations. A painted canvas can also reduce counting errors because the colors are already marked directly on the mesh.
For advanced stitchers, canvas painting becomes an enjoyable art form in its own right.
It combines drawing, painting, and needlework into a single creative process.
Choosing the Right Paint
Not every paint works well on needlepoint canvas.
The best options are:
- Acrylic paint
- Acrylic paint mixed with textile medium
- Fabric paint
- Specialty needlepoint canvas paint
These paints provide strong color while maintaining the flexibility of the canvas.
Avoid thick paints that may clog the mesh holes and make stitching difficult.
Preparing Your Design Before Painting
Preparation is one of the most important stages of the process.
Start by selecting or creating a design that matches the mesh count of your canvas. Many artists transfer the design using graph paper so each painted square corresponds to a canvas intersection.
Planning colors beforehand helps avoid mistakes and ensures a smoother painting experience.
A well-prepared design often produces the most professional results.
Understanding Needlepoint Canvas Mesh
Needlepoint canvases are available in various mesh counts.
Common options include:
- 10 mesh
- 12 mesh
- 13 mesh
- 18 mesh
The mesh count determines the number of stitches per inch and affects the level of detail possible in the design.
Finer mesh allows for more intricate artwork but requires greater precision during painting.
How to Paint Needlepoint Canvas Step by Step Guide
Step 1: Select Your Canvas
Choose a blank needlepoint canvas suitable for your project.
Consider the size, mesh count, and intended level of detail before making your selection.
Larger mesh canvases are often easier for beginners.
Step 2: Mount the Canvas
Secure the canvas on stretcher bars or tape it to a flat work surface.
Keeping the canvas taut helps ensure accurate paint placement.
Avoid excessive tension that may distort the mesh.
Step 3: Transfer the Design
Lightly draw the design onto the canvas using pencil or a waterproof fine-tip marker.
Some stitchers use a lightbox to transfer patterns more accurately.
Keep markings light and easy to cover.
Step 4: Prepare the Paint
Pour small amounts of paint onto a palette.
Thin acrylic paint slightly if necessary to improve flow without filling the mesh holes.
Mix colors thoroughly before beginning.
Step 5: Test the Paint
Paint a small section on a scrap piece of canvas.
This allows you to evaluate color, consistency, and coverage before working on the final project.
Make adjustments as needed.
Step 6: Begin With Large Areas
Paint the largest color sections first.
Working from large areas to small details helps establish the overall design and reduces the risk of accidental smudging.
Apply paint carefully to individual intersections.
Step 7: Keep the Holes Open
Avoid overloading the brush with paint.
Excess paint can clog the mesh openings and make stitching difficult later.
Use light, controlled applications.
Step 8: Add Secondary Colors
Once the first colors have dried, begin painting additional sections.
Work systematically to maintain clean edges and prevent color contamination.
Allow drying time between adjacent colors when necessary.
Step 9: Paint Fine Details
Use a small detail brush for outlines, highlights, lettering, and intricate elements.
Steady hand movements improve precision.
Magnification tools can help with complex designs.
Step 10: Review the Canvas
Inspect the entire design carefully.
Look for missed intersections, uneven color coverage, or mistakes that require correction.
Make touch-ups before proceeding.
Step 11: Allow the Paint to Dry
Let the painted canvas dry completely.
Drying times vary depending on paint thickness and environmental conditions.
Avoid handling the canvas while it is still wet.
Step 12: Prepare for Stitching
Once dry, review the finished design and ensure all mesh openings remain accessible.
Your painted needlepoint canvas is now ready for stitching.
Store it flat until you begin working.
Best Brushes for Needlepoint Canvas Painting
Brush selection can greatly influence accuracy.
Popular choices include:
- Round detail brushes
- Fine liner brushes
- Miniature painting brushes
- Spotter brushes
Small, high-quality brushes offer greater control when painting individual canvas intersections.
Many experienced painters keep several brush sizes available for different tasks.
Common Mistakes to Avoid
One common mistake is applying paint too heavily.
Thick paint may clog the canvas holes and make stitching difficult. Another issue is failing to plan the design properly before painting.
Many beginners also rush between colors, which can cause unwanted blending and smudging.
Patience and careful application help avoid these problems.
Tips for Professional-Looking Results
Work in good lighting and use magnification when necessary.
Keep paint layers thin and allow adequate drying time between colors. Consistently cleaning brushes helps maintain precision throughout the project.
Practicing on scrap canvas before painting a large design can improve confidence and technique.
Small details often make the biggest difference in the finished piece.
How to Correct Painting Mistakes
Mistakes happen, even for experienced canvas painters.
If the paint is still wet, carefully blot the area with a damp cloth. For dried mistakes, paint over the area with the correct color once the surface has cured.
Minor imperfections are often covered during stitching and may not be noticeable in the finished project.
Don’t let small errors discourage you.
Storing Painted Needlepoint Canvases
Store painted canvases flat whenever possible.
Keep them away from excessive moisture, direct sunlight, and extreme temperatures. Protective folders or archival sleeves can help prevent dust and damage.
Proper storage preserves the design until you’re ready to stitch.
FAQs
What paint should I use on a needlepoint canvas?
Acrylic paint and fabric paint are the most commonly used options.
Can I paint my own needlepoint design?
Yes. Many stitchers create custom painted canvases for unique projects.
Will paint clog the canvas holes?
It can if applied too heavily. Thin layers help keep the mesh openings clear.
Do I need special brushes?
Small detail brushes provide the best control for painting individual intersections.
How long does the paint take to dry?
Most acrylic paints dry within a few hours, though complete curing may take longer.
Can beginners paint needlepoint canvases?
Absolutely. Starting with simple designs is a great way to learn.
Should I use a pattern?
Patterns help improve accuracy, especially for detailed designs.
How do I store a painted canvas?
Store it flat in a dry location away from direct sunlight.
Final Words
Learning how to paint needlepoint canvas allows you to combine painting and needlework into one rewarding creative process. By choosing the right materials, keeping paint layers thin, and carefully transferring your design, you can create a beautiful painted canvas ready for stitching.
Whether you’re personalizing a gift, designing your own artwork, or exploring a new needlepoint technique, painting a canvas provides endless opportunities for creativity. With practice and patience, you’ll be able to produce professional-looking canvases that serve as the foundation for stunning needlepoint projects.