
Painting over a Mod Podge surface is a simple way to update crafts, furniture, canvas art, and DIY décor without starting from scratch. Learning how to paint over Mod Podge with acrylic paint requires proper surface preparation to ensure the new paint adheres well and creates a smooth, long-lasting finish.
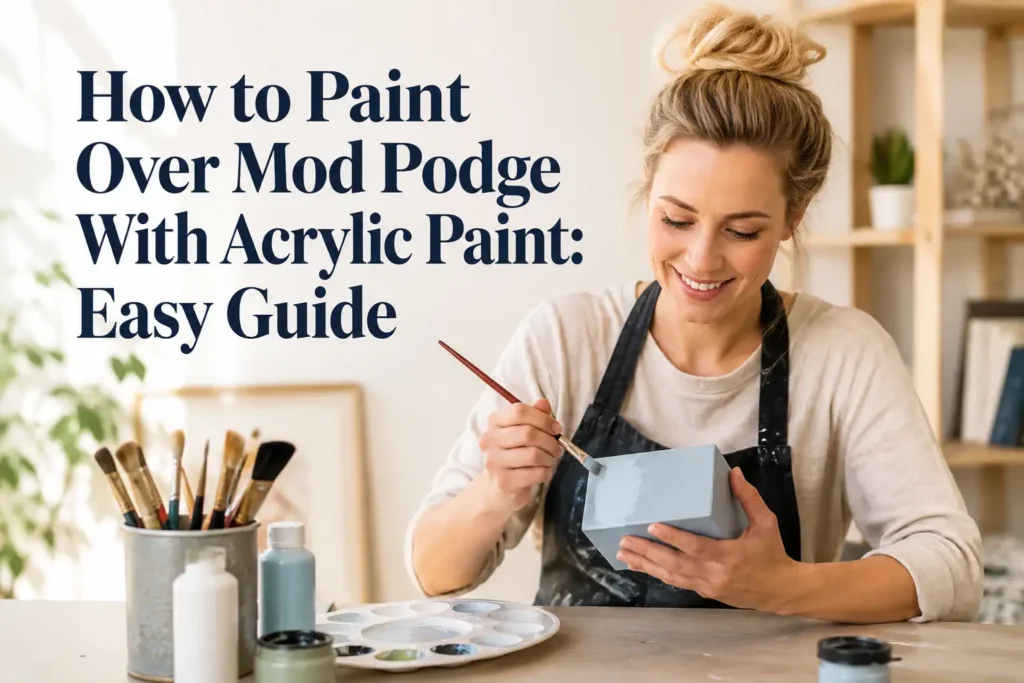
Whether you’re covering an old decoupage project or refreshing a sealed craft, this guide will walk you through the best materials, preparation techniques, and step-by-step instructions for achieving professional-looking results.
Items to Buy
Before you begin, gather these supplies:
- Acrylic paint
- Fine-grit sandpaper (220–400 grit)
- Soft microfiber cloth
- Mild soap and water
- Isopropyl alcohol (optional)
- Acrylic primer (optional)
- Paintbrushes or foam brushes
- Foam roller (optional)
- Paint tray
- Painter’s tape
- Drop cloth or newspaper
- Clear acrylic sealer or varnish
- Disposable gloves
Can You Paint Over Mod Podge?
Yes, you can paint over Mod Podge with acrylic paint once the Mod Podge has fully cured. Since Mod Podge creates a smooth, sealed surface, lightly sanding it first helps the paint bond more effectively.
If the original finish is glossy, proper preparation is especially important. A lightly sanded surface provides better adhesion and helps prevent peeling or uneven coverage.
Preparing the Surface
Start by cleaning the surface with a damp cloth and mild soap to remove dust, grease, and fingerprints. Allow it to dry completely before moving to the next step.
Next, lightly sand the Mod Podge finish using fine-grit sandpaper. The goal is to dull the shine rather than remove the Mod Podge entirely. Wipe away the sanding dust with a clean microfiber cloth.
Choosing the Right Acrylic Paint
High-quality acrylic craft paint or multi-surface acrylic paint works well for most Mod Podge projects. Choose a finish that suits your project, whether matte, satin, or gloss.
If you’re painting a frequently used item such as furniture or trays, consider using a durable acrylic paint designed for high-traffic surfaces.
How to Paint Over Mod Podge With Acrylic Paint Step by Step Guide
Step 1: Clean the Surface
Remove dust, dirt, and oils using mild soap and water.
Dry the surface thoroughly before sanding or painting.
Step 2: Lightly Sand the Mod Podge
Use fine-grit sandpaper to gently scuff the glossy finish.
Avoid sanding too aggressively, as you only need to create enough texture for the paint to adhere.
Step 3: Apply Primer (Optional)
If you’re covering dark colors, glossy finishes, or large surfaces, apply a thin coat of acrylic primer.
Allow it to dry completely according to the manufacturer’s instructions.
Step 4: Paint the First Coat
Apply a thin, even coat of acrylic paint using smooth brushstrokes or a foam roller.
Work in one direction for a cleaner finish and avoid overloading the brush.
Step 5: Let the Paint Dry
Allow the first coat to dry completely before applying another layer.
Drying times vary depending on the paint and room conditions.
Step 6: Apply Additional Coats
Apply two or three thin coats until you achieve full, even coverage.
Thin layers produce a smoother finish and reduce visible brush marks.
Step 7: Seal the Finished Surface
Once the paint has fully dried, apply a clear acrylic sealer or varnish if extra durability is needed.
Allow the protective finish to cure completely before using the item.
Tips for a Smooth Finish
Use soft synthetic brushes or foam rollers to minimize brush marks. Applying several thin coats rather than one thick layer creates a more professional appearance.
Paint in a clean, dust-free environment and avoid working in high humidity, which can slow drying and affect the finish.
Common Mistakes to Avoid
Skipping the sanding step is one of the most common mistakes. Paint may not adhere properly to a glossy Mod Podge surface without light sanding.
Another mistake is applying thick coats of acrylic paint. Heavy layers can take longer to dry and may result in streaks, drips, or uneven coverage.
How to Protect Your Painted Project
After the paint has cured, protect your work with a clear acrylic sealer or a fresh coat of Mod Podge, depending on the project’s intended use. This helps guard against scratches, moisture, and everyday wear.
Store finished crafts indoors whenever possible and clean them with a soft, damp cloth to maintain their appearance.
FAQs
Can acrylic paint stick to Mod Podge?
Yes. Acrylic paint adheres well to Mod Podge when the surface is cleaned and lightly sanded beforehand.
Do I have to sand Mod Podge before painting?
Light sanding is recommended, especially if the Mod Podge has a glossy finish. It improves paint adhesion and creates a smoother result.
Should I use primer over Mod Podge?
Primer is optional but helpful when painting over glossy, dark, or heavily decorated surfaces.
How many coats of acrylic paint are needed?
Most projects require two to three thin coats for full coverage.
Can I apply Mod Podge over acrylic paint again?
Yes. Once the acrylic paint is completely dry, you can seal it with a fresh coat of Mod Podge if desired.
How long should I wait before sealing the paint?
Allow the paint to dry completely according to the manufacturer’s recommendations before applying a sealer or additional Mod Podge.
Final Words
Learning how to paint over Mod Podge with acrylic paint is an easy way to refresh old crafts and give them a completely new look. With proper cleaning, light sanding, and multiple thin coats of paint, you can achieve a smooth, durable finish that lasts.
Take your time during each step and allow every layer to dry fully before moving on. With the right preparation and materials, your updated project will have a beautiful finish that’s ready to display or use for years to come.