
If you’re wondering how to paint over washable paint, you’re not alone. Washable paint is popular because it resists stains and makes cleaning walls easy, but those same qualities can make repainting more challenging. Without proper preparation, new paint may struggle to adhere, leading to peeling, bubbling, or uneven coverage.
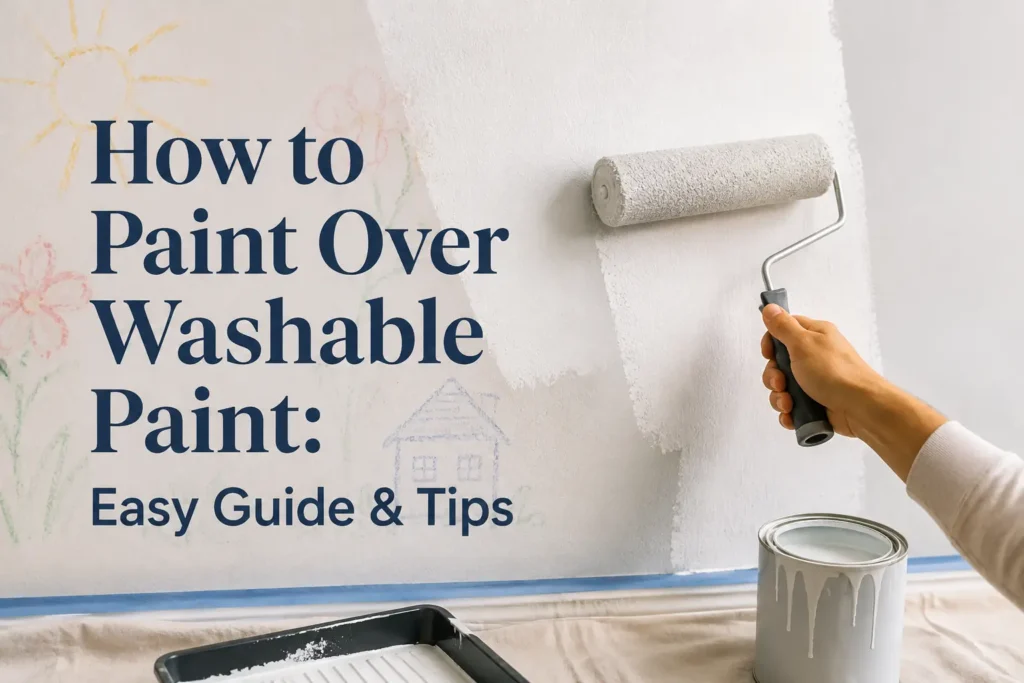
Fortunately, painting over washable paint is completely possible with the right tools and techniques. By cleaning the surface, lightly sanding, using a high-quality bonding primer, and applying the appropriate paint, you can achieve a beautiful, long-lasting finish. This guide explains every step in detail to help you repaint washable-painted surfaces like a professional.
Items to Buy
- Mild detergent
- Degreaser
- Sponge
- Bucket
- Microfiber cloths
- Drop cloths
- Painter’s tape
- Fine-grit sandpaper
- Sanding sponge
- Tack cloth
- Bonding primer
- Stain-blocking primer
- Interior latex paint
- Acrylic paint
- Paint roller
- Roller cover
- Angled paintbrush
- Paint tray
- Paint stir stick
- Extension pole
- Step ladder
- Safety goggles
- Dust mask
- Nitrile gloves
What Is Washable Paint?
Washable paint is specially formulated to withstand frequent cleaning without losing its finish. It’s commonly used in high-traffic areas such as kitchens, bathrooms, hallways, children’s bedrooms, and laundry rooms because it resists stains, fingerprints, and everyday wear.
Most washable paints have a tighter, more durable surface than standard wall paint. While this makes them easier to clean, it also means fresh paint may not bond as effectively unless the surface is properly prepared.
Can You Paint Over Washable Paint?
Yes, you can paint over washable paint.
However, because washable paint creates a smooth and stain-resistant finish, simply rolling new paint over it is not recommended. Proper cleaning, light sanding, and priming help the new paint adhere securely and reduce the risk of peeling or patchy coverage.
With careful preparation, the new finish can be just as durable and attractive as paint applied to a freshly primed wall.
Why Proper Surface Preparation Matters
Preparation is the most important part of repainting washable paint.
Even premium paint can fail if applied over grease, soap residue, or glossy surfaces. Spending extra time preparing the wall creates a stronger bond between the old finish and the new paint while improving durability and appearance.
Skipping these steps may result in uneven color, poor adhesion, or premature paint failure.
Best Paint for Painting Over Washable Paint
Several types of paint work well after proper priming.
Popular choices include:
- Interior acrylic latex paint
- Premium wall paint
- Eggshell paint
- Satin paint
- Semi-gloss paint
- Matte paint
- Low-VOC paint
Choose a finish that matches the room’s purpose and desired appearance.
Best Primer to Use
Primer helps new paint adhere to washable surfaces.
Recommended options include:
- Bonding primer
- Acrylic bonding primer
- Stain-blocking primer
- High-adhesion primer
A quality primer also improves coverage, especially when changing from a dark color to a lighter one.
How to Paint Over Washable Paint Step by Step
Step 1: Remove Furniture and Protect the Room
Move furniture away from the walls or cover it with plastic sheets.
Lay drop cloths on the floor and use painter’s tape to protect trim, ceilings, outlets, and baseboards.
Step 2: Wash the Walls Thoroughly
Clean the walls using warm water mixed with a mild detergent.
Remove:
- Dust
- Grease
- Fingerprints
- Smoke residue
- Crayon marks
- Soap buildup
Allow the walls to dry completely before continuing.
Step 3: Remove Stubborn Grease
In kitchens or bathrooms, use a degreaser on areas with heavy grease buildup.
Any oily residue left behind can interfere with paint adhesion.
Step 4: Inspect the Surface
Look for:
- Nail holes
- Cracks
- Peeling paint
- Water damage
- Dents
Repair imperfections before painting.
Step 5: Fill Holes and Cracks
Use spackling compound or wall filler to repair damaged areas.
Allow the repairs to dry completely before sanding them smooth.
Step 6: Lightly Sand the Surface
Lightly sand the washable paint using fine-grit sandpaper or a sanding sponge.
The goal is not to remove the old paint but to dull the glossy finish and create microscopic scratches that improve primer adhesion.
Step 7: Remove Dust
Wipe the walls with a tack cloth or damp microfiber cloth to remove all sanding dust.
A clean surface helps produce a smoother finish.
Step 8: Apply Bonding Primer
Roll or brush on a thin, even coat of bonding primer.
Work in manageable sections and maintain consistent coverage.
Allow the primer to dry according to the manufacturer’s instructions.
Step 9: Inspect the Primed Surface
After the primer dries, check for:
- Missed spots
- Rough patches
- Visible repairs
- Uneven coverage
Touch up any areas before painting.
Step 10: Apply the First Coat of Paint
Use a roller for large wall sections and an angled brush for edges and corners.
Apply a thin, even coat using overlapping strokes.
Step 11: Allow Proper Drying
Let the first coat dry fully before applying another.
Drying times vary depending on humidity, temperature, and the paint being used.
Step 12: Apply the Second Coat
A second coat provides:
- Better color depth
- Improved coverage
- More consistent finish
- Increased durability
Dark colors or dramatic color changes may require an additional coat.
Step 13: Remove Painter’s Tape
Remove tape while the paint is still slightly soft to create crisp paint lines.
Pull the tape away slowly at a 45-degree angle.
Step 14: Allow Full Curing
Although paint may feel dry within hours, full curing often takes several days or longer.
Avoid scrubbing or washing the walls until the paint has fully cured.
Choosing the Right Paint Finish
Each finish offers different advantages.
Matte Finish
- Hides wall imperfections
- Soft appearance
- Ideal for bedrooms and living rooms
Eggshell Finish
- Easy to clean
- Low sheen
- Suitable for most interior walls
Satin Finish
- Excellent durability
- Moisture resistant
- Popular for hallways and family rooms
Semi-Gloss Finish
- Highly washable
- Moisture resistant
- Ideal for kitchens, bathrooms, and trim
Select a finish that balances appearance with durability.
Common Mistakes to Avoid
One of the biggest mistakes is painting directly over washable paint without cleaning the surface. Dirt, grease, and cleaning product residue can prevent proper adhesion.
Another common error is skipping primer. While some paints advertise built-in primer, a dedicated bonding primer generally provides much better adhesion over washable finishes.
Applying thick coats is another issue that can lead to drips, longer drying times, and uneven results. Multiple thin coats create a stronger, smoother finish.
Tips for a Professional Finish
For the best results:
- Clean the walls thoroughly
- Repair damaged areas
- Sand lightly
- Use a high-quality bonding primer
- Apply thin paint coats
- Maintain a wet edge while rolling
- Allow proper drying between coats
- Use premium brushes and rollers
These techniques help create a finish that looks professionally painted.
How Long Will the New Paint Last?
Durability depends on several factors, including:
- Surface preparation
- Primer quality
- Paint quality
- Room conditions
- Cleaning methods
A properly prepared and painted wall can remain beautiful for many years with routine maintenance.
Maintaining Newly Painted Walls
To keep your walls looking fresh:
- Dust regularly
- Clean gently with a soft cloth
- Avoid abrasive scrubbers
- Wipe spills promptly
- Touch up chips when needed
Waiting until the paint has fully cured before washing helps preserve the finish.
FAQs
Can you paint directly over washable paint?
Yes, but cleaning, light sanding, and priming are strongly recommended for the best adhesion.
Do I have to sand washable paint?
Light sanding improves paint adhesion by reducing surface gloss.
What primer works best?
A high-quality bonding primer is usually the best choice.
Can I skip primer if I’m using paint and primer in one?
For washable paint, a separate bonding primer generally provides more reliable results.
How many coats of paint are needed?
Most walls require two coats, although some colors may need a third.
Can I use latex paint?
Yes. Premium acrylic latex paint works very well over properly primed washable paint.
How long should I wait before cleaning the walls?
Wait until the paint has fully cured, which may take several weeks depending on the product.
What if the old paint is peeling?
Remove loose paint, repair the surface, prime, and then repaint for the best results.
When Should You Repaint Instead of Touch Up?
Touch-ups work well for small scuffs and isolated marks, but larger areas with fading, uneven color, or multiple repairs usually benefit from repainting the entire wall. Repainting ensures a consistent finish and eliminates visible patches that can occur when new paint is applied only to damaged spots.
If the washable paint has become glossy from years of cleaning or has started to peel, it’s often more efficient to prepare and repaint the entire surface rather than repeatedly touching up small sections.
Final Words
Learning how to paint over washable paint is easier than many homeowners expect. The key is taking the time to clean the walls thoroughly, lightly sand the surface, apply a quality bonding primer, and use durable interior paint. These preparation steps create a strong foundation that helps the new finish adhere properly and last for years.
Whether you’re updating a single room or repainting your entire home, following the methods in this guide will help you achieve smooth, even, and professional-looking results with confidence.