
Learning how to remove paint from wood can help you restore old furniture, refresh wooden doors, clean paint splatters, and prepare surfaces for a new finish. Whether you’re working with a vintage table, hardwood floor, wooden trim, or a DIY project, choosing the right removal method helps protect the wood underneath.
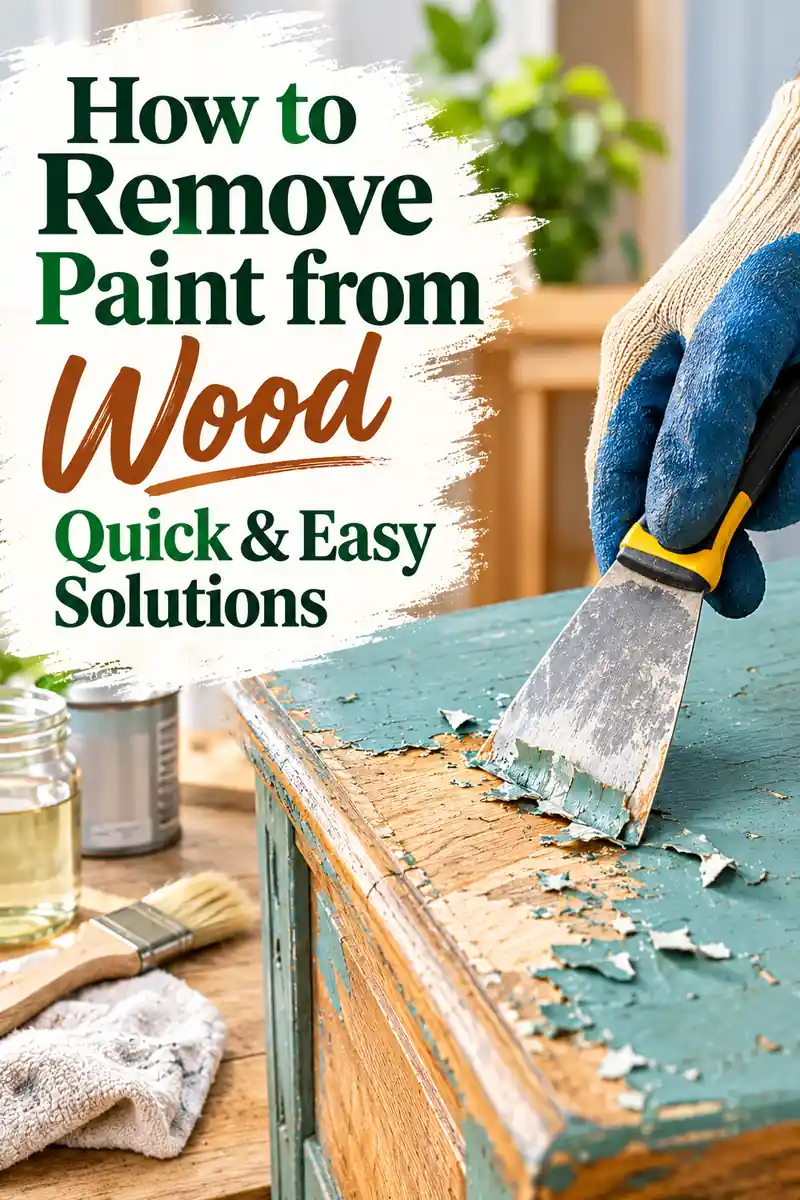
The best approach depends on the paint type, the age of the coating, and the condition of the wood. From gentle scraping to chemical paint removers, these seven methods can help you remove unwanted paint while minimizing damage.
Affiliate disclosure: As an Amazon Associate, I earn from qualifying purchases.
Items to Buy
- Paint Remover for Wood
- Plastic Paint Scraper
- Fine-Grit Sandpaper
- Random Orbital Sander
- Heat Gun for Paint Removal
- Soft-Bristle Cleaning Brushes
- Microfiber Cleaning Cloths
- Protective Gloves
- Safety Goggles
- Paint Stripping Brush
- Wood Filler
- Wood Stain
- Wood Primer
- Clear Wood Finish
Why Remove Paint from Wood?
Removing unwanted paint can reveal the natural grain beneath an old coating or create a clean surface for repainting. It is particularly useful when restoring wooden furniture, updating doors, refinishing cabinets, or repairing areas where paint has cracked and peeled.
Common reasons to remove paint include:
- Restoring the natural appearance of wood
- Preparing furniture for staining
- Removing peeling or damaged paint
- Cleaning accidental paint splatters
- Preparing a wooden surface for repainting
- Restoring vintage or antique pieces
- Correcting uneven or poorly applied paint
You do not always need to remove every layer. If the existing paint is firmly attached and you plan to repaint, cleaning, scraping loose areas, and sanding may be sufficient.
Identify the Paint and Wood Before Starting
Before choosing a removal method, determine what you are working with. Water-based latex paint may respond to different treatments than oil-based paint or older enamel.
The wood itself also matters. Solid hardwood can generally tolerate more preparation than thin veneer, delicate antique furniture, or engineered wood with a fragile surface.
If the wood was painted before 1978 in the United States, the coating may contain lead. Older paint elsewhere can also contain hazardous substances. Do not dry-sand, aggressively scrape, or heat suspected lead paint. Have it tested and follow the appropriate lead-safe removal procedures before disturbing it.
How to Remove Paint from Wood: 7 Quick & Easy Solutions
1. Remove Fresh Paint with Warm Water and Mild Soap
Best for: Fresh water-based paint splashes on sealed or otherwise washable wood finishes.
If you notice paint immediately after a spill, cleaning it while it is wet is usually the easiest option. Fresh latex and acrylic paint can often be removed without sanding or chemical stripping.
Step 1: Blot the paint. Use a clean, damp microfiber cloth to lift excess paint. Avoid spreading the spill over a larger area.
Step 2: Prepare a cleaning solution. Mix a few drops of mild dish soap into lukewarm water.
Step 3: Wipe gently. Dampen a soft cloth and work on the paint with short, gentle strokes.
Step 4: Remove the residue. Use a clean, slightly damp cloth to wipe away the loosened paint and soap.
Step 5: Dry the wood. Pat the surface dry immediately with a clean towel.
Avoid soaking unfinished wood because water can raise the grain, cause swelling, or leave marks. If the paint has already dried, move on to another method rather than scrubbing harder.
2. Use a Plastic Scraper to Lift Dried Paint
Best for: Raised paint drops, small splatters, and loose paint flakes.
A plastic scraper can remove some dried paint without the scratching risk associated with a metal blade. This method works particularly well on sturdy wooden surfaces when the paint is already lifting.
Step 1: Inspect the surface. Check whether the paint is raised or loose. Do not force a scraper underneath firmly bonded paint.
Step 2: Choose a plastic tool. Use a scraper with a smooth edge and test it on a hidden area.
Step 3: Hold it at a shallow angle. Keep the edge close to the wood rather than pressing down into the grain.
Step 4: Lift the paint gradually. Use short, controlled movements to remove loose flakes.
Step 5: Wipe away debris. Clean the surface with a dry microfiber cloth.
Step 6: Check the finish. Stop if the wood begins to scratch, splinter, or show signs of damage.
Avoid using a razor blade or metal scraper on delicate veneer, softwood, or valuable furniture. If the paint does not release easily, soften it with a suitable remover instead.
3. Apply a Chemical Paint Remover
Best for: Multiple paint layers, stubborn dried paint, and detailed wooden surfaces.
A chemical paint remover can soften paint so it can be lifted away more easily. Some formulations are designed for thick coatings, while others are suitable for furniture or intricate woodwork.
Step 1: Select a wood-compatible product. Check that the remover is suitable for the paint type and the wood surface.
Step 2: Protect the work area. Place a compatible protective covering beneath the item and remove nearby objects.
Step 3: Wear protective equipment. Follow the product label for gloves, eye protection, ventilation, and other safety requirements.
Step 4: Test a hidden area. Apply a small amount to check how the remover affects the wood and any existing stain or finish.
Step 5: Apply as directed. Spread the remover over the painted surface using the recommended tool and thickness.
Step 6: Allow the paint to soften. Follow the specified contact time. Do not leave the product on longer than instructed.
Step 7: Lift the softened paint. Use a compatible scraper or stripping tool, working gently with the wood grain where practical.
Step 8: Clean the surface. Follow the product’s instructions for removing residue or neutralizing the surface, if required.
Step 9: Allow the wood to dry. Let the surface dry completely before sanding, staining, priming, or repainting.
Never mix paint removers with other chemicals. Avoid using an untested solvent on veneer, antique furniture, or wood with a delicate finish.
4. Use a Heat Gun to Soften Paint
Best for: Suitable solid-wood surfaces with stubborn paint layers.
A heat gun can soften certain paints, making them easier to lift with a scraper. However, heat requires careful handling because it can scorch wood, damage nearby materials, or release hazardous fumes.
Step 1: Check the paint first. Do not use heat on paint that may contain lead or other hazardous substances.
Step 2: Prepare the area. Work in a well-ventilated space away from flammable materials. Keep the heat gun away from curtains, paper, solvents, and other combustible items.
Step 3: Use a low setting. Start with the lowest effective heat setting recommended for the tool and surface.
Step 4: Keep the gun moving. Warm a small section evenly rather than concentrating heat in one place.
Step 5: Test the softened paint. When the paint begins to release, move the heat source away.
Step 6: Scrape gently. Lift the softened coating with a suitable scraper without gouging the wood.
Step 7: Let the surface cool. Inspect the wood before deciding whether another pass is necessary.
Do not overheat the surface or use a heat gun near flammable paint-removal chemicals. If the wood darkens, smokes, or begins to scorch, stop immediately.
5. Sand Away Paint from Suitable Wood Surfaces
Best for: Thin paint layers, remaining residue after scraping, and preparing sound wood for refinishing.
Sanding can remove paint and smooth the surface, but it is not always the best first step. It may be suitable for ordinary modern paint on solid wood when there is no concern about lead.
Step 1: Inspect the wood. Confirm that the surface can tolerate sanding and that the coating is safe to disturb.
Step 2: Choose appropriate sandpaper. Start with a grit suitable for the coating and wood condition. Avoid using coarse sandpaper unnecessarily.
Step 3: Sand with the grain. Use light, even pressure and keep the sander moving if using a power tool.
Step 4: Check your progress. Stop frequently to inspect the surface and avoid sanding too deeply.
Step 5: Smooth the surface. Once the paint is removed, use a finer grit if necessary to prepare the wood for its next finish.
Step 6: Remove dust. Use a suitable vacuum and clean cloth according to the product and workshop safety guidance.
Sanding can damage thin veneer and round over sharp edges. It also creates airborne dust, so use appropriate dust extraction and respiratory protection. Do not sand suspected lead paint.
6. Remove Paint from Wood with a Specialty Stripping Tool
Best for: Raised paint, grooves, and suitable woodwork where the coating can be lifted mechanically.
Specialty stripping tools may help remove softened paint from some wooden surfaces. Choose a tool appropriate for the wood and coating, and avoid sharp edges that could gouge the grain.
Step 1: Identify the surface. Determine whether you are working with solid wood, veneer, trim, or a carved detail.
Step 2: Choose the right tool. Use a tool designed for the specific surface and follow its instructions.
Step 3: Test the technique. Practice on a hidden area or scrap wood first.
Step 4: Work in small sections. Remove loose or softened paint with controlled movements.
Step 5: Follow the grain. Where practical, work in the direction of the wood grain to reduce visible scratches.
Step 6: Inspect the result. Stop if the tool begins cutting into the wood or damaging the edges.
For detailed carvings, specialty stripping tools may need to be combined with a compatible chemical remover. Avoid forcing tools into corners or decorative grooves.
7. Use a Professional Wood Restoration Service for Delicate Pieces
Best for: Antiques, valuable furniture, thin veneer, intricate carvings, and uncertain old paint.
Some painted wooden items are too delicate for aggressive DIY removal. Antique furniture may have fragile joints, thin veneers, original stains, or decorative finishes that can be damaged by heat, sanding, or strong chemicals.
Step 1: Assess the item. Look for cracks, loose veneer, previous repairs, and signs of water damage.
Step 2: Identify the coating if possible. Knowing the paint type helps a professional select an appropriate removal method.
Step 3: Avoid aggressive experiments. Do not begin with coarse sanding, a heat gun, or a strong chemical remover on a valuable or delicate piece.
Step 4: Consult a restoration professional. Explain the wood type, paint condition, and finish you hope to achieve.
Step 5: Discuss the desired result. Removing paint to reveal natural wood may require a different approach from preparing a surface for repainting.
Professional restoration can cost more than DIY removal, but it may be the safer choice when the wood or original finish is valuable.
How to Choose the Best Paint-Removal Method
The most suitable method depends on the paint, the wood, and the condition of the surface.
| Situation | Method to consider | Main precaution |
|---|---|---|
| Fresh water-based paint | Mild soap and water | Avoid soaking unfinished wood |
| Loose dried paint | Plastic scraper | Do not force the tool under bonded paint |
| Multiple paint layers | Compatible chemical remover | Follow safety and cleanup instructions |
| Stubborn paint on suitable solid wood | Carefully controlled heat | Never heat suspected lead paint |
| Thin paint residue on suitable solid wood | Sanding | Avoid damaging veneer and edges |
| Paint in grooves | Suitable specialty stripping tool | Test first to prevent gouging |
| Antique or delicate wood | Professional restoration | Preserve veneer and original finishes |
No single method is best for every wooden surface. Start with the least aggressive option that is appropriate for the paint and material.
How to Prepare Wood After Paint Removal
Once the paint is removed, the wood may need additional preparation before you apply a new finish.
First, inspect the surface for scratches, dents, stains, and remaining paint. Remove residue using the method specified by the stripping product, and allow the wood to dry completely.
If you plan to stain the wood, make sure the surface is suitable for staining and that no incompatible paint or stripper residue remains. Sanding may be appropriate for sound, bare wood, but avoid aggressive sanding on veneer or delicate furniture.
If you plan to repaint, follow the primer manufacturer’s preparation instructions. Some surfaces may require light sanding or a specific cleaning step before priming.
Common Mistakes to Avoid
Removing paint from wood can cause unnecessary damage if the process is rushed.
- Using too much water: Excess moisture can swell wood fibers and damage some finishes.
- Scraping too aggressively: Sharp tools can gouge the grain and damage edges.
- Applying incompatible chemicals: Some removers can stain wood or damage nearby materials.
- Using excessive heat: High temperatures can scorch wood and create a fire hazard.
- Sanding unsafe paint: Older coatings may contain lead or other hazardous substances.
- Ignoring veneer: Thin veneer can be sanded through surprisingly quickly.
- Skipping cleanup: Residue left behind can interfere with stain, primer, or paint adhesion.
- Rushing the drying process: Applying a new finish before the wood is ready can cause coating problems.
A patient, test-first approach helps protect the wood and improves the final result.
How to Protect Wood After Removing Paint
Once the wood is clean and prepared, consider how the item will be used.
For furniture and interior trim, a compatible stain, paint, varnish, or clear protective coating may help protect the surface from everyday wear. For exterior wood, choose a finish designed for outdoor exposure and follow its maintenance instructions.
Do not apply a new coating until the wood is fully dry and any paint-remover residue has been addressed according to the product label.
If you want to preserve the natural wood appearance, test stain or clear finish on a hidden area first. Different wood species and previous coatings can affect the final color.
FAQs
What is the easiest way to remove paint from wood?
For fresh water-based paint, a damp cloth and mild soap are usually the easiest starting point. For dried paint, a plastic scraper or compatible paint remover may be more effective.
Can vinegar remove paint from wood?
Vinegar is not a reliable universal paint remover. It may affect some finishes, and prolonged contact can be unsuitable for certain wood surfaces. Use a product designed for the paint and substrate instead.
Can I use a heat gun to remove paint from wood?
A heat gun can soften some paint layers on suitable wood, but it must be used carefully. Never use heat on paint that may contain lead, and stop if the wood begins to scorch.
Will sanding remove paint from wood?
Yes, sanding can remove paint from suitable solid-wood surfaces, but it creates dust and can damage veneer or decorative details. Do not sand suspected lead paint.
How do I remove paint from carved wood?
A compatible paint remover and suitable soft stripping tools may help reach grooves and details. Test first and avoid sharp tools that can damage the carving.
Can I remove paint without damaging the wood?
Often, yes, if you choose a method suited to the paint and surface and work patiently. However, some finishes and delicate woods may be damaged during removal, so testing is important.
How do I remove paint from wooden furniture?
Start by identifying the existing finish and paint type. Use gentle cleaning for fresh paint, a compatible remover for stubborn coatings, and professional help for antiques or delicate veneer.
Should I sand wood after removing paint?
Sometimes. Sanding can smooth suitable bare wood and prepare it for a new finish, but it is not always necessary. Follow the requirements of the stain, primer, or paint you plan to use.
Final Words
Learning how to remove paint from wood is easier when you identify the paint type, assess the wood, and choose a suitable removal method. Mild soap and water can handle fresh paint, while scrapers, compatible paint removers, controlled heat, or sanding may be appropriate for certain dried coatings.
Always test your method on a hidden area, protect yourself from dust and chemicals, and take extra care with veneer, antiques, and older paint. With the right approach, you can remove unwanted paint while preserving the wood and preparing it for a beautiful new finish.