
A custom-painted guitar is a great way to showcase your personality and give an old instrument a fresh new look. Whether you’re restoring a worn guitar, creating a unique stage-ready design, or simply experimenting with a DIY project, painting a guitar can be a rewarding experience.
The key to achieving a professional-looking result is proper preparation. From sanding and priming to painting and sealing, every step plays an important role in creating a durable finish that looks amazing and lasts for years.
This guide will walk you through everything you need to know about how to paint a guitar, including supplies, painting styles, and step-by-step instructions.
Things You’ll Need to Paint a Guitar
Before starting your guitar makeover, gather the necessary materials.
Essential Supplies
- Guitar screwdriver set
- Sandpaper (120-grit, 220-grit, and 400-grit)
- Tack cloth
- Painter’s tape
- Drop cloth
- Primer
- Guitar paint or spray paint
- Paintbrushes (if hand painting)
- Safety goggles
- Dust mask
- Clear coat finish
Optional Supplies
- Orbital sander
- Paint sprayer
- Stencils
- Vinyl decals
- Polishing compound
- Buffing pads
Preparing all materials beforehand makes the process much easier and more efficient.
Different Ways to Paint a Guitar
Before choosing colors, decide what style you want your guitar to have.
Solid Color Finish
A single-color finish creates a clean, professional appearance and works well on both electric and acoustic guitars.
Sunburst Effect
A classic guitar finish featuring darker edges that gradually blend into a lighter center.
Vintage Distressed Look
Create a worn, road-tested appearance by carefully distressing certain areas after painting.
Graphic Art Design
Add custom artwork, logos, symbols, or illustrations to make your guitar completely unique.
Metallic Finish
Metallic paints create eye-catching reflections and a modern aesthetic.
Gradient Color Fade
Blend two or more colors together for a smooth transition effect.
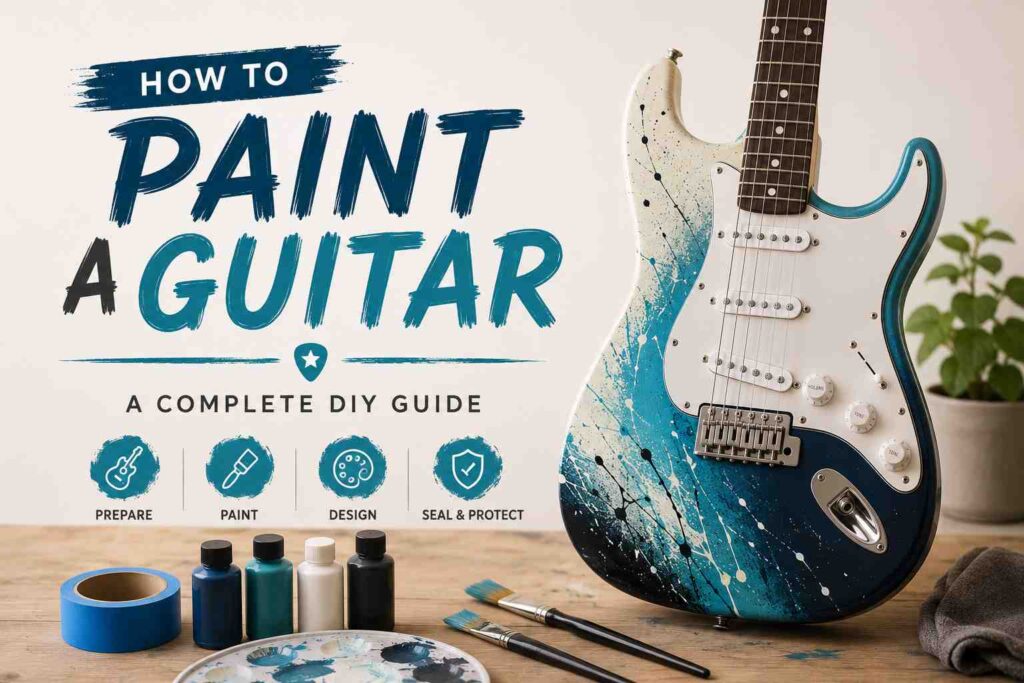
Abstract Paint Splatter
Perfect for musicians looking for a bold and artistic statement piece.
Custom Pattern Design
Geometric shapes, flames, camouflage, and stripes can all create distinctive looks.
Why Paint a Guitar?
Painting a guitar offers several benefits.
- Personalizes your instrument
- Restores worn finishes
- Creates a unique appearance
- Enhances stage presence
- Provides a rewarding DIY project
- Can increase visual appeal
A custom paint job allows your guitar to reflect your style while giving it a fresh new identity.
How to Paint a Guitar Step by Step
Step 1: Disassemble the Guitar
Before painting, remove all hardware.
This may include:
- Strings
- Pickguard
- Pickups
- Bridge
- Control knobs
- Tuners
Store all parts safely and label them if necessary.
Working with a bare guitar body makes painting much easier.
Step 2: Clean the Surface
Remove dirt, oils, and residue using a clean cloth.
A clean surface ensures better adhesion during sanding and painting.
Allow the guitar body to dry completely.
Step 3: Sand the Existing Finish
Sanding creates a smooth surface for primer and paint.
Start with:
- 120-grit sandpaper for removing old finish
- 220-grit sandpaper for smoothing
- 400-grit sandpaper for final preparation
You don’t always need to remove every trace of the original finish, but the surface should feel smooth and even.
Step 4: Remove Dust
Use a tack cloth to remove sanding dust.
Even small particles can affect the final paint finish.
Take your time during this step for the best results.
Step 5: Mask Areas You Don’t Want Painted
Use painter’s tape to cover:
- Neck pocket
- Electronics cavities
- Serial number areas
- Any surfaces that should remain unpainted
Proper masking helps create clean edges.
Step 6: Apply Primer
Primer creates a consistent surface and improves paint adhesion.
Apply thin, even coats and allow each coat to dry completely.
Most guitar projects benefit from two to three coats of primer.
Lightly sand between coats if needed.
Step 7: Apply the Base Color
Once the primer has cured, begin painting.
Apply several thin coats rather than one heavy coat.
This helps prevent:
- Drips
- Runs
- Uneven coverage
Allow each coat to dry before applying the next.
Step 8: Add Designs or Artwork
If you’re creating a custom design, now is the time to add:
- Graphics
- Patterns
- Stencils
- Hand-painted artwork
Allow decorative elements to dry thoroughly before moving on.
Step 9: Apply Clear Coat
A clear coat protects the paint and enhances durability.
Benefits include:
- Scratch resistance
- UV protection
- Gloss enhancement
- Longer-lasting finish
Apply multiple thin coats for the best results.
Step 10: Wet Sand and Polish
After the clear coat fully cures, lightly wet sand using ultra-fine sandpaper.
This helps eliminate imperfections and creates a smooth finish.
Polish the surface to achieve a professional shine.
Step 11: Reassemble the Guitar
Once everything has cured and been polished, reinstall:
- Hardware
- Electronics
- Pickguard
- Strings
Carefully inspect all components before playing.
Best Paint Types for Guitars
Choosing the right paint can significantly affect the final result.
Acrylic Paint
Easy to use and available in a wide range of colors.
Automotive Spray Paint
Popular for guitar projects because of its durability and smooth finish.
Nitrocellulose Lacquer
A traditional guitar finish known for its vintage appeal.
Polyurethane Paint
Durable and resistant to wear.
Enamel Paint
Offers strong coverage and a glossy appearance.
Always choose products compatible with your primer and clear coat.
Common Mistakes to Avoid
Skipping Sanding
Paint adheres poorly to glossy surfaces.
Applying Thick Paint Coats
Heavy coats often lead to runs and uneven drying.
Rushing Dry Times
Allow adequate drying and curing between coats.
Ignoring Dust Control
Dust particles can ruin an otherwise perfect finish.
Forgetting the Clear Coat
A protective finish helps preserve your hard work.
How Long Does It Take to Paint a Guitar?
The timeline varies depending on the products used.
A typical project may take:
- Day 1: Disassembly and sanding
- Day 2: Priming
- Day 3: Painting
- Day 4: Additional coats
- Day 5–7: Clear coat application
- Additional curing time before polishing and reassembly
Patience is essential for achieving professional results.
Can You Paint an Acoustic Guitar?
Yes, but extra care is required.
Acoustic guitars rely heavily on body resonance, so excessive paint thickness may affect sound quality.
Apply thin coats and avoid unnecessary buildup.
Many players choose to paint only specific sections or decorative elements rather than the entire instrument.
Final Thoughts
Learning how to paint a guitar is a fantastic way to personalize your instrument and breathe new life into an old finish. With proper preparation, quality materials, and patience, you can create a custom guitar that looks professional and reflects your unique style.
Whether you choose a classic solid color, a vintage-inspired finish, or bold custom artwork, a painted guitar can become a true statement piece both on and off the stage.
Frequently Asked Questions
Can I paint a guitar without sanding?
Sanding is highly recommended because it helps primer and paint adhere properly.
What paint works best for guitars?
Automotive spray paint, acrylic paint, nitrocellulose lacquer, and polyurethane finishes are popular choices.
Do I need primer before painting a guitar?
Yes. Primer improves adhesion and helps create a smooth, even finish.
How many coats of paint should I apply?
Most projects require several thin coats for full coverage.
Can painting a guitar affect its sound?
Excessively thick paint layers may impact resonance, particularly on acoustic guitars.
How long should I wait before reassembling the guitar?
Allow the finish to fully cure according to the product instructions before reassembly and use.