
Wood Box Painting Ideas are a creative and budget-friendly way to turn plain wooden boxes into stylish storage pieces, thoughtful gifts, or decorative home accents. Whether you’re a beginner exploring DIY crafts or an experienced painter looking for fresh inspiration, painting wooden boxes offers endless design possibilities.
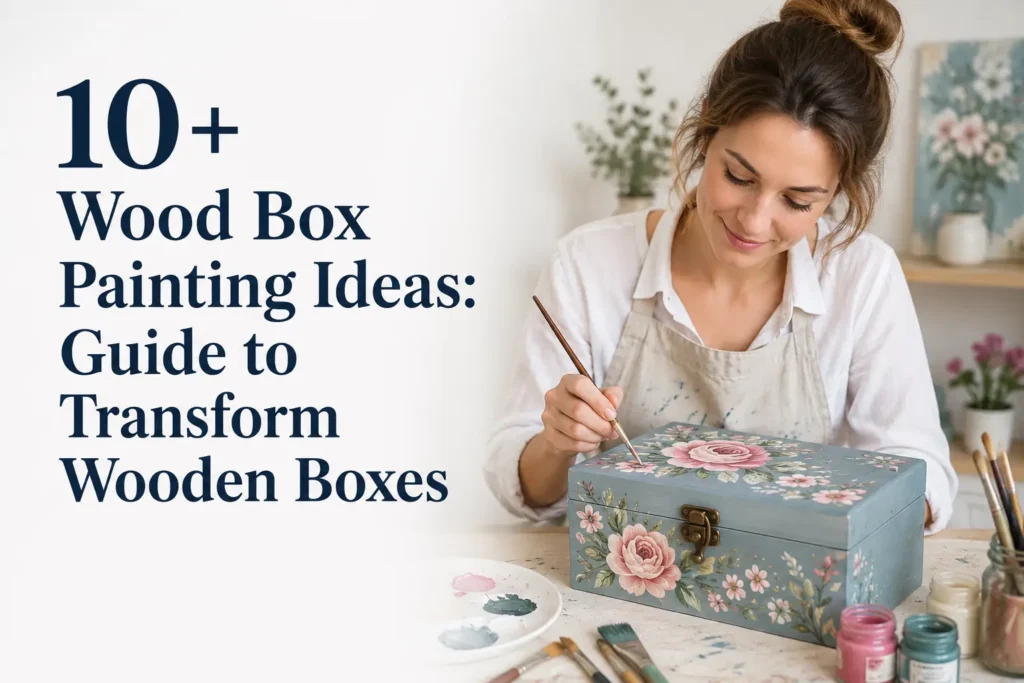
From rustic farmhouse finishes to colorful floral artwork and modern geometric patterns, painted wood boxes can match any décor style. These ideas and techniques will help you create beautiful handmade pieces while improving your painting skills.
Items to Buy
Before you start, gather these supplies for the best results:
- Unfinished wooden box
- Acrylic paint or chalk paint
- Wood primer
- Clear acrylic sealer or polyurethane
- Paintbrushes (flat, round, and detail)
- Foam brushes
- Fine-grit sandpaper (180–220 grit)
- Wood filler (optional)
- Painter’s tape
- Paint palette
- Pencil and eraser
- Stencils (optional)
- Acrylic paint pens
- Microfiber cloth
- Tack cloth
- Palette knife (optional)
Using quality materials helps you achieve smoother finishes, brighter colors, and longer-lasting results. While affordable supplies work well for beginners, investing in durable paint and brushes will make every project easier and more enjoyable.
Preparing Your Wooden Box
Proper preparation is the key to creating a professional-looking finish. Begin by checking the wooden box for rough edges, dents, or small cracks. Fill imperfections with wood filler if needed and allow it to dry completely before sanding.
Lightly sand every surface using fine-grit sandpaper. Sanding smooths the wood, removes splinters, and creates a better surface for paint adhesion. After sanding, wipe away all dust using a tack cloth or a slightly damp microfiber cloth.
If you’re painting unfinished wood, apply one thin coat of primer before adding color. Primer prevents uneven paint absorption, reduces the number of paint coats required, and produces a smoother finish.
Choosing the Right Paint and Finish
Acrylic paint is one of the best choices for painting wooden boxes because it dries quickly, offers excellent coverage, and comes in hundreds of vibrant colors. Chalk paint is another excellent option if you want a soft matte finish or vintage farmhouse appearance.
For added durability, apply a protective clear finish after the paint has completely dried. Matte sealers create a natural appearance, satin finishes add subtle sheen, and gloss finishes provide a polished look while protecting the surface from scratches, moisture, and everyday wear.
10+ Wood Box Painting Ideas
1. Rustic Farmhouse Storage Box
Paint the box in matte white, soft cream, or light gray before lightly distressing the edges with sandpaper. This aged finish creates a charming farmhouse appearance that never goes out of style.
Complete the design with simple black lettering, botanical artwork, or rope handles. The finished box works beautifully for organizing mail, displaying flowers, or storing kitchen essentials while adding rustic character to your home.
2. Colorful Floral Garden Box
Decorate the lid and sides with hand-painted roses, lavender, daisies, sunflowers, or wildflowers. Soft pastel backgrounds help the colorful flowers stand out while creating a cheerful spring-inspired design.
Layer different flower colors to create depth and finish with delicate leaves and vines. This elegant box makes a thoughtful handmade gift or a beautiful decorative piece for shelves, dressers, or coffee tables.
3. Modern Geometric Box
Use painter’s tape to create triangles, diamonds, or bold stripes before applying contrasting paint colors. Clean geometric patterns instantly give the wooden box a stylish contemporary appearance.
Remove the tape carefully after the paint dries to reveal crisp edges. This minimalist project pairs perfectly with modern home décor and makes excellent storage for office supplies or accessories.
4. Vintage Distressed Box
Choose muted colors like sage green, dusty blue, antique white, or faded beige to create a timeless vintage look. Once the paint dries, gently sand the corners and edges to expose small amounts of natural wood.
This weathered finish gives the box authentic character without requiring complicated techniques. Decorative metal hardware or antique-style labels can further enhance its old-world charm.
5. Mandala Art Box
Paint a detailed mandala on the lid using dotting tools, paint pens, or fine brushes. Begin from the center and gradually work outward using repeating circles, petals, and symmetrical patterns.
Bold combinations like navy and gold or black and white create striking artwork. Mandala-painted boxes are perfect for storing jewelry, keepsakes, or art supplies while showcasing intricate handmade designs.
6. Ombre Gradient Box
Blend one color smoothly into another across the box. Popular combinations include blush pink to white, teal to turquoise, or lavender to pale blue for an elegant appearance.
Work while the paint remains slightly wet to achieve seamless transitions. The finished ombre effect creates a modern decorative piece that complements bedrooms, offices, and living spaces.
7. Nature-Inspired Leaf Box
Paint elegant eucalyptus, fern, olive, or monstera leaves across the lid and sides of the wooden box. Choose a neutral background such as white, cream, or natural wood to make the green foliage stand out beautifully.
Layer several shades of green to give the leaves depth and a realistic appearance. This calming botanical design complements Scandinavian, farmhouse, boho, and modern interiors while creating a stylish storage box for everyday essentials.
8. Abstract Brushstroke Box
Create a modern masterpiece using bold, expressive brushstrokes in your favorite color palette. Blend warm earth tones for a sophisticated look or vibrant colors for a cheerful and artistic finish.
There are no strict rules for abstract painting, making this idea ideal for beginners. Every finished box becomes a unique piece of functional art that reflects your creativity and personal painting style.
9. Personalized Name Box
Customize the lid by painting a family name, initials, favorite quote, or monogram. Surround the lettering with simple floral accents, stars, vines, or decorative borders for extra charm.
Personalized wooden boxes make thoughtful handmade gifts for birthdays, weddings, anniversaries, baby showers, and holidays. They also become treasured keepsakes that combine sentimental value with practical everyday use.
10. Boho Pattern Box
Decorate the box using bohemian-inspired patterns like feathers, rainbows, suns, moons, arrows, and geometric tribal motifs. Earthy shades such as terracotta, mustard, olive green, and burnt orange create an inviting color palette.
Mix bold shapes with delicate line work to achieve a balanced design. This relaxed style pairs beautifully with woven baskets, dried flowers, and natural wood furniture.
11. Holiday-Themed Decorative Box
Celebrate every season by creating themed artwork for your wooden box. Paint pumpkins and colorful leaves for autumn, snowflakes and pine trees for winter, flowers for spring, or beach-inspired designs for summer.
These seasonal boxes are perfect for storing holiday decorations, greeting cards, ornaments, candies, or small gifts. Switching designs throughout the year keeps your home décor feeling fresh and festive.
Painting Tips for Beautiful Results
Take your time during preparation because a smooth surface creates a smoother finish. Even a few extra minutes spent sanding and cleaning the wood can dramatically improve the final appearance of your painted box.
Apply paint using several thin coats rather than one thick layer. Thin coats dry more evenly, reduce visible brush marks, and produce richer colors with a more professional finish.
Allow each coat to dry completely before adding another. Rushing the process often causes smudges, uneven textures, and peeling that can be difficult to correct later.
Use different brush sizes for different tasks. Larger flat brushes cover broad surfaces quickly, while smaller detail brushes make painting flowers, lettering, and intricate designs much easier.
Finally, protect your completed artwork with a clear acrylic sealer or polyurethane. This finishing step helps preserve colors and protects the surface from scratches, moisture, and daily handling.
Common Mistakes to Avoid
Skipping the sanding process is one of the biggest mistakes beginners make. Even smooth-looking wood benefits from light sanding because it improves paint adhesion and creates a more polished finish.
Another common mistake is forgetting to remove sanding dust before painting. Tiny dust particles trapped under paint create rough textures and reduce the overall quality of the project.
Applying thick layers of paint may seem faster, but it often results in visible brush marks, uneven drying, and cracking. Several thin coats always produce smoother and more durable results.
Many people also skip primer when painting unfinished wood. Since raw wood absorbs paint differently across the surface, primer creates a more consistent foundation and reduces the amount of paint required.
Finally, avoid sealing the box before the paint has fully cured. Following the recommended drying time ensures the protective finish bonds properly without trapping moisture.
Creative Ways to Use Painted Wooden Boxes
Painted wooden boxes are both decorative and practical. Use them to organize jewelry, stationery, craft supplies, sewing materials, remote controls, photographs, or treasured keepsakes while adding personality to your home.
They also work wonderfully in kitchens for storing tea bags, coffee pods, recipes, or napkins. In bathrooms, painted boxes can organize cosmetics, cotton balls, bath salts, or skincare products.
Decorative boxes make memorable gift packaging as well. Instead of wrapping a present in disposable paper, place it inside a beautifully painted wooden box that the recipient can continue using long after the celebration.
In children’s bedrooms, painted boxes provide attractive storage for toys, books, art supplies, and collectibles while adding cheerful colors to the room.
You can even use several painted boxes together to create coordinated storage throughout your home. Matching designs help organize shelves while giving every room a cohesive decorative style.
Caring for Painted Wooden Boxes
Dust your painted wooden box regularly using a soft microfiber cloth to keep the finish looking clean and vibrant. Gentle cleaning prevents dirt from building up without damaging the paint.
If necessary, wipe the surface lightly with a damp cloth and dry it immediately. Avoid soaking the wood or using harsh household cleaners that could damage the paint or protective finish.
Keep decorative boxes away from prolonged direct sunlight, excessive heat, and high humidity whenever possible. These environmental factors may cause paint colors to fade or wood to expand over time.
Inspect frequently used boxes for small scratches or chips. Minor touch-ups followed by another thin layer of clear sealer will keep your project looking like new for many years.
FAQs
What paint works best for wooden boxes?
Acrylic paint is the most popular choice because it dries quickly, provides excellent coverage, and comes in a wide range of colors. Chalk paint is also ideal for vintage and farmhouse-style projects.
Should I sand a wooden box before painting?
Yes. Light sanding smooths the surface, removes imperfections, and allows paint to adhere much better, creating a more professional-looking finish.
Do I need to use primer?
Primer is highly recommended for unfinished wood. It seals the surface, improves paint adhesion, and helps colors appear brighter and more even.
How do I protect a painted wooden box?
Apply a clear acrylic sealer or polyurethane after the paint has completely dried. This protective layer helps prevent scratches, moisture damage, and fading.
Can beginners paint wooden boxes?
Absolutely. Simple techniques such as solid colors, geometric patterns, floral designs, and personalized lettering are easy for beginners while producing impressive results.
What can I store inside painted wooden boxes?
Painted wooden boxes are perfect for jewelry, keepsakes, office supplies, sewing accessories, tea bags, recipes, makeup, photographs, greeting cards, and countless other household items.
Final Words
Wood Box Painting Ideas offer the perfect combination of creativity, craftsmanship, and functionality. Whether you love rustic farmhouse décor, colorful florals, elegant botanical artwork, modern geometric patterns, or personalized designs, there’s a painting style to suit every taste and skill level.
The key to achieving beautiful results is taking time to prepare the wood properly, applying multiple thin coats of paint, and protecting your finished design with a quality clear sealer. These simple steps help ensure your painted wooden box remains vibrant and durable for years to come.
Don’t be afraid to experiment with colors, textures, stencils, and decorative techniques. Every project helps you improve your painting skills while creating something truly unique. Whether you’re organizing your home, making thoughtful handmade gifts, or adding custom décor to your space, painted wooden boxes are timeless DIY projects that are both enjoyable to create and practical to use.
With a little imagination and the right materials, an ordinary unfinished wooden box can become a beautiful decorative piece that reflects your creativity, enhances your home, and inspires your next DIY painting adventure.