Drawing a dragon is an exciting challenge for artists of all levels. Dragons can be fierce, majestic, or even cute, depending on how you design them. Whether you want to create a fire-breathing beast or a friendly cartoon-style dragon, this guide will walk you through the process step by step.
In this tutorial, you’ll learn the basic structure of a dragon, different styles, and techniques to bring your mythical creature to life.
Contents
Materials You Need
Before you begin drawing, gather the necessary supplies. You can use traditional or digital tools depending on your preference.
Basic Drawing Supplies
- Pencil (HB, 2B, or 4B for sketching)
- Eraser (kneaded or standard eraser)
- Paper (sketchbook or drawing paper)
- Fine-tip pen or marker (optional for outlining)
- Colored pencils or watercolors (optional for adding color)
If you prefer digital drawing, use a drawing tablet with software like Procreate, Photoshop, or Krita.
Understanding Dragon Anatomy
Before you start sketching, it’s essential to understand the general anatomy of a dragon. Dragons are mythical creatures, so they don’t have a set structure, but most designs are inspired by real animals like lizards, birds, and bats.
Common Dragon Features
- Head: Large skull, often reptilian or dinosaur-like, with horns, spikes, or frills.
- Body: A long, muscular torso similar to a snake, lizard, or dinosaur.
- Legs: Usually two or four legs with sharp claws. Some dragons have no legs, like Asian-style dragons.
- Wings: Large, bat-like wings similar to those of a pterosaur.
- Tail: Long and flexible, sometimes with spikes or a club at the end.
- Scales or Skin: Some dragons have smooth skin, while others have rough, armored scales.
Step-by-Step Guide: How to Draw a Dragon
Step 1: Sketch Basic Shapes
Start with simple shapes to define the dragon’s body.
- Draw a circle for the head. This will serve as the base for the skull.
- Sketch an oval for the body. Position it below and slightly behind the head.
- Add guidelines for the neck, legs, tail, and wings. Use curved lines to outline the structure.
- Mark the joints. Draw circles where the limbs and wings will connect to the body.
At this stage, keep the sketch light and rough.
Step 2: Define the Head and Face
- Shape the snout. Depending on your dragon type, it can be short and blunt or long and pointed.
- Sketch the eyes. Dragon eyes can be cat-like, round, or even glowing.
- Draw the nostrils and mouth. A closed mouth looks sleek, while an open mouth adds fierceness.
- Add horns, frills, or spikes. These features make your dragon unique.
The head defines the dragon’s personality, so take your time refining it.
Step 3: Outline the Body and Limbs
- Refine the torso shape. Adjust the oval to create a muscular or slender build.
- Draw the legs. Use the guidelines to add thickness and form.
- Sketch the paws or claws. Dragons usually have sharp talons like birds or lizards.
- Define the tail. It can be smooth, spiked, or clubbed at the end.
Step 4: Add Wings
Wings are one of the most defining features of a dragon.
- Draw the wing bones. Like bat wings, dragons usually have a long “arm” and “fingers” supporting the membrane.
- Outline the wing membrane. Connect the wing “fingers” with a curved line.
- Adjust the shape. Some dragons have large, spread-out wings, while others have folded or torn wings.
Wings add drama to your dragon’s pose, so experiment with different positions.
Step 5: Add Scales and Details
- Sketch individual scales. Large dragons have rough, armored scales, while sleek dragons have smooth skin.
- Draw additional spikes or frills. These features can run down the back, tail, or legs.
- Add shading. Light and dark areas help create depth.
- Define the claws. Sharpen the talons and add knuckle details.
This step makes your dragon look more realistic and textured.
Step 6: Finalize with Shading and Highlights
Once the main structure is complete, add shading and highlights.
- Use hatching and cross-hatching. This technique creates depth and texture.
- Blend pencil strokes for smoother shading. A kneaded eraser can help soften areas.
- Highlight areas where light would hit. Common highlight spots are the top of the head, wings, and legs.
Shading and highlights bring your dragon to life.
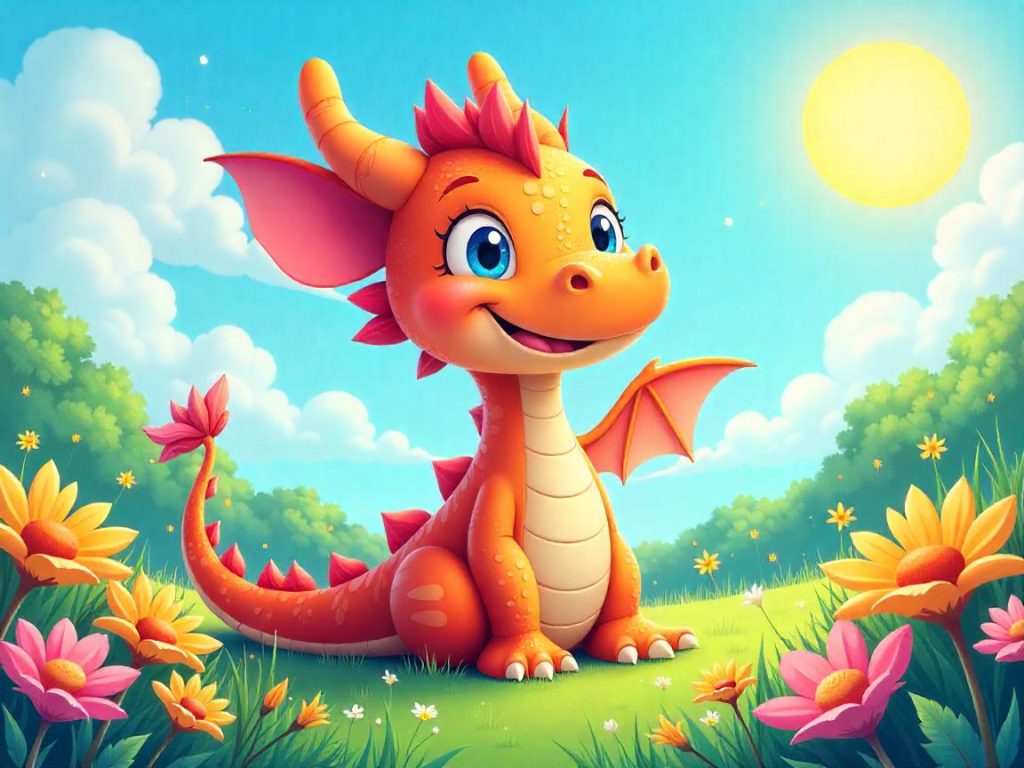
How to Draw a Cartoon Dragon
If you prefer a simpler, more playful style, try drawing a cartoon dragon.
Steps for a Simple Cartoon Dragon
- Draw a round head and body. Cartoon dragons have exaggerated proportions.
- Sketch big, expressive eyes. Large eyes make them look friendly.
- Add tiny wings. Small wings add to the cute factor.
- Draw a fun pose. A sitting or smiling dragon looks charming.
Cartoon dragons are perfect for kids’ illustrations or fantasy comics.
Drawing Different Types of Dragons
Western Dragon
- Large, muscular body
- Huge wings
- Fire-breathing abilities
- Four legs and a long tail
Eastern Dragon
- Long, snake-like body
- No wings but can fly
- Flowing whiskers and horns
- Often associated with water and wisdom
Wyvern
- Two legs instead of four
- Large, bat-like wings
- Slender, fast-moving body
Hydra
- Multiple heads
- Serpent-like body
- Lives in water or dark caves
Drawing different dragon types helps improve your creativity and versatility.
Tips for Drawing Dragons Like a Pro
Use References
Study images of lizards, bats, and birds to make your dragon more believable.
Experiment with Poses
Try drawing flying, sitting, or roaring dragons for dynamic illustrations.
Play with Different Styles
Test both realistic and cartoon styles to find what suits you best.
Keep Practicing
The more you draw, the better your dragons will become.
Final Thoughts
Drawing a dragon is a creative and rewarding process. Whether you prefer a fierce, realistic dragon or a cute, cartoon-style dragon, following these steps will help you achieve your desired result.
Grab your pencil and start sketching your mythical masterpiece today!