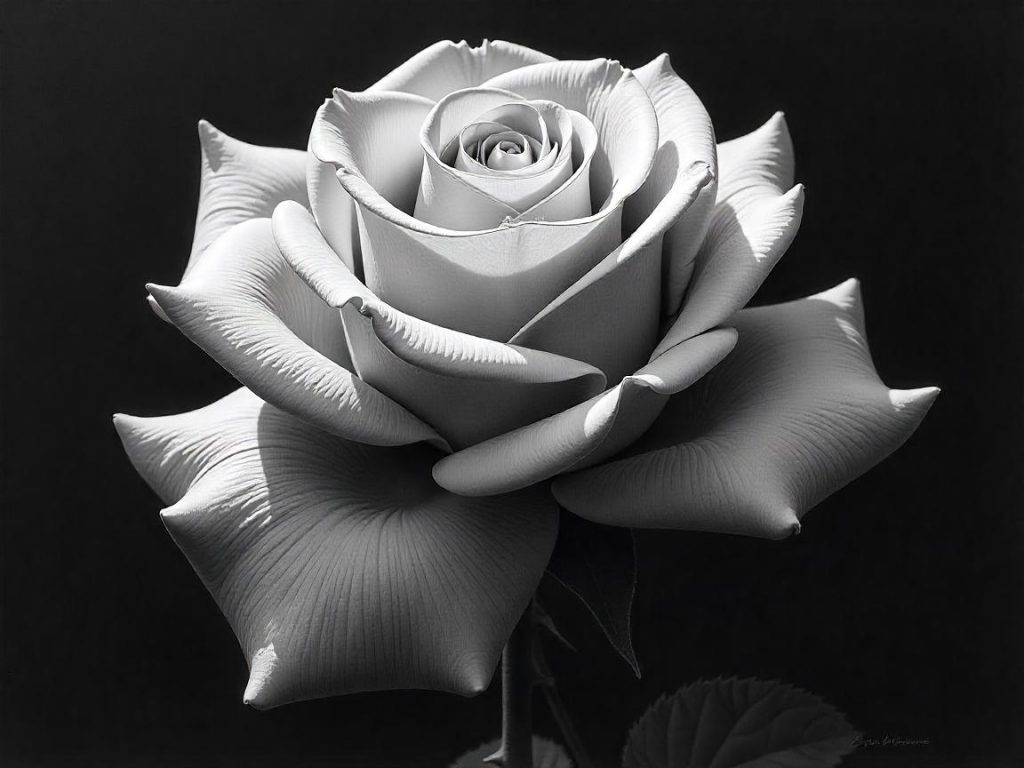
Drawing a rose can seem challenging, but with the right steps and techniques, anyone can master it. Roses are beautiful and intricate, making them a popular subject for artists.

Whether you want to sketch a simple rose or create a detailed, realistic piece, this guide will take you through the process.
Contents
Materials You Need
Before you begin, gather your drawing materials. You can use traditional tools or a digital drawing tablet.
Basic Drawing Supplies
- Pencil (HB for light sketches, 2B or 4B for shading)
- Eraser (kneaded or standard eraser for corrections)
- Paper (sketchbook or drawing paper)
- Fine-tip pen or marker (optional for outlining)
- Colored pencils or watercolors (optional for adding color)
For digital art, use a tablet with software like Procreate, Photoshop, or Krita.
Understanding Rose Structure
A rose has a complex structure, but breaking it down into simple shapes makes it easier to draw.
Basic Features of a Rose
- Center bud: The tightly wound petals at the heart of the flower
- Outer petals: Looser petals that curve outward
- Stem: A thin, straight or slightly curved line supporting the flower
- Leaves: Jagged, pointed leaves growing from the stem
- Thorns: Small, sharp spikes along the stem
By understanding these elements, you can create a realistic or stylized rose drawing.
Step-by-Step Guide: How to Draw a Rose
Step 1: Start with Basic Shapes
Begin with simple shapes to map out the structure of the rose.
- Draw a small circle at the top of your paper for the rose’s center.
- Sketch a spiral inside the circle. This will represent the center of the rose.
- Add an oval or bowl-like shape around the circle. This will guide the outer petals.
- Lightly draw a vertical line downward from the base of the oval. This will be the rose’s stem.
At this stage, keep your lines light so they’re easy to erase later.
Step 2: Define the Center of the Rose
The middle of the rose consists of tightly curled petals.
- Use the spiral as a guide and start drawing curved lines around it.
- Make small, irregular shapes to form the folded petals.
- Ensure that each petal slightly overlaps the previous one. This creates a natural look.
The center is the most intricate part, so take your time refining the details.
Step 3: Add Outer Petals
Roses have layers of petals that gradually open outward.
- Draw larger, curved petals around the center. These should overlap slightly.
- Vary the shapes and sizes to make the rose look natural.
- Use wavy, curved lines to give the petals a soft, organic appearance.
- Add some petals curling outward to show depth and movement.
At this point, the rose should start looking more defined.
Step 4: Draw the Stem and Leaves
Once the flower is complete, add the supporting elements.
- Draw a slightly curved line downward from the rose. This will be the stem.
- Sketch leaves branching off the stem. Use jagged lines to make them realistic.
- Add small, sharp thorns along the stem for extra detail.
The stem and leaves balance the composition and add realism.
Step 5: Refine and Erase Guidelines
- Go over the petals with stronger lines. Define the edges and make them stand out.
- Erase unnecessary guidelines to clean up the drawing.
- Adjust any parts of the flower or stem that need improvement.
Refining the drawing helps make it look polished and professional.
Step 6: Add Shading for Depth
Shading brings your rose to life by creating depth and contrast.
- Determine the light source. Decide where the light is coming from.
- Shade the areas that are in shadow. The base of the petals and the stem usually have darker tones.
- Use hatching and cross-hatching. These techniques create texture and volume.
- Blend the shading for a soft effect. A tissue or blending stump works well for this.
Shading makes the rose look more realistic and three-dimensional.
How to Draw a Simple Cartoon Rose
If you prefer a simpler, more stylized look, try drawing a cartoon rose.
Steps for a Simple Cartoon Rose
- Draw a circle for the center.
- Add a swirl inside the circle.
- Sketch rounded petals around the center.
- Draw a simple, curved stem.
- Add two small leaves on the stem.
Cartoon roses are great for logos, tattoos, or greeting cards.
Drawing Different Types of Roses
Realistic Rose
- Detailed petals with natural curves
- Complex shading for depth
- Fine lines to show texture
Stylized Rose
- Bold, clean outlines
- Minimal shading
- Ideal for tattoos or graphic designs
Rosebud
- Closed petals
- Simple, smooth lines
- Small leaves for balance
Drawing different rose styles improves your versatility as an artist.
Tips for Drawing Roses Like a Pro
Study Real Roses
Observing real roses or photos helps you understand petal arrangements and natural shapes.
Practice Different Angles
Try drawing roses from the side, top, or three-quarter view to improve your skills.
Use Light and Shadow
Adding highlights and shadows makes the drawing more dynamic and realistic.
Experiment with Colors
If you’re adding color, use multiple shades of red, pink, yellow, or white for a lifelike effect.
Keep Practicing
The more you draw roses, the easier it becomes to capture their beauty.
Final Thoughts
Drawing a rose may seem difficult at first, but by breaking it down into simple steps, you can create a beautiful flower with ease. Whether you prefer a realistic approach or a stylized design, mastering the basics will help you improve your floral drawings.
Grab your pencil and start sketching a stunning rose today!
