Have you ever looked at a lizard and marveled at its intricate patterns and unique shape? Imagine capturing that wonder on paper with just a pencil and a little guidance.
Drawing a lizard can seem tricky at first, but with the right steps, it becomes an enjoyable and rewarding experience. Whether you’re an aspiring artist or just looking to try something new, learning how to draw a lizard will spark creativity and leave you with a sense of accomplishment.
You’ll be amazed at how quickly you can turn simple lines into a lifelike reptile. Curious to learn how? Dive into this guide, and discover the secrets to bringing a lizard to life on your sketchpad. Your artistic journey starts here, and you won’t want to miss a single step!
Contents
Materials Needed
Creating a lifelike lizard drawing starts with gathering the right materials. Using quality tools makes sketching easier and more enjoyable. Below, you’ll find essential and optional supplies to help you draw.
Drawing Tools
Pencils are a must for sketching lizards. Choose HB or 2B pencils for soft lines. Fine-tip pens help add details and outlines. An eraser is handy for correcting mistakes. A sharpener keeps your pencils ready.
Paper Selection
The paper you choose affects your drawing’s appearance. Sketch pads are ideal for beginners. They provide a smooth surface for pencil work. Consider using heavier paper for adding color. It supports markers or watercolor.
Optional Supplies
Colored pencils can bring your lizard to life. They add vibrancy and depth. Blending stumps help smooth out pencil strokes. Rulers assist in creating straight lines or geometric designs. A lightbox can aid in tracing shapes.
Basic Shapes
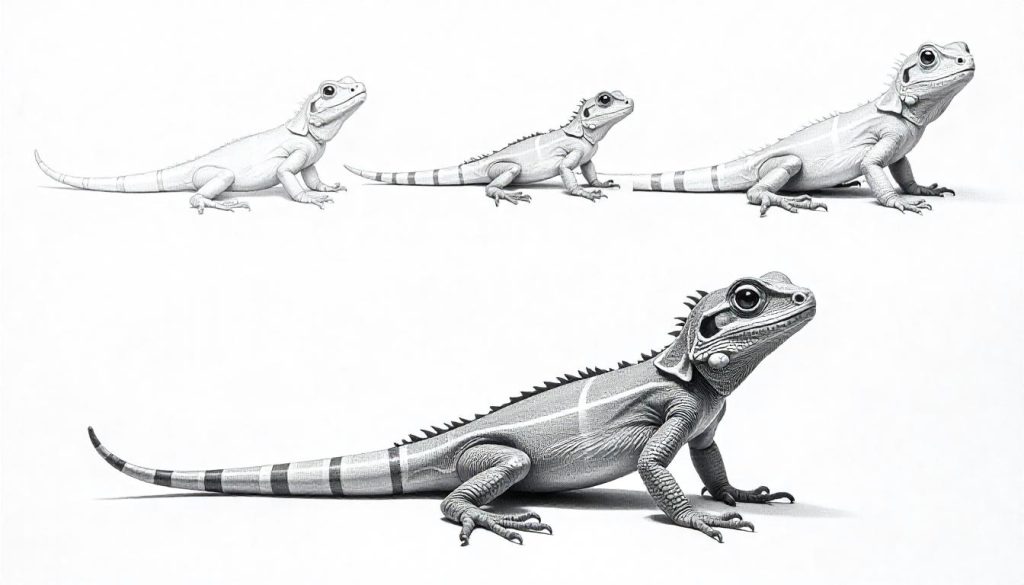
To draw a lizard, start with basic shapes. Use circles for the head and oval for the body. Connect them with lines for the neck and tail, adding legs and details as you go. This simple approach helps create a realistic lizard design with ease.
Drawing a lizard might seem daunting at first, but breaking it down into basic shapes can make it much more approachable. Whether you’re a budding artist or just looking to have some fun, understanding these fundamental shapes is the key to success. Let’s dive into the process, focusing on the head, body, limbs, and tail.
###
Head And Body
Begin by drawing an oval for the head. Think of it as an egg lying on its side. This simple shape will guide you in capturing the lizard’s unique head structure.
Next, create a larger oval or a slightly elongated circle for the body. Imagine it as a bean or a stretched-out egg. This shape will help you visualize the lizard’s torso.
Align the head and body slightly off-center to give your lizard a natural, dynamic posture. Connecting these shapes with a gentle curve will form the neck, giving your drawing life and movement.
###
Limbs And Tail
For the limbs, start with simple lines. Think of them as sticks. These will form the lizard’s legs and arms.
Add small ovals or circles at the ends of these lines for the feet and hands. This will help you position the toes and fingers correctly later.
The tail is crucial for balance and grace in your drawing. A long, tapering line extending from the body is all you need to sketch initially.
Consider how the tail curves. A gentle S-shape can add a sense of motion and fluidity to your lizard.
When I first tried drawing a lizard, I was surprised by how much these basic shapes helped. Like fitting pieces of a puzzle together, each shape plays a role in creating a cohesive whole.
What shapes did you find most challenging? By focusing on these areas, you can refine your technique and see remarkable improvements. Remember, practice makes perfect, and with these basic shapes, you’re well on your way to mastering the art of drawing a lizard.
Adding Details
Start by sketching the lizard’s basic shape using simple lines and curves. Focus on the head and body. Gradually add details like scales and texture to make it realistic. Remember, patience and practice are key to capturing the intricate features of a lizard.
Adding details to your lizard drawing can transform a simple sketch into a lifelike masterpiece. It’s the nuances that bring character and realism to your art. These details can often make the difference between a good drawing and a great one.
Facial Features
Capturing the unique facial features of a lizard is crucial. Pay attention to the shape of the eyes. Are they round or slit-like? Use gentle shading to create depth and dimension around the eyes.
Notice the lizard’s mouth. Some have prominent, curved lips, while others have subtle lines. A few light strokes can define the mouth and give your lizard personality.
The nostrils are small yet significant. They often sit close to the eyes and can be a simple dot or a slight curve. Adding them can enhance realism.
Skin Texture
A lizard’s skin is a canvas of intricate patterns and textures. Start by observing the scales. Are they large and distinct or small and smooth? This will inform your approach.
Use a series of short, curved lines to mimic the scales. Vary the pressure of your pencil to create texture. Too much detail can overwhelm, so focus on key areas like the back and limbs.
Think about the lizard’s environment. Desert lizards might have rougher skin, while those from rainforests might appear slick. Reflect this in your drawing by adjusting your shading technique.
Adding details can seem daunting, but it’s a rewarding process. What details do you think will make your lizard unique?
Credit: m.youtube.com
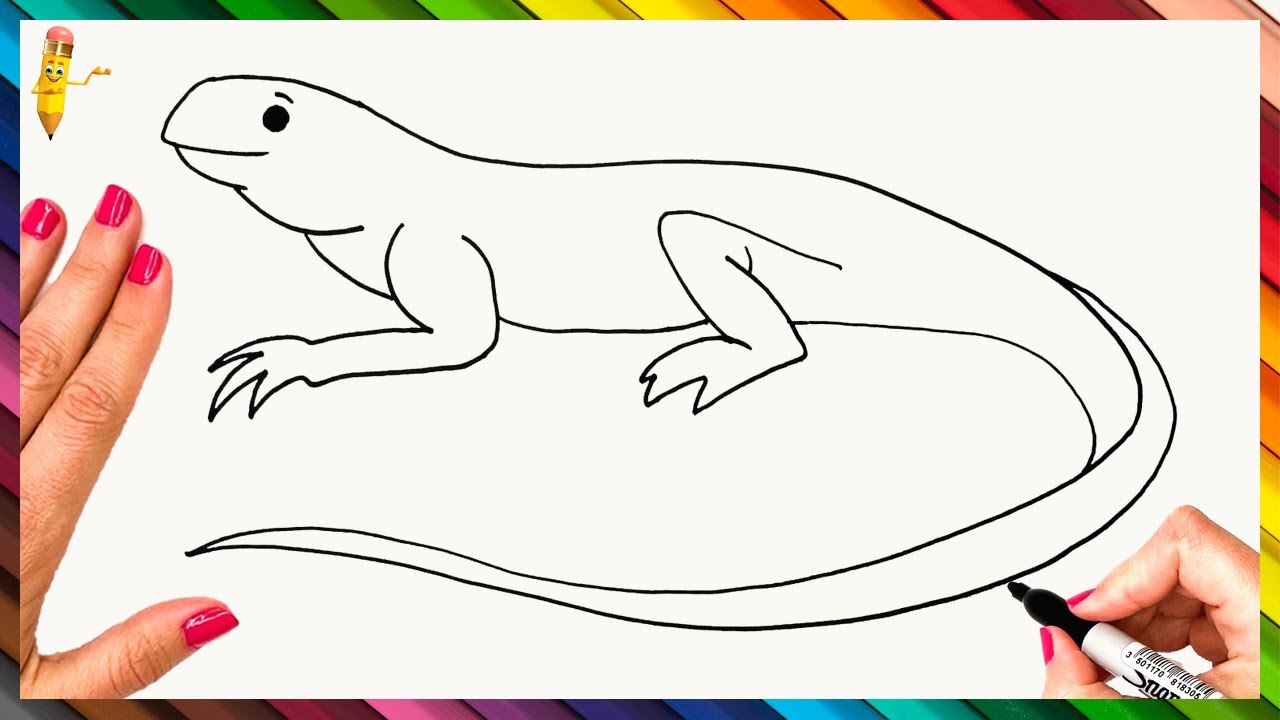
Refining The Outline
You’ve sketched the basic shape of your lizard. Now, it’s time to refine the outline. This step gives your lizard drawing a polished look. It makes your sketch come alive. Focus on smoothing lines and correcting proportions. These aspects bring detail and realism.
Smooth Lines
Start by tracing the rough outline with smooth, steady lines. Use a fine pencil or pen for precision. Avoid jagged edges for a natural look. Keep your hand relaxed to maintain control. A smooth line enhances the lizard’s graceful form.
Erase any unnecessary marks as you go. This clears the clutter from your drawing. It highlights the lizard’s shape. Remember, clean lines are crucial for a refined look.
Correct Proportions
Observe the lizard’s natural proportions. The head, body, and tail should be balanced. Check if the legs are the right length. Adjust them for a realistic appearance.
Use reference images for accuracy. They guide you in aligning features correctly. Make sure the head isn’t too large. The tail shouldn’t be too short. Proportions affect the overall realism of your drawing.
Continuous practice improves your sense of proportion. Over time, you’ll get better at refining outlines. This skill enhances your overall drawing ability.
Shading Techniques
Shading adds depth to your lizard drawing. It makes it look realistic. Understanding shading techniques can transform your sketches. Learn about light and gradient. These skills bring your lizard to life.
Light Source
Know where your light comes from. This is crucial for shading. Imagine a lamp shining on the lizard. Where does the shadow fall? The light source affects shadow placement. Shadows show the lizard’s form. They add realism. Choose a single light source. It simplifies your shading process.
Gradient Application
Gradients create smooth transitions. They help in blending shades. Start with light tones. Gradually move to darker ones. Use a soft pencil for blending. It makes gradients smoother. Avoid harsh lines. They break the flow of shading. Practice gradient shading on paper. This improves your technique.
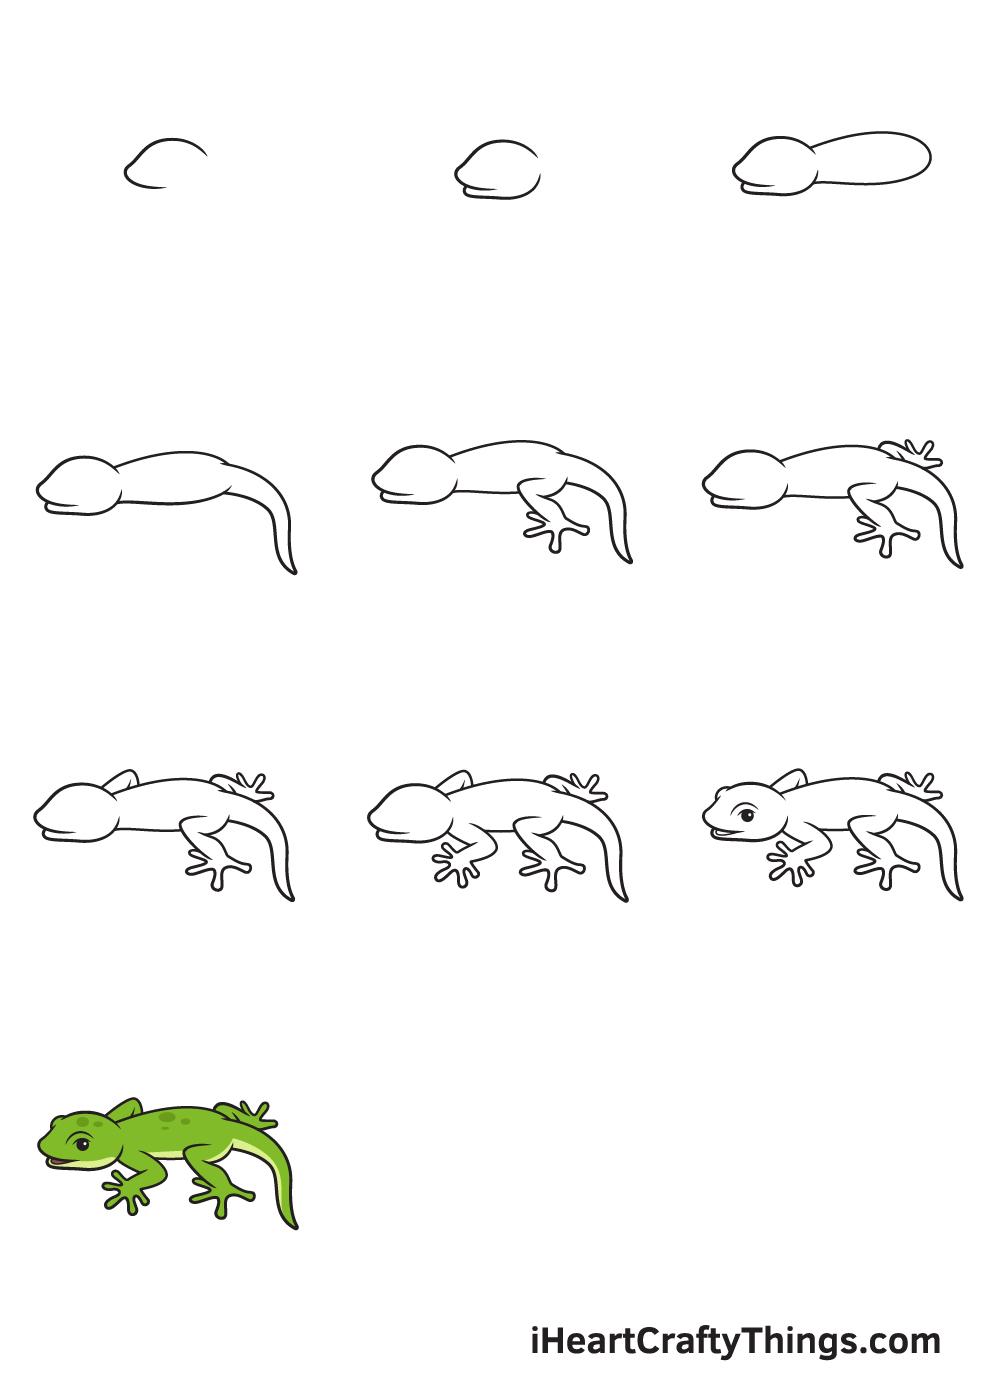
Credit: iheartcraftythings.com
Coloring Tips
Coloring a lizard drawing can be a fun and creative process. It adds depth, texture, and personality to your artwork. Understanding how to choose colors and blend them effectively enhances your drawing. This section will provide tips on selecting colors and blending techniques to bring your lizard to life.
Choosing Colors
Selecting the right colors is crucial for a realistic lizard drawing. Look at photos of real lizards for inspiration. Pay attention to the shades and patterns. Lizards come in various colors, from vibrant greens to muted browns. Consider the habitat of the lizard. For desert lizards, use earthy tones like ochre and sand. For rainforest species, bright greens and blues work well.
Use colored pencils or markers for precision. They offer a wide range of hues. Experiment with different shades to find what suits your vision. Remember, the goal is to mimic nature or create a fantasy creature.
Blending Methods
Blending colors can make your lizard look more natural. Start with a base color and gradually add layers. Use a light touch to avoid harsh lines. You can blend colors with a blending stump or your fingers. This softens transitions between colors.
Try using a colorless blender pencil. It helps merge colors smoothly. Practice on scrap paper to perfect your technique. Layering is another effective method. Apply multiple layers of color to add depth. Use darker shades for shadows and lighter ones for highlights.
Blending requires patience and practice. Experiment to find the style that works best for you. With these tips, your lizard drawing will stand out beautifully.
Final Touches
The final touches bring your lizard drawing to life. These elements add depth and realism. They transform a basic sketch into a stunning piece of art. Pay attention to highlights, shadows, and background elements. Each step enhances the overall look of your drawing.
Highlights And Shadows
Highlights create a sense of light on the lizard’s body. Use a white pencil or eraser for this effect. Apply it on areas where light naturally hits. Focus on the head, back, and limbs. This technique makes your drawing more dynamic.
Shadows add contrast and depth. Use a darker pencil to shade areas not exposed to light. Under the lizard’s belly and tail are good spots. This contrast makes the lizard stand out on the page.
Background Elements
Background elements provide context to your drawing. They make the lizard part of a larger scene. Consider adding rocks, leaves, or branches. These elements suggest a natural habitat.
Choose simple shapes for the background. This keeps the focus on your lizard. Lightly sketch these elements with a soft pencil. Avoid overpowering your main subject. The background should support, not distract.
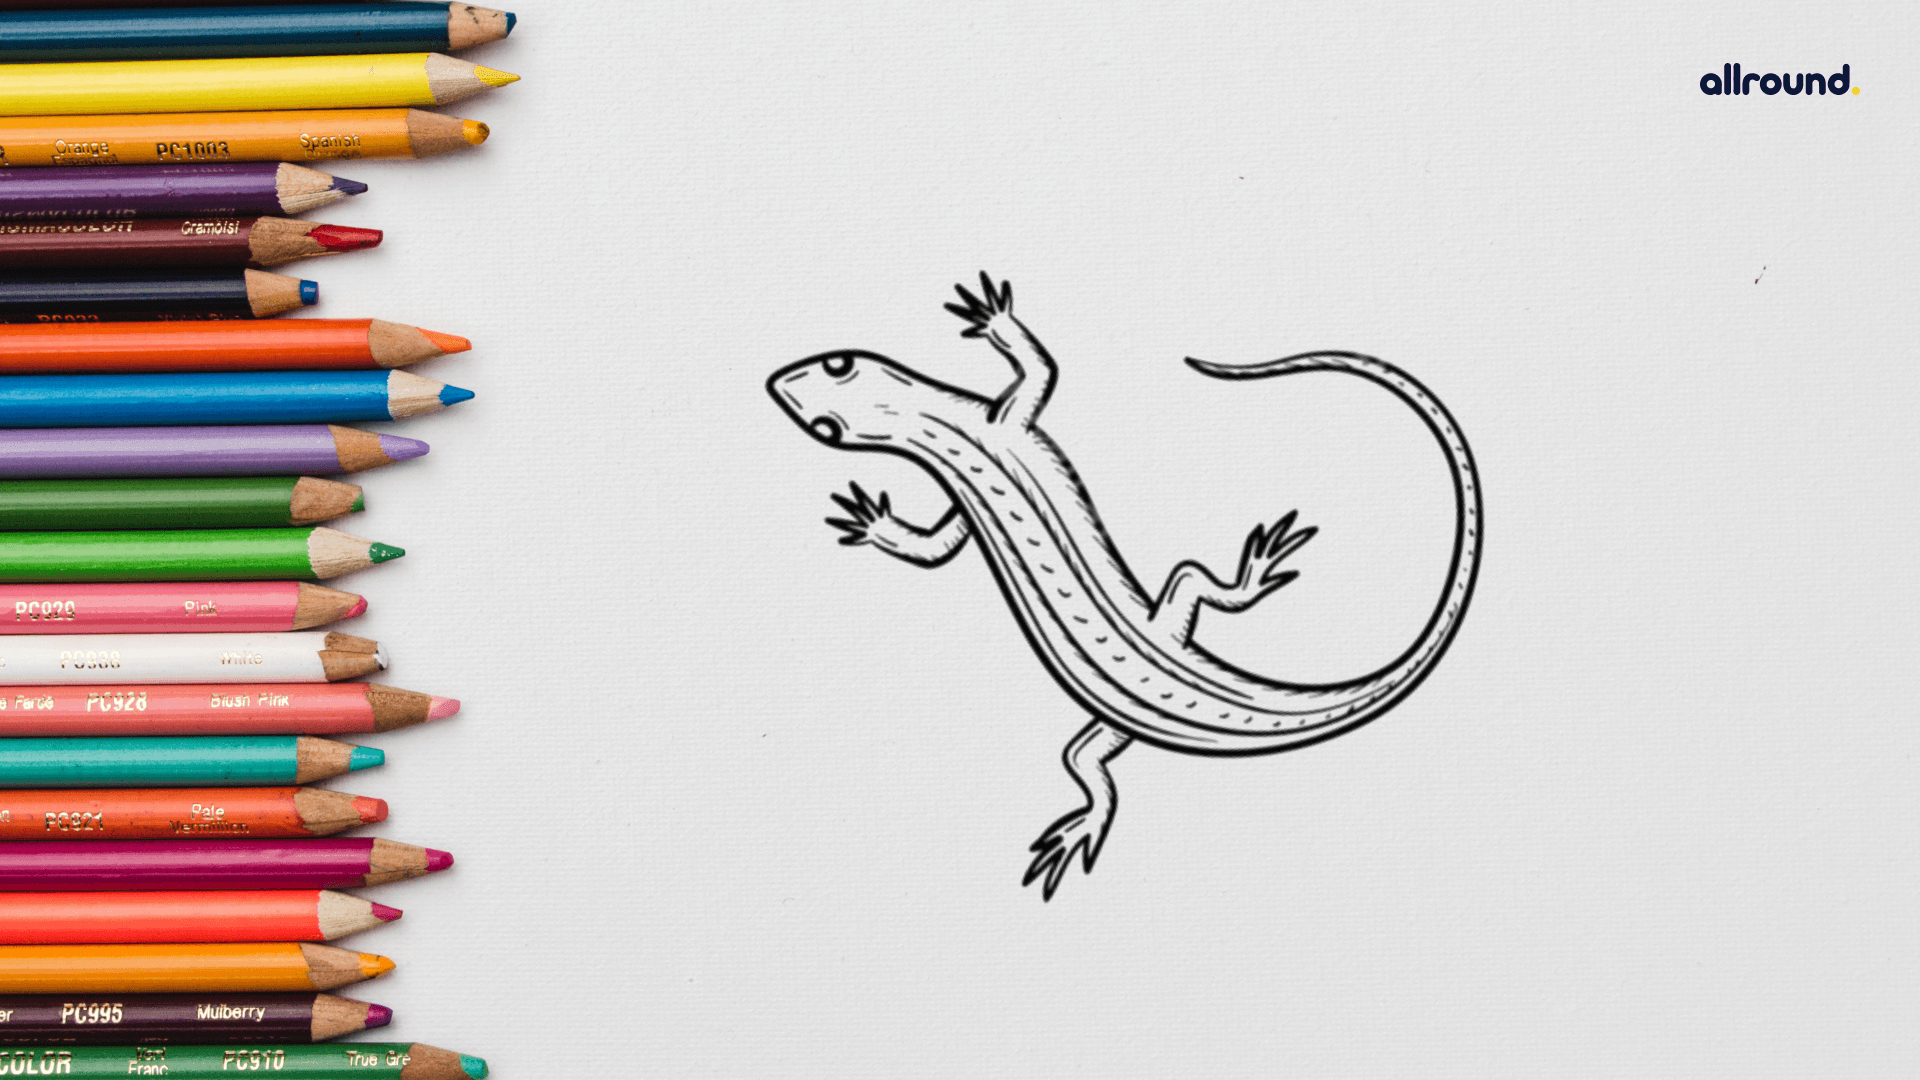
Credit: allroundclub.com
Frequently Asked Questions
How Do I Start Drawing A Lizard?
Begin by sketching basic shapes like ovals and circles to form the lizard’s body and head. Gradually refine these shapes into more detailed outlines of the lizard’s features. This foundational step helps establish proportions and guides the rest of your drawing process, making it easier to add intricate details later.
What Materials Are Best For Lizard Drawings?
Use pencils for sketching and shading to create detailed and textured lizard drawings. Colored pencils or markers can be used for vibrant and realistic coloring. High-quality paper ensures durability and better results. Experiment with different materials to find what suits your style and enhances the final artwork.
How Can I Draw Realistic Lizard Skin?
To draw realistic lizard skin, focus on creating texture with small, intricate patterns. Use cross-hatching or stippling techniques to mimic scales. Observe reference photos for accurate depiction. Layer colors and shading to add depth and dimension, ensuring your lizard’s skin appears lifelike and detailed.
Can Beginners Draw A Lizard Easily?
Yes, beginners can draw a lizard by following simple steps and practicing basic shapes. Start with easy sketches and gradually add details. Use reference images for guidance. With patience and practice, even beginners can achieve satisfying results and develop their drawing skills effectively.
Conclusion
Drawing a lizard can be fun and easy. Start with basic shapes. Focus on its unique features like the tail and scales. Keep practicing to improve your skills. Don’t worry about making mistakes; they help you learn. Use different shades to add depth.
Try different poses and styles. Share your drawings with friends for feedback. Enjoy the process and be creative. Each drawing will get better with practice. Remember, patience is key. Happy drawing!