Are you ready to unleash your creativity? Drawing a raccoon can be a fun and rewarding experience, whether you’re a beginner or an experienced artist.
Imagine bringing this adorable creature to life on paper, capturing its playful spirit and those signature ringed eyes. In this guide, you’ll discover simple steps to make drawing a raccoon easy and enjoyable. You’ll learn useful tips and techniques that will boost your confidence and skills.
Grab your pencils and let’s get started on this artistic adventure together!
Contents
Materials You Need
Gather a few basic materials to draw a raccoon. You will need paper, pencils, and erasers. Optional items like colored pencils or markers can add fun details to your drawing.
Drawing a raccoon can be a fun and creative experience, but having the right materials is essential to bring your artistic vision to life. The right tools not only enhance your drawing but also make the process enjoyable. Here’s a list of materials you’ll need to get started.
Essential Drawing Tools
To begin your raccoon drawing, gather these essential tools:
- Pencil: A standard graphite pencil will work fine. Choose a softer pencil like 2B for sketching.
- Eraser: A good eraser helps correct mistakes. Consider a kneaded eraser for more delicate adjustments.
- Paper: Use smooth drawing paper or sketch pads. The quality of paper can affect the final look of your drawing.
These basic tools will help you create a solid foundation for your raccoon. Remember, a comfortable grip is key for control over your strokes.
Coloring Materials
Adding color can bring your raccoon to life. Consider these options:
- Colored Pencils: They offer precision and blend well for a soft finish.
- Markers: Use fine-tipped markers for bold lines and vibrant colors.
- Watercolors: If you want a softer, more fluid look, watercolors can create beautiful effects.
Think about how you want your raccoon to look. Will it be realistic or more whimsical? Your choice of coloring materials can help you achieve that vision.
Optional Tools For Detail
Once you’re comfortable with the basics, consider adding these optional tools for finer details:
- Blending Stumps: These are great for smoothing out pencil lines and adding depth.
- Fine Liners: Use them for crisp outlines and intricate details.
- Fixative Spray: This helps preserve your finished artwork and prevents smudging.
Having these tools can elevate your drawing and give it a professional touch. Wouldn’t it be satisfying to see your raccoon come together with just a few extra steps?
Gather these materials, and you’ll be ready to start your raccoon drawing journey. With the right tools in hand, you can unleash your creativity and enjoy the process. What will your raccoon look like?
Basic Shapes For The Outline
Drawing a raccoon starts with simple shapes. These shapes help create a clear outline. Focus on the head, body, and limbs. This method makes your drawing easier.
Using basic shapes allows you to build structure. It helps you understand proportions. This approach is perfect for beginners. Let’s break down the steps.
Drawing The Head Shape
Start with a circle for the head. This circle will form the base. Raccoons have a rounded face. Draw a slightly pointed area for the nose.
Add two triangles on top for ears. Make them slightly rounded at the tips. This gives a soft look. Don’t forget to add guidelines for eyes.
Adding The Body Structure
Next, draw an oval for the body. Place it below the head. This oval should be larger than the head. It gives balance to your drawing.
Connect the head and body with two curved lines. This forms the neck. Make sure it looks natural. The body should be wider at the bottom.
Sketching The Limbs
Now, draw the limbs. Start with simple shapes. Use rectangles for the legs. Make them slightly curved for a natural look.
For the arms, draw smaller rectangles. Position them on the sides of the body. Raccoons have short, sturdy limbs. Keep this in mind as you draw.
Don’t forget the paws. Add small oval shapes at the ends of the legs. This will create a cute look.
Defining The Facial Features
Defining the facial features of a raccoon makes your drawing come alive. Focus on the eyes, nose, mouth, and ears. These details show the raccoon’s personality and charm. Let’s break down each part step by step.
Drawing The Eyes And Mask
The eyes are big and round. Start by drawing two circles. Add a smaller circle inside each for the pupils. Raccoons have a unique mask around their eyes. Draw a dark shape that covers the top and sides of the eyes. This gives the raccoon its signature look.
Make sure the mask has smooth curves. It should connect nicely at the nose. Adding some shading around the eyes adds depth. It makes them look more lifelike.
Shaping The Nose And Mouth
The nose is small and black. Draw an upside-down triangle at the center of the face. Below the nose, sketch a simple line for the mouth. Raccoons often have a slight smile. Add gentle curves to the line for this effect. You can also add small lines at the corners for more expression.
Adding The Ears
Raccoons have pointy ears. Start with two triangles at the top of the head. Make sure they are slightly rounded at the tips. Add some inner lines to show texture. These lines create a fluffy look. Position the ears so they sit well with the rest of the face.
Once the ears are added, your raccoon begins to take shape. Focus on making each feature clear and distinct.
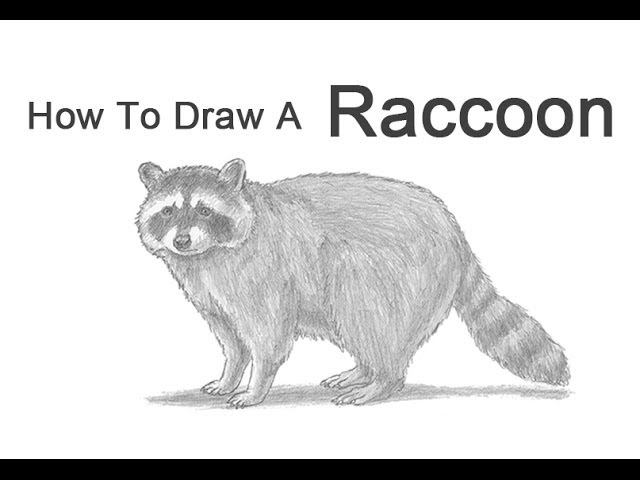
Credit: www.youtube.com
Details Of The Fur And Stripes
Drawing a raccoon means paying attention to its fur and stripes. These details bring your raccoon to life. The fluffiness of its fur and the unique tail stripes are essential. Let’s explore how to capture these features in your drawing.
Creating The Fluffy Texture
Start with light, short strokes. Use a pencil to sketch the base shape. Focus on the head, body, and tail. Raccoons have thick, fluffy fur. Draw curvy lines to show this texture.
Layer the strokes for depth. Vary the pressure on your pencil. This creates lighter and darker areas. Use an eraser to soften some edges. This adds realism to the fur.
Remember to follow the direction of the fur. This detail helps the raccoon look more natural. Practice makes perfect. Keep refining your technique.
Adding Tail Stripes
The tail is a key feature of a raccoon. It has distinct black and gray stripes. Start by drawing the tail shape first. Make it wide at the base and narrow at the tip.
Next, add the stripes. Draw broad bands of black across the tail. Leave spaces for the gray fur in between. Keep the lines slightly curved for a natural look.
Blend the colors where the stripes meet the fur. This will help the stripes look smooth. Pay attention to the thickness of each stripe. Raccoons have varying stripe sizes. Make your drawing unique.
Finalizing The Drawing
Finalizing your raccoon drawing is a fun step. It brings your artwork to life. You’ll refine your lines and clean up any mistakes. This part makes your drawing look neat and polished. Let’s dive into the details.
Refining The Lines
Start by going over the main lines. Use a darker pencil or pen. Focus on the areas that need more detail. Add texture to the fur and shadows. Keep the lines smooth and flowing. This step adds depth to your raccoon. Make sure the ears and eyes stand out.
Pay attention to the tail. Raccoons have a bushy tail with stripes. Draw these lines clearly. Use varied thickness in your lines. This creates a more interesting look. Remember to keep everything balanced. Step back and view your drawing as a whole.
Erasing Unnecessary Marks
Next, erase any extra lines. Look for sketch marks that you don’t need. This will help your drawing look clean. Be gentle with the eraser. You don’t want to damage the paper. Take your time to ensure nothing is missed.
After erasing, check the details again. Make sure everything is clear. Touch up any areas that need more work. Your raccoon should start to shine. This final clean-up makes all the difference. Enjoy the process and feel proud of your work.
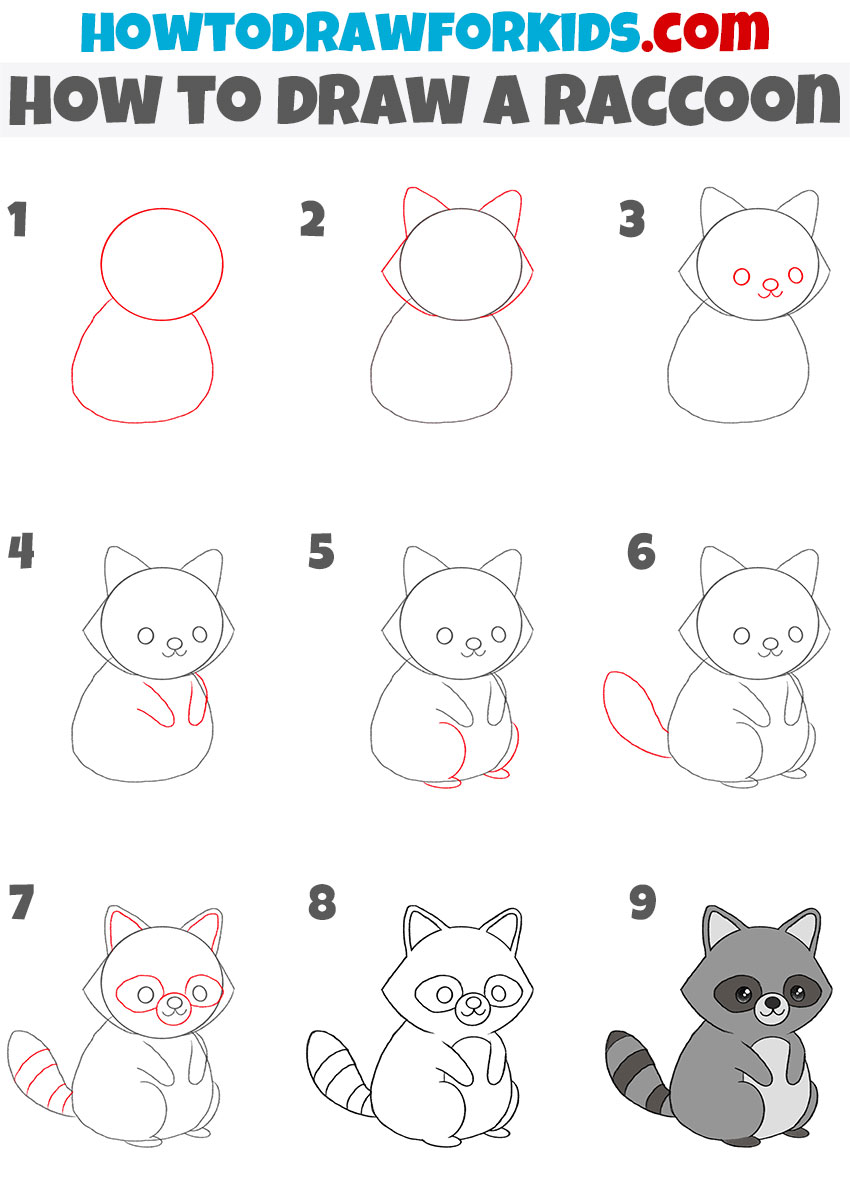
Credit: howtodrawforkids.com
Coloring And Shading
Coloring and shading bring your raccoon drawing to life. These steps add depth and dimension. Choose your colors wisely. Apply shadows and highlights for a realistic look.
Choosing The Right Colors
Start with the base color. Raccoons are mostly gray and brown. Use a light gray for the body. Darker shades work well for the face and tail. Look at reference pictures for guidance.
Consider using black for the mask and stripes. White can highlight the eyes and belly. Choose colors that match your style. Test colors on scrap paper first.
Adding Shadows And Highlights
Shadows create depth. Use a darker shade of your base color. Apply shadows under the chin and along the belly. Think about where the light comes from.
Add highlights with a lighter color. Use white or a very light gray. Apply highlights on the nose and around the eyes. Blend colors gently for a smooth look.
Remember, small details matter. They make your raccoon look more alive. Enjoy the process of coloring and shading.
Tips For Practice
Practicing how to draw a raccoon can be both fun and rewarding. Each stroke and line helps you connect with the character of this adorable creature. Here are some practical tips to enhance your drawing skills and make your raccoon come to life on paper.
Set Aside Regular Practice Time
Consistency is key. Dedicate a specific time each day or week to practice drawing. This routine will help you improve steadily over time.
Even short sessions can be effective. Just 15 minutes of focused practice can lead to noticeable progress. Keep your materials ready so you can jump right in!
Use Reference Images
Gather a variety of raccoon images for inspiration. Look for different poses and angles. This will help you understand their anatomy better.
- Search online for photos of raccoons in the wild.
- Visit your local zoo or wildlife center to observe them.
- Take your own photos if you spot one in your neighborhood!
Break Down The Shapes
Start with basic shapes to form the raccoon’s body. Use circles for the head and body, and ovals for the limbs. This method simplifies the drawing process.
Once you establish the basic outline, you can add details. Focus on the eyes, ears, and those distinctive stripes. Gradually refine your drawing as you go.
Experiment With Different Styles
Don’t hesitate to try various styles. You can go for realistic, cartoonish, or even abstract representations. Each approach teaches you something new.
Have fun with colors and textures too. Use colored pencils, markers, or watercolors to express your creativity. What style resonates with you the most?
Join A Drawing Community
Connecting with others can boost your motivation. Join local art classes or online forums focused on drawing. Sharing your work and getting feedback can be incredibly valuable.
Consider participating in challenges or contests. Engaging with a community keeps your passion alive and inspires you to push your limits.
Every artist has their own journey. What challenges do you face when drawing? Embrace them and keep practicing!
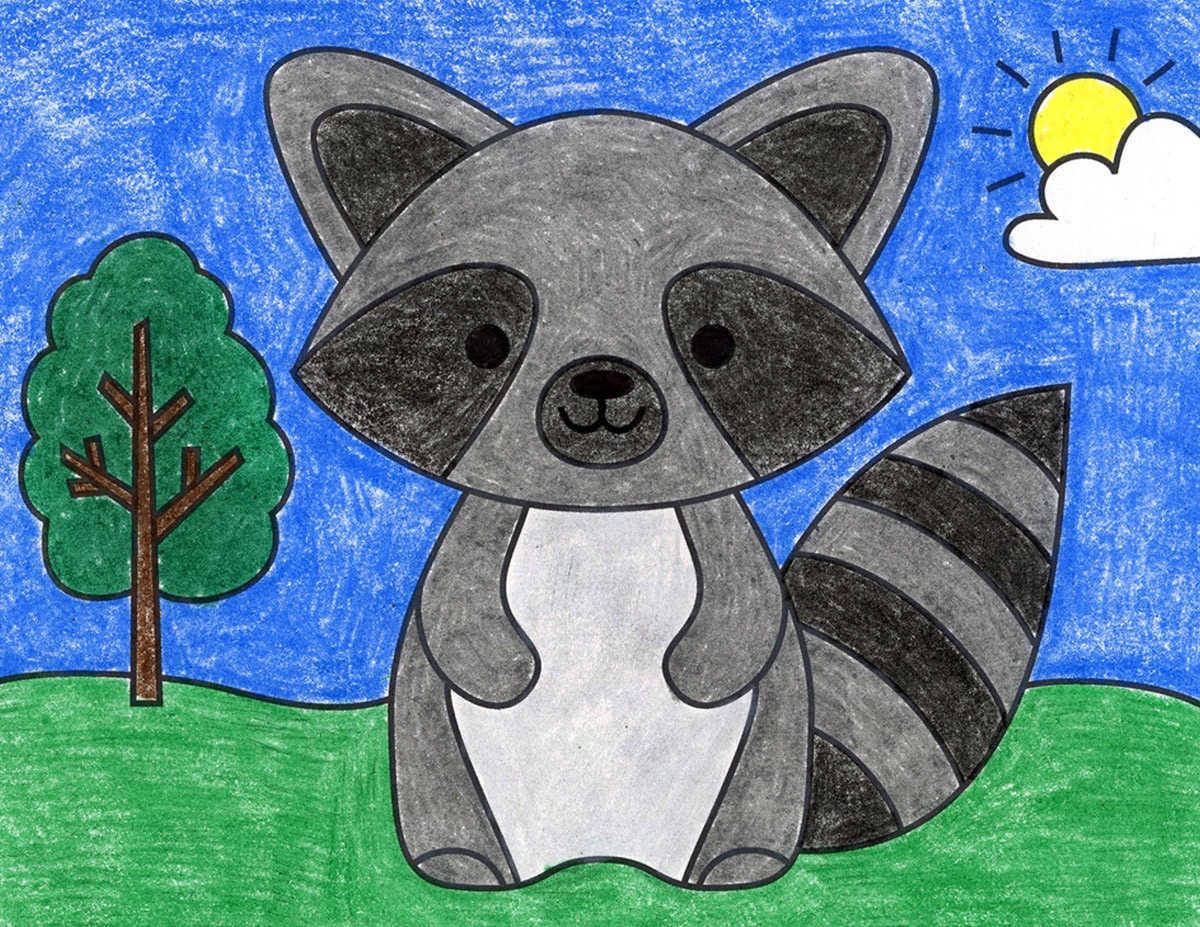
Credit: artprojectsforkids.org
Frequently Asked Questions
How Can I Start Drawing A Raccoon?
To begin drawing a raccoon, gather your materials like paper and pencils. Start with basic shapes to outline the raccoon’s body and head. Focus on features like its distinctive mask and bushy tail. Gradually add details, such as fur texture and facial expressions, to bring your raccoon to life.
What Are The Key Features Of A Raccoon?
Raccoons are known for their unique facial markings, resembling a mask. They have round bodies, bushy tails with rings, and dexterous front paws. Their fur is usually grayish-brown, providing excellent camouflage. These features make raccoons easily recognizable and fun to draw for artists of all skill levels.
Are There Tutorials For Drawing Raccoons?
Yes, there are numerous online tutorials for drawing raccoons. Websites, YouTube channels, and art blogs offer step-by-step guides. These resources often include video demonstrations and printable worksheets. Using these tutorials can help you master the raccoon’s proportions and details, enhancing your drawing skills effectively.
What Materials Do I Need To Draw A Raccoon?
To draw a raccoon, you’ll need basic drawing supplies. A sketchbook, pencil, eraser, and colored pencils or markers are ideal. Optional materials include charcoal for shading or ink for outlining. Having good-quality paper can also enhance your final artwork and make it more enjoyable to work on.
Conclusion
Drawing a raccoon can be fun and easy. Remember to start with simple shapes. Use light lines at first. Add details slowly to bring your raccoon to life. Practice makes perfect, so don’t worry if it’s not great at first.
Keep trying, and your skills will improve. Share your drawings with friends and family. They will appreciate your efforts. Enjoy the process, and let your creativity flow. Happy drawing!