
Learning how to draw a seal is a fun and approachable project for beginners. Seals have smooth, rounded bodies, large expressive eyes, short flippers, and a charming face that can be simplified into basic shapes. Whether you’re creating a cute cartoon seal or a more realistic marine animal, starting with simple forms makes the drawing process much easier.
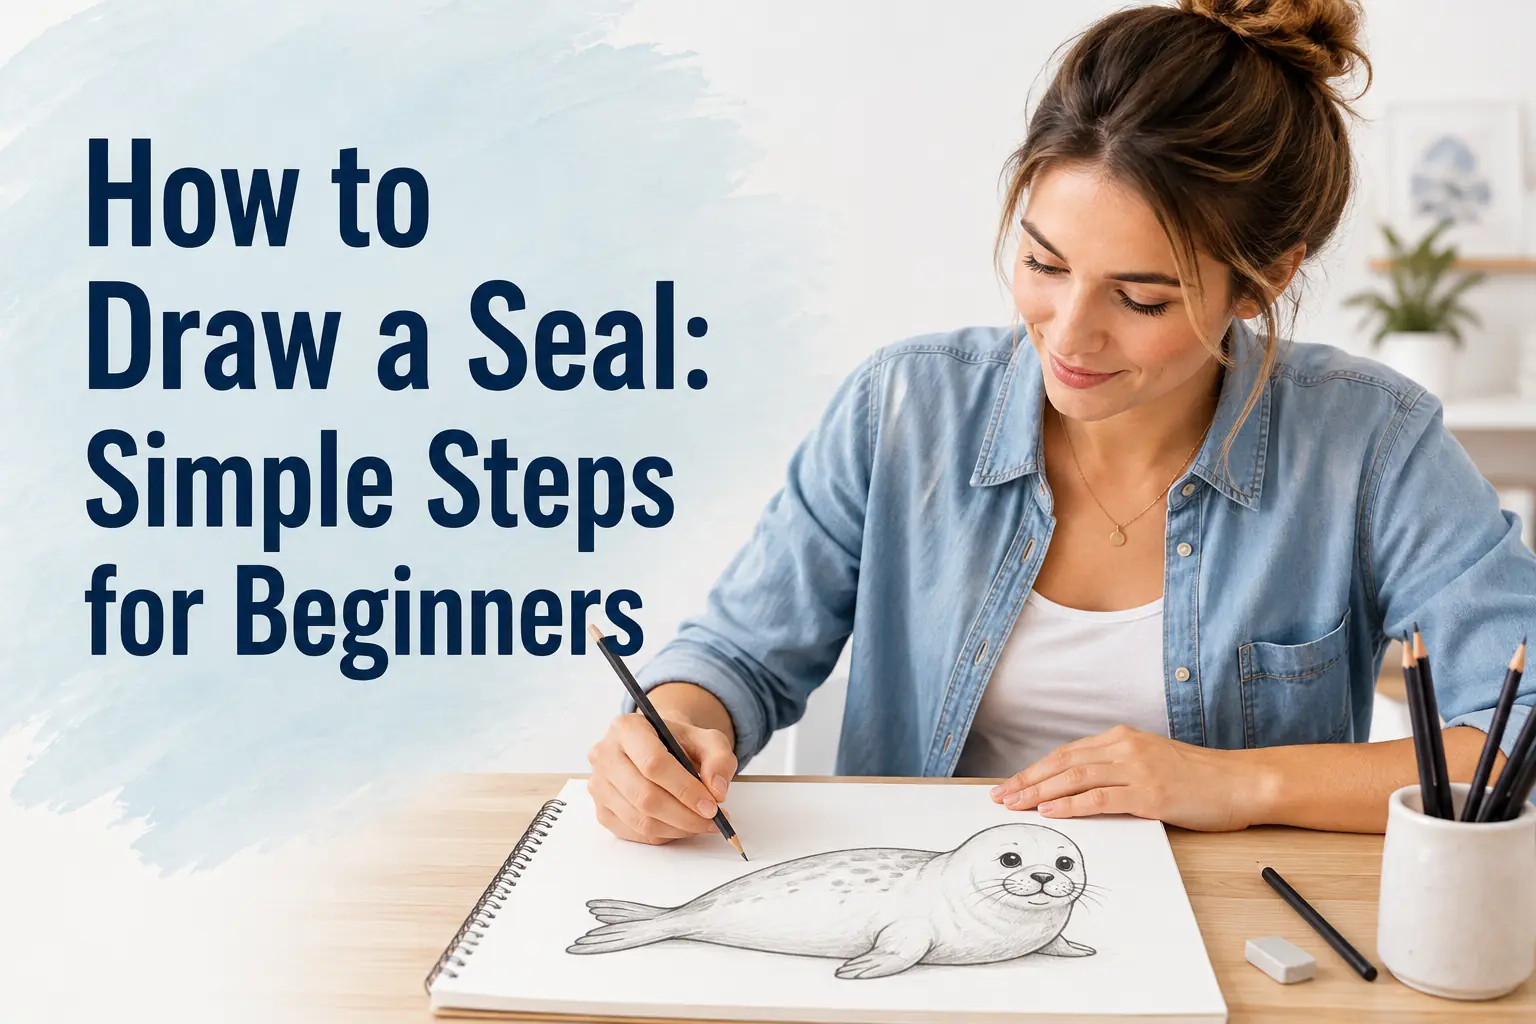
The key is to build the seal gradually. Begin with the head and body, establish the flippers and tail, then add the facial features and soft shading. Once your basic outline is complete, you can add water, ice, rocks, or waves to create a complete scene. Follow these simple steps and you’ll have a friendly seal illustration in no time.
Items to Buy
- Drawing paper
- HB pencil
- 2B pencil
- 4B pencil
- Eraser
- Kneaded eraser
- Sharpener
- Fine-tip black pen
- Colored pencils
- Gray colored pencil
- Dark gray colored pencil
- Blue colored pencil
- Black colored pencil
- White colored pencil
- Light blue colored pencil
Why Draw a Seal?
Seals are excellent subjects for beginners because their bodies rely heavily on rounded and flowing shapes.
Drawing a seal helps you practice:
- Basic shapes
- Animal proportions
- Curved outlines
- Facial expressions
- Flippers
- Fur texture
- Shading
- Highlights
- Underwater scenes
- Simple backgrounds
You can draw a seal lying on ice, swimming underwater, resting on a beach, or popping its head above the water.
How to Draw a Seal Step by Step
Step 1: Sketch the Main Body
Start with a large, elongated oval for the seal’s body.
Keep the shape wider toward the middle and slightly narrower toward the ends. Don’t make the body completely straight because a gentle curve will make your seal look more natural.
Use light pencil strokes so you can easily adjust the proportions later.
Step 2: Add the Head
Draw a rounded head at the front of the body.
The head should blend smoothly into the torso rather than looking like a separate circle. For a cute seal, make the head slightly larger and rounder.
Keep the snout area soft and rounded.
Step 3: Draw the Face
Add two large, rounded eyes toward the front of the head.
Then place a small dark nose between and slightly below the eyes. Add a short curved mouth underneath the nose.
For a cute cartoon seal, slightly enlarge the eyes and add tiny highlights inside them.
Step 4: Add the Whiskers and Muzzle
Create two small rounded muzzle areas around the nose.
Then draw several thin whiskers extending outward from each side.
Keep the whiskers light and delicate. A few well-placed lines are enough to make the seal recognizable.
Step 5: Sketch the Front Flippers
Draw the front flippers along the sides of the body.
They should be relatively short compared with the torso.
Use smooth curved lines and taper the flippers toward their ends. Depending on your pose, they can rest against the ground or extend outward.
Step 6: Draw the Rear Flippers and Tail
At the back of the body, add the seal’s rear flippers.
Create two rounded, slightly flattened shapes that extend outward from the tail area.
Keep the connection between the body and flippers smooth. These rear flippers are especially important when drawing a seal from the side.
Step 7: Refine the Body and Silhouette
Now examine the entire seal.
Make sure the body is long enough, the head is proportional, and the flippers connect naturally.
Erase unnecessary construction lines and smooth out the outer contour.
At this stage, your drawing should already look clearly like a seal even without texture or shading.
Step 8: Add Fur and Skin Texture
Seals have short, dense fur, so avoid drawing long individual hairs.
Instead, use small curved strokes around the:
- Head
- Neck
- Back
- Flippers
- Sides
For a cartoon seal, you can skip most of the texture and keep the body smooth.
Step 9: Add Shading and Highlights
Choose a light source and add darker areas beneath the body, around the flippers, and underneath the head.
Use lighter gray or white along the upper portions of the body.
For a wet-looking seal, add small bright highlights along the nose, forehead, and back.
Step 10: Finish With an Environment
Give your seal a simple setting.
You can place it:
- On an iceberg
- On a beach
- In the ocean
- On a snowy shore
- Beside rocks
- Underwater
Add waves, ice, bubbles, or water ripples to make the illustration more interesting without distracting from the seal.
How to Draw a Cute Seal
For an adorable cartoon seal, use rounded shapes throughout the drawing. Make the head slightly oversized, give the seal large shiny eyes, and keep the muzzle small.
You can add a cheerful smile, tiny flippers, or a playful pose. A small fish, beach ball, snowflake, or heart can also make the illustration more fun.
How to Draw a Realistic Seal
For a realistic seal, concentrate on body proportions and subtle texture.
Keep the head rounded but avoid making it overly large. Use gentle shading to show the body’s cylindrical shape, and add small spots or irregular markings across the fur.
The eyes should remain relatively small, while the nose and whiskers should be carefully positioned.
How to Draw a Seal Swimming
For a swimming seal, make the body horizontal and slightly curved.
Extend the front flippers outward or backward, depending on the direction of movement. Position the rear flippers behind the body and add a few curved water lines around the animal.
Bubbles and soft underwater shadows can make the movement more convincing.
How to Draw a Seal on Ice
Start with your completed seal.
Then draw an irregular ice surface underneath the body. Add cracks, small snow patches, and distant ice shapes.
Use light blue and gray shading to give the ice some dimension while keeping the seal as the main subject.
How to Draw a Seal With Colored Pencils
Start with a light gray base color.
Layer darker gray around the underside, flippers, and sides of the body. Add small darker spots for a natural pattern.
Use white to create highlights around the face and upper back. Blue and light gray can be added to the surrounding water or ice.
How to Draw a Seal With Watercolors
Begin with a light pencil outline.
Apply a pale gray wash over the body and allow it to dry. Add darker gray layers underneath the head and body to create depth.
Keep the face relatively light and use a fine brush for the whiskers and small details. Soft blue washes work well for water and ice.
Common Mistakes to Avoid
Making the Body Too Short
Seals have long, rounded bodies. Avoid creating a body that looks like a simple circle.
Making the Head Too Large
A slightly oversized head works for cartoons, but realistic seals need more balanced proportions.
Forgetting the Flippers
The flippers are essential to the seal’s silhouette and movement.
Drawing Long Fur
Seal fur is generally short and dense. Use small strokes rather than long strands.
Making the Whiskers Too Dark
Keep whiskers thin and delicate.
Over-Shading the Face
Leave enough light around the muzzle and eyes so the facial features remain clear.
Easy Seal Drawing Ideas
Cute Baby Seal
Create a round body, large eyes, and tiny flippers for an adorable illustration.
Seal on an Iceberg
Draw a seal resting on snow-covered ice with water surrounding it.
Swimming Seal
Use a curved body and extended flippers to show movement.
Seal on the Beach
Place your seal on sand with gentle waves behind it.
Cartoon Seal
Use bold outlines, simplified shapes, and a friendly expression.
Realistic Seal
Focus on subtle fur markings, body proportions, shadows, and highlights.
FAQs
Is a seal easy to draw?
Yes. A seal’s rounded body and simple flippers make it a great animal for beginners.
What should I draw first?
Start with the elongated body, then add the head and facial features before drawing the flippers.
How do I draw a seal’s face?
Use two rounded eyes, a small nose, a short mouth, rounded muzzle shapes, and several thin whiskers.
How do I draw seal flippers?
Use smooth, tapered shapes connected naturally to the body. Keep the front flippers shorter and the rear flippers broader.
How do I make a seal look realistic?
Focus on accurate proportions, subtle fur texture, soft shading, natural flipper placement, and small facial details.
How do I draw a cute seal?
Make the head slightly larger, eyes bigger, body rounder, and expression friendlier.
What colors should I use?
Gray, dark gray, white, black, and blue work well for most seal illustrations.
Can beginners draw a realistic seal?
Absolutely. Start with simple shapes and gradually add anatomy, texture, shading, and environmental details.
What pencil should I use?
An HB pencil works well for sketching, while 2B and 4B pencils are useful for darker shading and details.
Final Words
Learning how to draw a seal becomes much easier when you break the animal into simple rounded shapes. Start with the elongated body and rounded head, then add the face, whiskers, front flippers, rear flippers, and tail. Once the silhouette is right, subtle fur texture and shading can give your seal a more realistic appearance.
Once you’re comfortable with the basic drawing, experiment with different poses and environments. Try a cute baby seal, a seal swimming through blue water, or a seal relaxing on an icy shore. With regular practice, you’ll become more confident drawing rounded animal forms, expressive faces, flippers, texture, and natural marine scenes.