
A faded or scratched kayak can make even the most exciting paddling adventures feel less enjoyable. Learning how to paint a kayak is an affordable way to restore its appearance, personalize its style, and add a fresh layer of protection against the elements. Whether you own a recreational kayak, fishing kayak, touring kayak, or sit-on-top model, a quality paint job can make it look nearly new again.
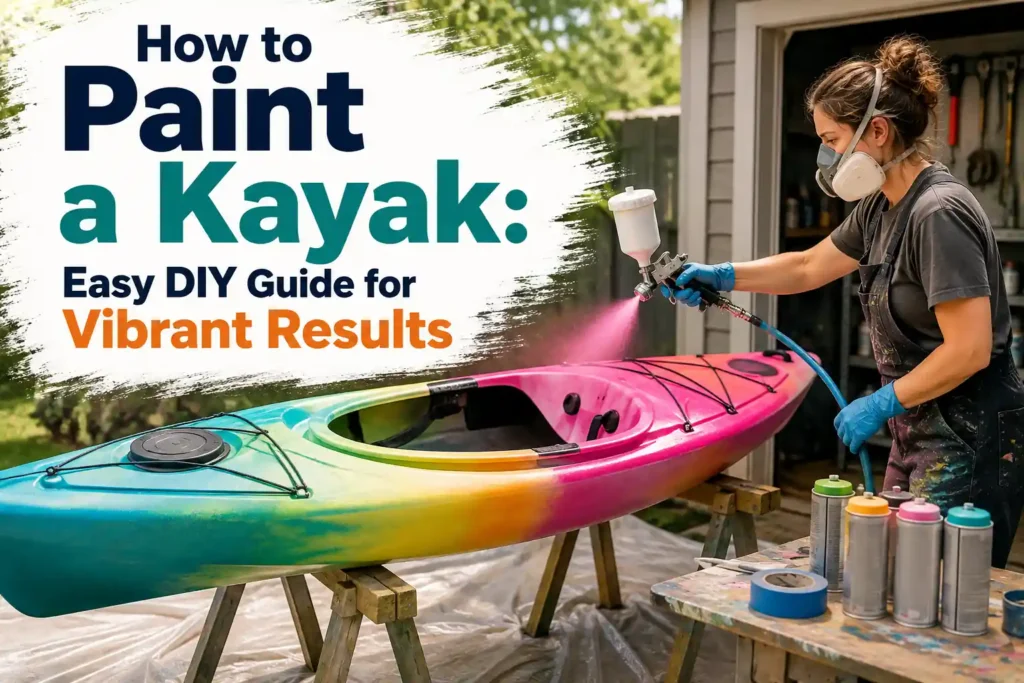
Painting a kayak requires more than simply applying paint to the surface. Because kayaks are constantly exposed to water, sunlight, impacts, and abrasion, proper preparation is essential for long-lasting results. Choosing the right paint, preparing the surface correctly, and applying protective coatings will help ensure a durable finish. This guide covers everything you need to know to paint your kayak successfully.
Items to Buy
- Mild boat soap
- Degreaser
- Sponge
- Microfiber cloths
- Fine-grit sandpaper
- Sanding block
- Plastic adhesion promoter
- Marine primer
- Plastic primer
- Marine-grade paint
- Spray paint for plastic
- Marine enamel
- Paint brushes
- Foam roller
- Paint tray
- Painter’s tape
- Plastic sheeting
- Tack cloth
- Marine clear coat
- UV-resistant sealer
- Safety goggles
- Respirator mask
- Nitrile gloves
Can You Paint a Kayak?
Yes, most kayaks can be painted.
Plastic, fiberglass, and composite kayaks can all be repainted successfully when proper preparation methods are used. However, the specific products and techniques may vary depending on the kayak material.
The key to success is ensuring the paint bonds securely to the surface and withstands exposure to water and sunlight.
Why Paint a Kayak?
Painting a kayak offers numerous advantages.
Benefits include:
- Restores faded surfaces
- Covers scratches
- Improves appearance
- Adds custom colors
- Enhances visibility
- Personalizes your kayak
- Protects against UV damage
- Extends aesthetic lifespan
A fresh paint job can completely transform the look of an older kayak.
Understanding Kayak Materials
Before painting, identify your kayak’s material.
Common kayak materials include:
- Polyethylene plastic
- Fiberglass
- Composite materials
- Carbon fiber
- Thermoformed plastic
Polyethylene is the most common material and often requires special preparation because of its slick surface.
Best Paint for a Kayak
Choosing the correct paint is essential.
Popular options include:
- Marine-grade paint
- Marine enamel
- Plastic-compatible spray paint
- Acrylic urethane coatings
- Boat paint
Paint designed for marine environments generally offers the best durability.
Best Primer for Kayaks
Primer improves adhesion and durability.
Recommended products include:
- Marine primer
- Plastic bonding primer
- Adhesion promoter
- Specialty boat primer
Using the proper primer can dramatically reduce the risk of peeling.
When Should You Paint a Kayak?
Consider repainting if you notice:
- Faded color
- Surface scratches
- UV damage
- Discoloration
- Cosmetic wear
- Chipped paint
- Outdated appearance
Repainting can refresh the kayak while improving its visual appeal.
Preparing a Kayak for Painting
Preparation is the most important stage of the project.
Even the highest-quality marine paint will fail if applied to a dirty or poorly prepared surface. Proper preparation helps create a strong bond between the paint and the kayak.
Investing time in preparation often produces the biggest improvement in final results.
How to Paint a Kayak Step by Step Guide
Step 1: Clean the Kayak Thoroughly
Wash the kayak using mild soap and water.
Remove:
- Dirt
- Algae
- Salt residue
- Mud
- Oils
Allow the kayak to dry completely.
Step 2: Inspect for Damage
Examine the surface for:
- Deep scratches
- Cracks
- Gouges
- Dents
- Structural damage
Repair any significant damage before painting.
Step 3: Remove Stickers and Decals
Peel away old decals and adhesive residue.
Clean remaining adhesive using an appropriate remover.
A smooth surface creates a cleaner finish.
Step 4: Degrease the Surface
Wipe the kayak with a degreaser.
Removing oils and contaminants helps improve primer adhesion.
Pay extra attention to frequently handled areas.
Step 5: Sand the Surface
Lightly sand the kayak using fine-grit sandpaper.
The goal is to dull the glossy finish and create microscopic scratches for primer adhesion.
Avoid aggressive sanding.
Step 6: Remove Dust
Use a tack cloth or microfiber cloth to remove sanding dust.
The surface should be completely clean before priming.
Step 7: Mask Areas Not Being Painted
Use painter’s tape to protect:
- Handles
- Hardware
- Seat mounts
- Accessories
- Identification labels
Careful masking creates cleaner results.
Step 8: Apply Adhesion Promoter
For plastic kayaks, apply an adhesion promoter.
This helps paint bond more effectively to the surface.
Allow it to dry according to product instructions.
Step 9: Apply Primer
Apply a thin coat of marine or plastic primer.
Use smooth, even coverage across the entire kayak.
Allow the primer to dry fully.
Step 10: Sand the Primer Lightly
If needed, lightly sand the primer after drying.
This helps smooth imperfections and improve the finish.
Clean away dust afterward.
Step 11: Apply the First Coat of Paint
Apply a thin coat of marine paint.
Use a spray can, spray gun, foam roller, or brush depending on the product.
Avoid heavy coats.
Step 12: Allow Proper Drying
Follow the paint manufacturer’s drying recommendations.
Drying times vary depending on temperature and humidity.
Patience improves final results.
Step 13: Apply Additional Coats
Most kayaks require two to four coats of paint.
Build coverage gradually using multiple thin layers.
This approach improves durability and appearance.
Step 14: Inspect the Surface
Check for:
- Thin spots
- Uneven coverage
- Drips
- Missed sections
Touch up areas as needed.
Step 15: Apply a Protective Clear Coat
Apply a marine-grade clear coat or UV-resistant sealer.
This adds:
- UV protection
- Scratch resistance
- Water resistance
- Enhanced durability
Protective coatings help extend the life of the paint.
Step 16: Allow Full Curing
Allow the kayak to cure completely before use.
Avoid water exposure until the curing process is finished.
Following cure times helps maximize durability.
Popular Kayak Color Ideas
Many paddlers choose:
- Bright orange
- Lime green
- Ocean blue
- Matte black
- White
- Red
- Yellow
- Camouflage patterns
Bright colors can improve visibility and safety on the water.
Spray Paint vs Brush Painting
Both methods can work effectively.
Spray Painting
Benefits include:
- Smooth finish
- Fast application
- Uniform coverage
- Minimal brush marks
Brush Painting
Benefits include:
- Better control
- Lower equipment cost
- Easier touch-ups
- Suitable for small projects
Choose the method that best fits your project.
Common Mistakes to Avoid
One common mistake is skipping sanding.
Without surface abrasion, primer and paint may struggle to adhere properly. Another issue is using ordinary household paint.
Marine-grade products are specifically formulated to handle moisture and UV exposure.
Applying thick coats is another frequent mistake that can lead to runs and uneven drying.
Multiple thin coats consistently provide better results.
Tips for a Professional Finish
For the best outcome:
- Clean thoroughly
- Sand lightly
- Use marine primer
- Apply adhesion promoter
- Use marine-grade paint
- Apply thin coats
- Allow proper curing
- Protect with clear coat
These habits can dramatically improve the final finish.
How Long Does Painted Kayak Paint Last?
Durability depends on several factors.
These include:
- Surface preparation
- Paint quality
- UV exposure
- Storage conditions
- Frequency of use
- Maintenance practices
A properly painted kayak can maintain its appearance for many years.
Maintaining a Painted Kayak
To preserve the finish:
- Rinse after use
- Remove salt deposits
- Store out of direct sunlight
- Avoid dragging on rough surfaces
- Repair scratches promptly
- Clean regularly
Routine maintenance helps maximize paint life.
FAQs
Can you paint a plastic kayak?
Yes, plastic kayaks can be painted using proper preparation and adhesion-promoting products.
What paint works best on a kayak?
Marine-grade paint and marine enamel are popular choices.
Do I need primer?
Yes, primer significantly improves paint adhesion and durability.
Can I use spray paint?
Yes, spray paint formulated for plastic or marine applications can work well.
Should I sand the kayak first?
Yes, light sanding improves primer and paint adhesion.
Is clear coat necessary?
While optional, clear coat adds protection and extends paint life.
How many coats of paint are needed?
Most kayaks require two to four paint coats.
How long should paint cure before use?
Follow the manufacturer’s recommendations, as curing times vary by product.
Additional Tips for Fishing Kayaks
If you use your kayak for fishing, consider selecting colors that balance visibility and functionality. Bright colors improve safety and make the kayak easier to spot, while more muted colors may help blend into natural surroundings.
You can also use stencils and marine-safe paints to add custom graphics, identification markings, or camouflage patterns. Just be sure all decorative coatings are fully cured before returning the kayak to the water.
Final Words
Learning how to paint a kayak is a rewarding DIY project that can restore an aging boat, cover scratches, and create a completely customized appearance. By cleaning thoroughly, sanding properly, applying a quality primer, and using marine-grade paint, you can achieve a finish that looks great and withstands the demands of life on the water.
Whether you’re refreshing a faded kayak or creating a one-of-a-kind design, careful preparation remains the key to success. With the techniques outlined in this guide, your kayak can enjoy a vibrant new look and many more adventures ahead.