
Many homeowners searching for how to paint over silicone caulk are surprised to learn that standard paint does not adhere well to pure silicone surfaces. Silicone caulk is designed to resist moisture, dirt, and adhesion, making it excellent for sealing bathrooms, kitchens, windows, and exterior joints. However, those same properties make painting over it difficult and often frustrating.
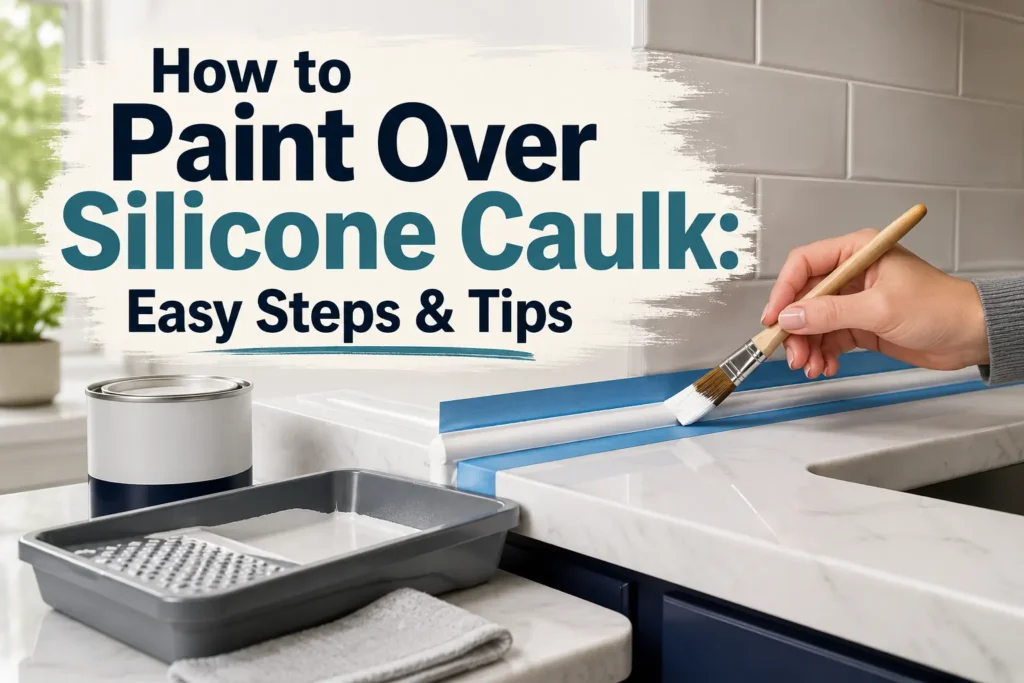
The good news is that while paint generally will not stick directly to silicone caulk, there are several effective solutions. Depending on the situation, you may be able to prepare the surface, use specialized products, or replace the silicone with paintable caulk. This guide explains the best methods, tools, and techniques for achieving a professional-looking finish.
Items to Buy
- Utility knife
- Caulk removal tool
- Paintable latex caulk
- Paintable acrylic caulk
- Denatured alcohol
- Mineral spirits
- Mild detergent
- Sponge
- Microfiber cloths
- Fine-grit sandpaper
- Painter’s tape
- Bonding primer
- Shellac-based primer
- Paintbrush
- Paint roller
- Paint tray
- Interior paint
- Exterior paint
- Safety gloves
- Safety goggles
- Drop cloths
Can You Paint Over Silicone Caulk?
In most cases, paint does not adhere properly to silicone caulk.
Silicone is intentionally manufactured to repel moisture and other substances, including paint. When paint is applied directly over silicone, it often beads up, cracks, peels, or flakes away shortly after drying.
Because of this, most professionals recommend replacing silicone with a paintable caulk whenever a painted finish is desired.
Why Silicone Caulk Is Difficult to Paint
Silicone caulk offers several benefits:
- Excellent flexibility
- Superior water resistance
- Long lifespan
- Mold resistance
- Weather resistance
- Strong sealing properties
However, its non-stick surface makes paint adhesion extremely challenging.
This characteristic is why silicone performs so well as a sealant but poorly as a paintable surface.
Types of Caulk and Paintability
Understanding different caulk types helps determine the best solution.
Silicone Caulk
Features:
- Highly flexible
- Waterproof
- Not paintable
Acrylic Latex Caulk
Features:
- Easy to apply
- Paintable
- Suitable for interior projects
Siliconized Acrylic Caulk
Features:
- Contains silicone additives
- Improved flexibility
- Usually paintable
Polyurethane Caulk
Features:
- Durable
- Paintable
- Excellent exterior performance
Choosing the correct caulk from the beginning can eliminate painting issues later.
When Should Silicone Caulk Be Replaced?
Replacement is often the best option if:
- The caulk is visible after painting
- A seamless finish is desired
- Existing silicone is old
- Paint consistently peels
- Remodeling work is being performed
Removing and replacing the silicone typically produces the most professional results.
How to Determine if the Caulk Is Silicone
Before painting, identify the existing caulk.
Signs of silicone include:
- Rubber-like texture
- Glossy appearance
- Water beading on the surface
- Flexible finish
- Paint refusal
If you’re unsure, test a small hidden area with paint.
Poor adhesion usually indicates silicone.
Best Solution: Replace Silicone Caulk
Professional painters generally recommend replacing silicone with paintable caulk.
This approach offers:
- Better adhesion
- Smoother appearance
- Longer-lasting results
- Easier maintenance
Although it requires additional work initially, the final finish is often superior.
How to Paint Over Silicone Caulk Step by Step
Method 1: Remove and Replace the Silicone
This is the preferred method.
Step 1: Cut the Silicone Caulk
Use a utility knife to carefully score both sides of the caulk bead.
Work slowly to avoid damaging surrounding surfaces.
Step 2: Remove the Old Caulk
Pull away as much silicone as possible.
A caulk removal tool can help extract stubborn sections.
Remove all loose material.
Step 3: Clean the Area
Wash the surface thoroughly.
Remove:
- Dirt
- Soap residue
- Dust
- Silicone remnants
Allow the area to dry completely.
Step 4: Remove Residual Silicone
Use denatured alcohol or a recommended silicone remover.
Even small traces of silicone can interfere with paint adhesion.
Step 5: Apply Paintable Caulk
Apply a smooth bead of:
- Acrylic latex caulk
- Siliconized acrylic caulk
- Paintable polyurethane caulk
Choose a product labeled as paintable.
Step 6: Tool the Caulk
Smooth the bead using a damp finger or caulking tool.
Create a neat and consistent appearance.
Step 7: Allow Proper Curing
Follow the manufacturer’s curing instructions.
Most paintable caulks require curing before painting.
Step 8: Prime the Area
Apply primer if recommended.
Primer helps improve paint adhesion and coverage.
Step 9: Apply Paint
Paint the surface using your chosen finish.
Most paintable caulks accept paint without issues.
Step 10: Apply Additional Coats
Use additional coats as needed for full coverage.
Allow proper drying between coats.
Alternative Method: Priming Existing Silicone
In situations where removal is impractical, specialized primers may improve adhesion.
Step 1: Clean Thoroughly
Remove all dirt, oils, and contaminants.
Step 2: Lightly Scuff the Surface
Use fine-grit sandpaper carefully.
This may slightly improve adhesion.
Step 3: Apply Bonding Primer
Use:
- Shellac-based primer
- Specialty bonding primer
Allow it to dry completely.
Step 4: Apply Paint
Paint over the primed area.
While this method sometimes works, results are generally less reliable than replacing the caulk.
Best Paint for Paintable Caulk
Popular options include:
- Acrylic latex paint
- Interior wall paint
- Exterior house paint
- Trim paint
- Enamel paint
Most modern paints perform well over properly cured paintable caulk.
Common Areas With Silicone Caulk
You may encounter silicone around:
- Bathtubs
- Showers
- Sinks
- Kitchen backsplashes
- Windows
- Exterior trim
- Countertops
These areas often require special consideration before painting.
Common Mistakes to Avoid
One of the most frequent mistakes is attempting to paint directly over untreated silicone.
Paint almost always struggles to adhere properly. Another mistake is leaving silicone residue behind after removal.
Even small amounts can cause paint failures.
Skipping curing time is another common issue that can affect both caulk performance and paint adhesion.
Patience leads to better results.
Tips for a Professional Finish
For the best outcome:
- Use paintable caulk
- Remove old silicone completely
- Clean surfaces thoroughly
- Prime when necessary
- Allow proper curing
- Apply multiple thin paint coats
- Follow manufacturer recommendations
These practices help create a cleaner and longer-lasting finish.
How Long Will the Finish Last?
Durability depends on:
- Surface preparation
- Caulk quality
- Paint quality
- Environmental conditions
- Maintenance practices
When paintable caulk is used correctly, painted joints can remain attractive for many years.
Maintaining Painted Caulk
To preserve the finish:
- Clean gently
- Avoid harsh chemicals
- Inspect annually
- Repair cracks promptly
- Control excess moisture
Routine maintenance extends the life of both the caulk and paint.
FAQs
Can you paint directly over silicone caulk?
In most cases, no. Paint does not adhere well to pure silicone.
What type of caulk can be painted?
Acrylic latex, siliconized acrylic, and many polyurethane caulks are paintable.
Should I remove silicone before painting?
Yes, removal and replacement are usually the best solutions.
Can primer make silicone paintable?
Some bonding primers may improve adhesion, but results vary.
What primer works best on silicone?
Shellac-based and specialty bonding primers are commonly recommended.
Why does paint peel off silicone?
Silicone’s non-stick surface prevents proper paint adhesion.
Can exterior silicone caulk be painted?
Pure silicone generally remains difficult to paint, even outdoors.
What is the easiest solution?
Replacing silicone with paintable caulk is typically the simplest and most reliable option.
Additional Considerations for Bathrooms and Kitchens
Bathrooms and kitchens often contain large amounts of silicone caulk because of constant moisture exposure. If you’re remodeling these areas, consider using high-quality paintable caulk in locations where future painting may be required.
This small planning step can save significant time and frustration during future updates. Many modern paintable caulks still provide excellent moisture resistance while allowing easier maintenance and color changes.
Final Words
Understanding how to paint over silicone caulk starts with recognizing that silicone is not naturally paint-friendly. While specialty primers can sometimes help, the most reliable solution is usually removing the silicone and replacing it with a paintable caulk designed to accept paint.
By following the preparation, replacement, and painting techniques outlined in this guide, you can achieve a clean, professional-looking finish that lasts. Whether you’re updating trim, refreshing a bathroom, or completing a remodeling project, proper caulk selection is the key to long-term success.