
Knowing how to paint a tractor is one of the best ways to restore an old machine, protect it from rust, and give it a fresh, professional appearance. Whether you’re renovating a vintage farm tractor, touching up faded paint, or completely changing the color, a quality paint job can dramatically improve both appearance and longevity.
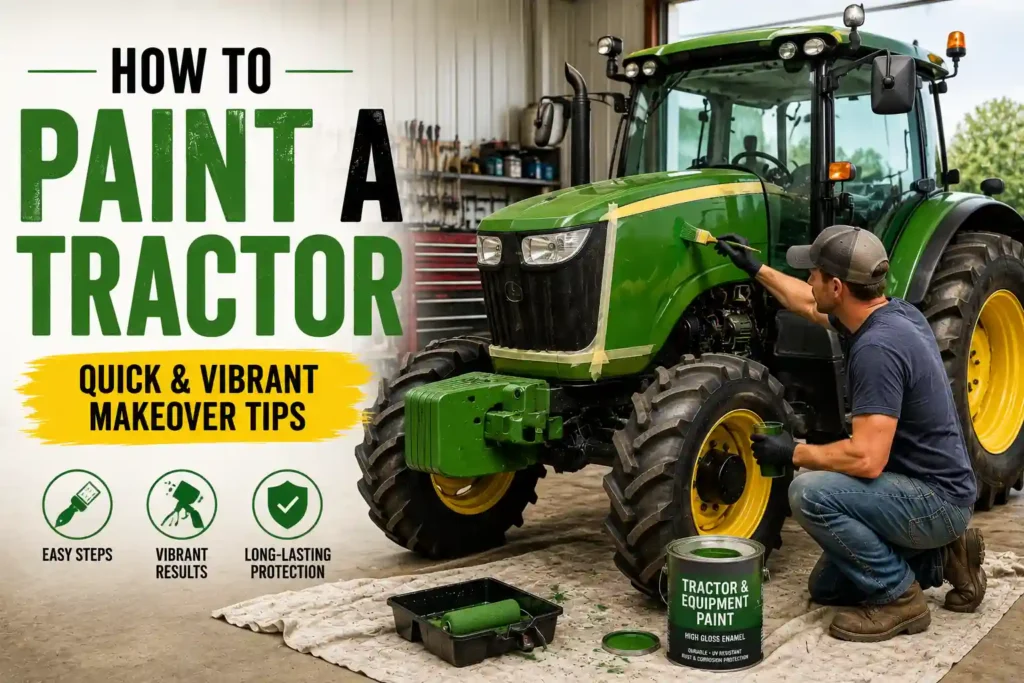
Painting a tractor requires more than simply spraying on a new coat of paint. Proper preparation, priming, and application techniques help ensure a durable finish that can withstand outdoor conditions, dirt, sunlight, and daily use. This guide covers everything you need to know to achieve a vibrant, long-lasting tractor makeover.
Items to Buy
- Tractor paint
- Rust-resistant primer
- Metal cleaner
- Degreaser
- Pressure washer
- Wire brush
- Sandpaper
- Orbital sander
- Body filler
- Putty knife
- Paint sprayer
- Air compressor
- Paint thinner
- Mixing cups
- Painter’s tape
- Plastic sheeting
- Tack cloth
- Safety goggles
- Respirator mask
- Work gloves
- Clear coat (optional)
Why Paint a Tractor?
Painting a tractor does more than improve its appearance.
A fresh paint job helps protect metal surfaces from moisture, rust, UV damage, and everyday wear. For older tractors, repainting can restore value and preserve the machine for years to come.
Many tractor owners also enjoy customizing colors to match personal preferences, farm branding, or restoration goals.
The result is a cleaner, more professional-looking piece of equipment.
Choosing the Right Tractor Paint
Selecting the proper paint is important for durability.
Common options include:
- Acrylic enamel paint
- Alkyd enamel paint
- Urethane paint
- Automotive-grade paint
- Specialty tractor paint
Many tractor manufacturers offer factory-matched colors for restoration projects.
Choosing a paint specifically designed for agricultural equipment typically provides the best durability.
Inspecting the Tractor Before Painting
Before beginning, inspect the tractor thoroughly.
Look for:
- Rust spots
- Dents
- Paint peeling
- Oil leaks
- Surface corrosion
- Damaged panels
Addressing these issues before painting helps ensure a smoother and longer-lasting finish.
A thorough inspection can also reveal repairs that should be completed first.
How to Paint a Tractor Step by Step Guide
Step 1: Wash the Tractor
Start by thoroughly cleaning the tractor.
Use a pressure washer and degreaser to remove mud, grease, oil, and dirt.
Allow the tractor to dry completely before moving on.
Step 2: Remove Accessories
Remove any detachable components that may interfere with painting.
These may include:
- Lights
- Mirrors
- Decals
- Seats
- Attachments
- Covers
Removing parts often produces cleaner results.
Step 3: Protect Areas Not Being Painted
Use painter’s tape and plastic sheeting to cover areas that should remain paint-free.
Mask windows, tires, gauges, hoses, and other sensitive components.
Proper masking reduces cleanup later.
Step 4: Remove Rust
Use a wire brush, grinder, or sandpaper to eliminate rust.
Remove as much corrosion as possible before painting.
Treat stubborn rust areas with a rust converter if necessary.
Step 5: Sand the Surface
Sand painted surfaces to create a smooth foundation.
The goal is to remove loose paint and create texture for primer adhesion.
Pay extra attention to rough or damaged areas.
Step 6: Repair Imperfections
Fill dents, scratches, and minor damage with body filler.
Allow the filler to cure and sand it smooth afterward.
A smooth surface improves the final appearance significantly.
Step 7: Clean Away Dust
Wipe the entire tractor with a tack cloth.
Remove sanding dust, debris, and contaminants.
A clean surface is essential before priming.
Step 8: Apply Primer
Spray a rust-resistant metal primer evenly across all exposed surfaces.
Primer improves paint adhesion and helps prevent future corrosion.
Allow the primer to dry according to product instructions.
Step 9: Sand the Primer
Lightly sand the primer once it has dried.
This creates an ultra-smooth surface for the topcoat.
Remove dust afterward with a clean cloth.
Step 10: Apply the First Coat of Paint
Using a paint sprayer, apply the first thin coat of tractor paint.
Keep the sprayer moving continuously to prevent runs.
Avoid applying heavy coats.
Step 11: Apply Additional Coats
Allow each coat to flash and dry according to manufacturer recommendations.
Apply multiple thin coats until full coverage is achieved.
Several light coats generally produce a better finish than one thick coat.
Step 12: Add a Clear Coat (Optional)
For additional durability and shine, apply a clear protective topcoat.
This step is especially useful for restored vintage tractors and show tractors.
Allow the finish to cure completely before use.
Best Weather Conditions for Painting a Tractor
Environmental conditions affect paint performance.
Ideal conditions typically include:
- Temperatures between 65°F and 85°F
- Low humidity
- Minimal wind
- Dry weather
- Good ventilation
Painting in poor conditions can lead to peeling, bubbling, or uneven curing.
Planning the project around favorable weather often improves results.
Spray Painting vs Brush Painting
Both methods can work, but they offer different results.
Spray Painting
Advantages include:
- Smooth finish
- Faster application
- Professional appearance
- Better coverage
Brush Painting
Advantages include:
- Lower cost
- Less equipment required
- Easier for small repairs
- Suitable for touch-ups
For complete tractor restorations, spray painting is usually preferred.
Common Tractor Paint Colors
Many owners choose factory-original colors during restoration.
Popular tractor colors include:
- Red
- Green
- Blue
- Orange
- Yellow
- Gray
- White
- Black
Matching original colors can increase authenticity and resale value.
Custom colors can create a unique appearance.
Common Mistakes to Avoid
One common mistake is painting over dirt or grease.
Contaminants can cause poor adhesion and premature paint failure. Another issue is skipping primer, especially on bare metal surfaces.
Many beginners also apply paint too heavily, resulting in runs and uneven finishes.
Proper preparation helps avoid these problems.
Tips for a Professional Finish
Take your time during preparation.
Most professional-quality paint jobs result from careful cleaning, sanding, and priming rather than the painting itself. Maintain consistent spray distance and overlap each pass slightly.
Practicing spray techniques on scrap metal beforehand can improve confidence and results.
Patience often produces the best finish.
Maintaining a Newly Painted Tractor
Once the paint has cured, proper maintenance helps preserve the finish.
Wash the tractor regularly to remove dirt and chemicals. Repair paint chips promptly to prevent rust from developing underneath.
Parking under cover whenever possible helps reduce UV exposure and weather damage.
Routine care can significantly extend the life of the paint job.
FAQs
What type of paint is best for tractors?
Acrylic enamel and specialty tractor paints are among the most popular choices.
Do I need to remove all old paint?
Not necessarily. Loose or damaged paint should be removed, but stable paint can often be sanded and painted over.
Can I paint a tractor with a brush?
Yes, although spray painting generally provides a smoother finish.
How many coats of paint should I apply?
Most tractors require two to four coats for complete coverage.
Should I use primer?
Yes. Primer improves adhesion and helps prevent rust.
How long does tractor paint take to cure?
Drying times vary, but complete curing may take several days or longer.
Can I paint over rust?
Rust should be removed or treated before painting whenever possible.
Is a clear coat necessary?
Not always, but it can improve durability and gloss.
Final Words
Learning how to paint a tractor is a valuable skill that can restore aging equipment, improve appearance, and provide long-term protection against rust and weather. By properly cleaning, sanding, priming, and applying multiple thin coats of paint, you can achieve a vibrant finish that looks professional and lasts for years.
Whether you’re restoring a vintage farm tractor, refreshing a working machine, or creating a custom showpiece, careful preparation and attention to detail are the keys to success. With the right tools and techniques, your tractor can look as impressive as the day it left the factory.