
Knowing how to paint foam board can help you transform a simple craft material into professional-looking displays, signs, models, props, and decorative projects. Foam board is lightweight, affordable, and easy to work with, making it a favorite among artists, students, designers, and DIY enthusiasts.
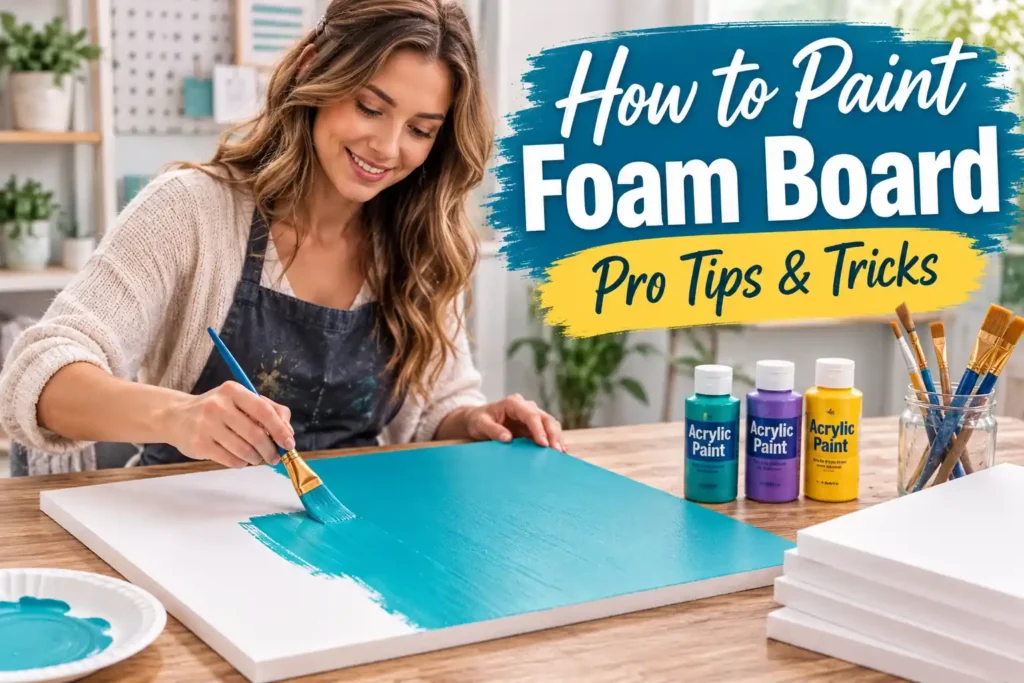
However, painting foam board requires the right techniques and materials. Some paints can damage the foam core, while improper preparation may lead to warping, peeling, or uneven coverage. This guide explains everything you need to know to achieve a smooth, vibrant finish on foam board while protecting the material underneath.
Items to Buy
- Foam board
- Acrylic paint
- Latex paint
- Foam-safe spray paint
- Paint primer
- Foam brushes
- Paint brushes
- Mini paint roller
- Paint tray
- Fine-grit sandpaper
- Craft knife
- Cutting mat
- Painter’s tape
- Drop cloth
- Water container
- Paper towels
- Tack cloth
- Acrylic sealer
- Clear spray sealer
- Protective gloves
What Is Foam Board?
Foam board consists of a foam core sandwiched between two paper or plastic surfaces.
It is commonly used for:
- School projects
- Presentation displays
- Architectural models
- Sign making
- Craft projects
- Event decorations
- Photography backdrops
- Theater props
Its lightweight nature makes it easy to transport and customize.
Can You Paint Foam Board?
Yes, foam board can be painted successfully.
However, not all paints are suitable. Certain solvent-based paints may melt or damage the foam core if they penetrate the outer surface.
Using foam-safe paints and proper techniques helps ensure excellent results without damaging the material.
Testing products beforehand is always a smart idea.
Best Paints for Foam Board
Choosing the right paint is essential.
Popular options include:
- Acrylic paint
- Latex paint
- Foam-safe spray paint
- Craft paint
- Water-based paint
These paints generally provide good coverage while minimizing the risk of foam damage.
Avoid harsh solvent-based products unless specifically labeled as foam-safe.
Why Prime Foam Board Before Painting?
Primer can improve paint adhesion and coverage.
Benefits include:
- More uniform color
- Better paint bonding
- Reduced paint absorption
- Improved durability
- Smoother finish
While some projects may not require primer, it often helps create more professional-looking results.
How to Paint Foam Board Step by Step Guide
Step 1: Prepare Your Workspace
Choose a flat, clean work area.
Protect surrounding surfaces with drop cloths or newspaper and gather all supplies before starting.
Good preparation helps ensure a smoother painting process.
Step 2: Inspect the Foam Board
Examine the board for dents, scratches, or damaged edges.
Minor imperfections can often be repaired before painting.
A clean, smooth surface generally produces the best finish.
Step 3: Cut the Foam Board if Necessary
If your project requires a specific size or shape, cut the foam board before painting.
Use a sharp craft knife and cutting mat for clean edges.
Measure carefully to avoid mistakes.
Step 4: Clean the Surface
Wipe the foam board with a dry microfiber cloth or tack cloth.
Remove dust, debris, and loose particles that could affect paint adhesion.
Avoid soaking the surface with water.
Step 5: Apply Painter’s Tape
Mask any areas that should remain unpainted.
Painter’s tape helps create sharp lines and clean edges.
Press the tape firmly to prevent paint seepage.
Step 6: Apply Primer
Use a foam brush, roller, or paintbrush to apply a thin coat of primer.
Spread the primer evenly across the surface.
Allow it to dry completely according to the product instructions.
Step 7: Lightly Sand the Surface
Once the primer is dry, lightly sand any rough areas using fine-grit sandpaper.
This step helps create a smoother painting surface.
Remove sanding dust afterward.
Step 8: Apply the First Coat of Paint
Use thin, even strokes to apply the first coat of paint.
A foam roller often provides the smoothest finish on large surfaces.
Avoid applying excessive paint.
Step 9: Allow the Paint to Dry
Let the first coat dry completely.
Drying times vary depending on paint type, temperature, and humidity.
Patience helps prevent streaks and smudges.
Step 10: Apply Additional Coats
Apply a second or third coat if necessary.
Multiple thin coats generally produce better coverage than one heavy coat.
Allow each layer to dry before continuing.
Step 11: Add Details and Designs
Once the base color is dry, add lettering, graphics, artwork, or decorative elements.
Use smaller brushes for detailed work.
Take your time to maintain clean lines.
Step 12: Seal the Finished Surface
Apply a clear sealer if additional protection is desired.
Acrylic or foam-safe sealers can help protect the paint from scratches, moisture, and fading.
Allow the sealer to cure completely before handling.
Best Tools for Painting Foam Board
Different tools produce different results.
Foam Rollers
Foam rollers are excellent for achieving smooth, streak-free coverage on large areas.
Foam Brushes
These are useful for applying primer, paint, and sealers with minimal brush marks.
Detail Brushes
Small brushes work best for lettering, illustrations, and decorative details.
Spray Paint
Foam-safe spray paints can provide very smooth finishes when used correctly.
Choose tools based on the requirements of your project.
Common Foam Board Painting Projects
Painted foam board is extremely versatile.
Popular projects include:
- Event signs
- Science fair displays
- School presentations
- Theater props
- Photography backgrounds
- Home décor
- Model making
- Business signage
The material’s lightweight nature makes it suitable for many creative applications.
Common Mistakes to Avoid
One common mistake is using solvent-based spray paint that can damage the foam core.
Another issue is applying thick coats of paint, which may cause warping or uneven drying. Skipping primer can also result in inconsistent coverage.
Failing to allow sufficient drying time between coats may lead to smudges and poor adhesion.
Taking a careful, patient approach helps prevent these problems.
Tips for a Professional Finish
Apply several thin coats instead of one heavy coat.
Maintain a clean workspace to prevent dust from settling on wet paint. Use quality brushes and rollers to minimize streaks.
Testing paint products on a scrap piece of foam board before starting the main project can help avoid surprises.
Attention to detail often makes the biggest difference in the final result.
How to Prevent Warping
Warping can occur when moisture affects one side of the board more than the other.
To reduce this risk:
- Apply thin coats
- Paint both sides if possible
- Allow proper drying
- Store boards flat
- Avoid excessive moisture
Following these practices helps maintain a flat, stable surface.
Caring for Painted Foam Board
Proper handling helps preserve the finish.
Store painted boards in a dry location away from direct sunlight and excessive humidity. Avoid placing heavy objects on top of them.
If necessary, clean gently using a soft cloth.
Careful storage can extend the life of your project significantly.
FAQs
What paint is best for foam board?
Acrylic paint and latex paint are among the safest and most popular choices.
Can spray paint be used on foam board?
Yes, but only if it is labeled as foam-safe.
Do I need to prime foam board before painting?
Primer is not always required, but it often improves coverage and adhesion.
Can foam board warp when painted?
Yes. Applying heavy coats or excessive moisture may cause warping.
How many coats of paint should I apply?
Most projects require two to three thin coats.
Should I seal painted foam board?
A clear sealer can improve durability and protect the finish.
Can I paint both sides of foam board?
Yes. Painting both sides may help reduce warping.
Is foam board suitable for outdoor use?
Foam board is primarily intended for indoor use unless specially treated for outdoor conditions.
Final Words
Learning how to paint foam board is a valuable skill for artists, crafters, students, and DIY enthusiasts. By selecting foam-safe paints, preparing the surface properly, and applying multiple thin coats, you can create smooth, vibrant finishes that enhance any project.
Whether you’re making signs, displays, models, or decorative pieces, proper painting techniques help ensure professional-looking results. With the right materials and a little patience, foam board can become the perfect canvas for your next creative project.