
Paint splatters on tile grout can make an otherwise clean floor, backsplash, or bathroom wall look messy. Learning how to remove paint from grout helps you clean up spills, restore the appearance of tiled surfaces, and avoid damaging the grout or surrounding tiles.
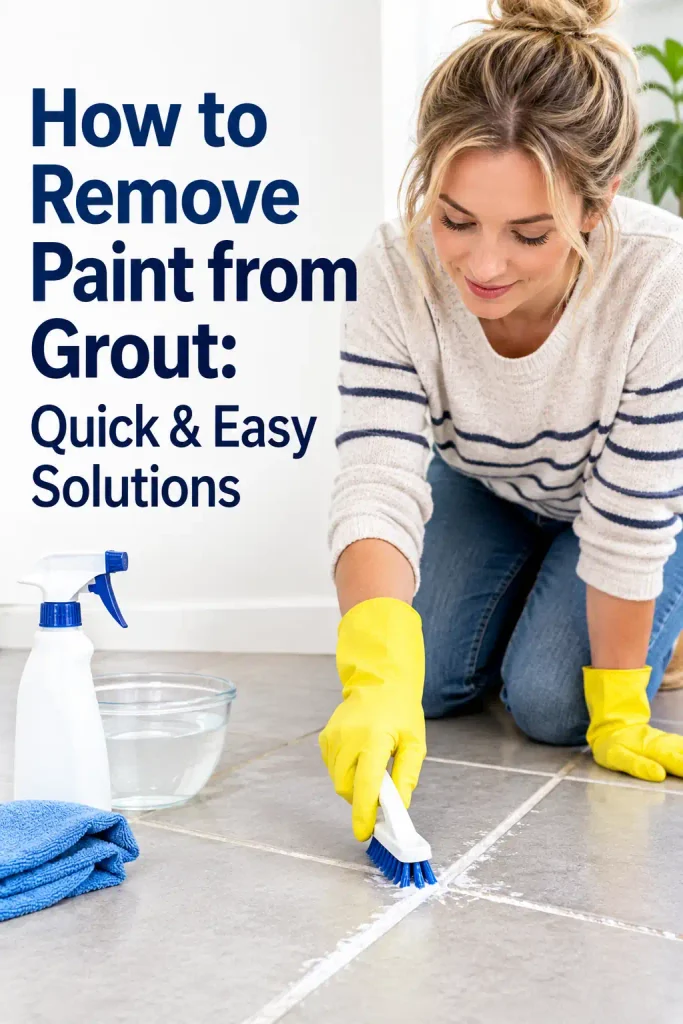
The best removal method depends on the paint type, how long it has been dry, and whether the grout is sealed or unsealed. With the right tools and a gentle approach, you can often remove unwanted paint without harsh scrubbing or expensive repairs.
Items to Buy
- Warm water
- Mild dish soap
- Soft-bristle toothbrush
- Nylon grout brush
- Microfiber cloths
- Plastic scraper
- Sponge
- Spray bottle
- White vinegar (for compatible surfaces only)
- Isopropyl alcohol (if compatible)
- Paint remover suitable for the paint and grout
- Protective gloves
- Safety glasses
- Bucket
- Grout sealer (optional)
- Wet vacuum (optional)
Why Paint Sticks to Grout
Grout fills the spaces between tiles and is commonly made from cement-based materials or epoxy. Cement-based grout is porous, which means liquid paint can soak into its tiny openings. As the paint dries, it may become harder to remove because it bonds to the surface or settles into the grout’s texture.
Textured grout can be especially challenging to clean. Even when the tile itself wipes clean easily, paint may remain trapped in the narrow joints.
The paint type also matters. Water-based latex and acrylic paints are often easier to remove than oil-based paints, particularly when they are still wet. Dried paint may require repeated cleaning or a suitable paint remover.
Identify the Paint Before Cleaning
Before choosing a removal method, determine what type of paint has spilled onto the grout.
- Water-based latex paint: Usually responds best to warm water and mild dish soap when fresh.
- Acrylic craft paint: May soften with water while wet, but dried paint can cling firmly to porous grout.
- Oil-based paint: Often requires a compatible solvent or specialty remover.
- Spray paint: May contain solvents and can be difficult to remove once cured.
- Unknown paint: Start with the gentlest cleaning method and test any stronger product in an inconspicuous area.
If you still have the paint can, check its cleanup instructions. The manufacturer’s recommended cleaner is a useful starting point.
Important Precautions Before Removing Paint
Before using a brush or chemical cleaner, inspect the grout and tile. Make sure the grout is firm rather than cracked, crumbling, or loose. If it is damaged, aggressive scrubbing may make the problem worse.
Always test your chosen cleaning method in a hidden area first. Some cleaners can discolor grout, damage sealers, or dull delicate tile finishes.
Wear gloves and eye protection when using paint removers. Ventilate the room and follow the product label. Never mix cleaning chemicals, particularly bleach with vinegar, ammonia, or other acidic products.
If the tiles are natural stone, such as marble, limestone, or travertine, avoid acidic cleaners such as vinegar. They can etch the stone and damage its finish.
How to Remove Paint from Grout Step by Step
Step 1: Gather Your Cleaning Supplies
Prepare your tools before beginning. For fresh water-based paint, warm water, mild dish soap, a soft-bristle toothbrush, and microfiber cloths are often enough.
For dried paint or oil-based coatings, you may need a plastic scraper or a paint remover specifically labeled as suitable for the grout and tile materials involved.
Avoid starting with metal brushes, sharp blades, or aggressive chemicals. These can scratch the tile, damage grout, or create unnecessary repair work.
Step 2: Remove Fresh Paint Immediately
If the paint is still wet, act quickly.
Use a damp microfiber cloth or sponge to blot and lift the paint from the grout. Work from the outside of the spill toward the center so you do not spread the paint into a larger area.
Rinse the cloth frequently and replace the water if it becomes heavily colored. Avoid rubbing forcefully because that can push paint deeper into porous grout.
For fresh water-based paint, this simple step may remove most or all of the stain.
Step 3: Wash the Area With Warm, Soapy Water
Mix a small amount of mild dish soap into warm water. Dip a soft-bristle toothbrush or nylon grout brush into the solution.
Gently scrub the affected grout using short back-and-forth movements. Concentrate on the stained joint rather than scrubbing the surrounding tile unnecessarily.
Wipe away the loosened paint with a clean damp cloth. Repeat the process several times if the stain is fading.
This method is particularly useful for fresh latex and acrylic paint. It may be less effective on oil-based paint or paint that has fully cured.
Step 4: Scrape Away Loose Dried Paint
If the paint has dried, inspect it for raised flakes or thick deposits.
Use a plastic scraper to lift loose paint carefully. Hold the scraper at a shallow angle and work slowly to avoid gouging the grout or scratching the tile.
Do not dig into the grout to remove every tiny paint fragment. Cement-based grout can be scratched or chipped, and damaged joints may require repair.
If the paint is firmly bonded, move on to a suitable softening method instead of increasing the scraping force.
Step 5: Soften Dried Water-Based Paint
For dried latex or acrylic paint, place a warm, damp cloth over the affected grout for several minutes. This may soften some residues, although fully cured paint may not respond significantly.
Remove the cloth and gently brush the grout with a nylon brush. Wipe away any loosened material and repeat if you see improvement.
Do not soak the area excessively, especially if the grout is unsealed or the surrounding installation may be vulnerable to moisture. Allow the grout to dry between cleaning attempts when necessary.
If the paint remains firmly attached, a compatible paint remover may be more effective.
Step 6: Try Isopropyl Alcohol Only When Compatible
Isopropyl alcohol may help loosen certain acrylic paint residues, but its effectiveness varies with the paint formulation and how thoroughly it has cured.
First, test a small amount in a hidden location. Check the tile, grout, and any existing sealer for discoloration or damage.
If the materials tolerate it, apply a small amount to a cloth or cotton swab rather than flooding the grout. Gently dab the paint, allow brief contact according to the product’s directions, and wipe the area clean.
Keep the room ventilated, avoid ignition sources, and do not use alcohol near flames or sparks. If the paint does not soften, stop rather than applying increasingly large amounts.
Step 7: Use a Suitable Paint Remover for Stubborn Stains
For paint that remains embedded in grout, select a remover whose label explicitly permits use on the particular grout and tile material.
Some products are designed for latex paint, while others are formulated for oil-based coatings. Choosing the wrong product can damage grout, sealers, or nearby finishes.
Apply the remover according to its instructions, using only the recommended amount and contact time. Work in a small area, protect adjacent surfaces, and wear the specified protective equipment.
Do not assume that a product safe for ceramic tile is also safe for natural stone or every type of grout. If the label does not clearly confirm compatibility, contact the manufacturer or choose another method.
Step 8: Brush Gently to Lift the Paint
Once the paint has softened, use a nylon grout brush or soft toothbrush to loosen it.
Apply moderate, controlled pressure and work along the grout joint. Avoid wire brushes, steel wool, and abrasive pads, which can damage the grout or scratch nearby surfaces.
Wipe away loosened paint with a clean cloth. If the stain remains, repeat the remover process only as directed on the label.
Several gentle attempts are usually preferable to one aggressive scrubbing session.
Step 9: Rinse and Remove Cleaner Residue
After the paint has been removed, follow the cleaner manufacturer’s rinsing instructions. Some products require thorough rinsing with clean water, while others have specific neutralizing or cleanup requirements.
Remove all remaining cleaner and loosened paint without spreading residue into adjacent grout lines. Use clean cloths and fresh water as needed.
Do not add vinegar, bleach, or another cleaning product to neutralize a remover unless the product instructions explicitly direct you to do so. Mixing chemicals can produce hazardous reactions.
Step 10: Let the Grout Dry and Inspect the Result
Allow the area to dry completely before deciding whether additional treatment is needed. Wet grout can look darker than dry grout, making it difficult to judge the final appearance.
Inspect the joint in good lighting. Look for remaining paint, discoloration, scratches, or areas where the grout has begun to crumble.
If a faint stain remains but the grout is otherwise intact, consider whether further cleaning is worth the risk. Persistent stains may be better addressed with a grout colorant, localized grout repair, or professional cleaning.
Step 11: Restore Grout Protection if Necessary
If you used a chemical remover or extensive scrubbing, check whether the grout’s existing sealer has been affected. Not all grout is sealed, and not every grout sealer is compatible with every surface.
Once the grout is completely clean and dry, you may be able to apply a suitable grout sealer according to its instructions. Sealer can help reduce future staining, but it will not remove paint that remains embedded in the grout.
If the grout is damaged or discolored beyond cleaning, a grout colorant or professional repair may produce a better result than continued scrubbing.
Best Methods for Different Types of Paint
| Paint type | First method to try | If paint remains |
|---|---|---|
| Fresh latex paint | Warm water and dish soap | Gentle nylon brushing |
| Dried latex paint | Warm, damp cloth and gentle brushing | Compatible latex paint remover |
| Acrylic craft paint | Soap and water while fresh | Test a compatible remover |
| Oil-based paint | Check the paint label for the recommended cleaner | Use a remover approved for grout and tile |
| Spray paint | Gentle cleaning and careful testing | A compatible specialty remover |
These are starting points rather than guarantees. Results depend on the paint formulation, how long it has been on the grout, and whether the grout is sealed.
Common Mistakes to Avoid
Removing paint from grout can become more difficult if you use the wrong tools or rush the process.
- Scrubbing too aggressively: Hard scrubbing can wear down grout or damage its surface.
- Using metal tools: Metal blades and wire brushes can scratch tiles and gouge grout.
- Applying harsh chemicals without testing: A remover may discolor grout, damage sealers, or harm natural stone.
- Using vinegar on natural stone: Acidic cleaners can etch marble, limestone, and other acid-sensitive stone.
- Flooding the grout with water: Excessive moisture may be unsuitable for some installations or unsealed joints.
- Mixing cleaning products: Combining chemicals can create dangerous fumes or reactions.
- Ignoring the paint type: A method effective for fresh latex paint may not work on cured oil-based paint.
- Continuing after grout damage appears: Stop if the grout begins crumbling or coming away from the joint.
A gentle, test-first approach is the best way to protect the tiled surface.
How to Remove Paint From Grout Without Damaging Tile
The safest method is to match the cleaner to both the paint and the tile material.
Ceramic and porcelain tiles are generally durable, but their grout joints can still be damaged by excessive force or unsuitable chemicals. Natural stone tiles need additional care because acidic cleaners and some solvents can alter their finish.
Use a plastic scraper for raised paint, a nylon brush for the grout, and a compatible cleaner for stubborn residue. Keep chemical products away from vulnerable trim and follow all label instructions.
If you have decorative, polished, or expensive tile, test your method in a hidden spot before cleaning a visible area.
How to Prevent Paint Stains on Grout
Preventing paint spills is much easier than removing dried stains.
Before painting a room, cover nearby floors and tiled walls with drop cloths. Use painter’s tape along tile edges, backsplashes, and grout joints where splatters are likely.
Keep a damp cloth nearby when working with water-based paint so you can wipe up drips immediately. For larger projects, use a paint tray and avoid overloading brushes or rollers.
If paint does spill, remove it while it is still wet whenever possible. Prompt cleanup greatly reduces the chance of a lasting stain.
When Should You Call a Professional?
Professional help may be worthwhile if the paint has deeply penetrated porous grout, the tile is natural stone, or previous cleaning attempts have damaged the surface.
A tile and grout specialist can assess whether the stain can be removed safely or whether grout repair or recoloring is a better solution. This can be especially helpful when the affected area is large or the tile finish is delicate.
If the grout is crumbling, cracked, or missing, address the grout damage rather than focusing only on the paint stain.
FAQs
Can paint be removed from grout?
Yes. Fresh paint can often be removed with warm water and mild dish soap. Dried paint may require gentle scraping or a compatible paint remover.
How do I remove dried paint from grout?
Start by lifting loose paint with a plastic scraper, then try a warm, damp cloth and gentle brushing. If the paint remains, use a remover labeled as safe for the grout and tile.
Does vinegar remove paint from grout?
Vinegar is not a reliable first choice for removing paint. It can also damage acid-sensitive natural stone and may affect some grout or sealers, so avoid it on those materials.
Can I use rubbing alcohol on grout?
It may help loosen some acrylic paint residues, but compatibility varies. Test it in an inconspicuous area and follow the product instructions.
Will paint thinner damage grout?
Some solvents can discolor grout, affect sealers, or damage nearby materials. Use only a product confirmed as suitable for your specific grout and tile.
Can I use a wire brush to clean paint off grout?
A wire brush is not recommended because it can scratch tile surfaces and damage grout. A nylon grout brush or soft toothbrush is a safer option.
How do I remove paint from grout between bathroom tiles?
Begin with mild soap and water, then use gentle brushing. For stubborn paint, select a compatible remover and ensure the bathroom is ventilated.
Can I remove paint from grout without chemicals?
Sometimes. Fresh water-based paint may come off with warm water, dish soap, and a soft brush. Fully cured paint may require a compatible remover or professional assistance.
What if paint has stained the grout permanently?
If cleaning cannot remove the stain without damaging the grout, consider a grout colorant, localized grout repair, or professional restoration.
Should I reseal grout after removing paint?
Possibly. If the grout was previously sealed and the cleaning process affected that protection, resealing may be appropriate. Make sure the grout is completely clean and dry and use a compatible sealer.
Final Words
Learning how to remove paint from grout starts with identifying the paint type and choosing the gentlest effective cleaning method. Fresh paint usually responds best to soap and water, while stubborn dried paint may require careful scraping or a compatible remover.
Work slowly, protect the surrounding tile, and test cleaning products before applying them to a visible area. If the paint will not come off without damaging the grout, professional cleaning or grout restoration may be the safest solution.