
Learning how to paint an outboard motor is a practical way to restore an aging engine, cover faded areas, and give your boat a cleaner appearance. Years of exposure to sunlight, saltwater, moisture, fuel residue, and general marine conditions can leave an outboard looking dull, scratched, or corroded. A careful paint job can make a dramatic difference while adding another layer of protection to suitable exterior surfaces.
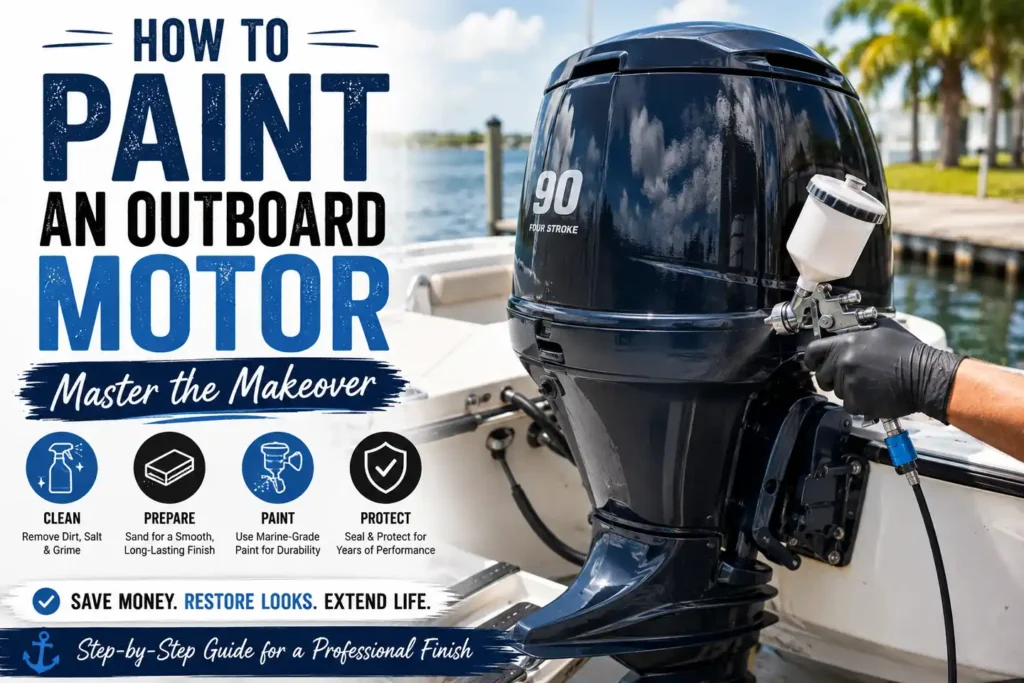
Painting an outboard motor isn’t quite the same as painting a household object. Marine environments are demanding, so preparation is just as important as the paint itself. The engine should be thoroughly cleaned, corrosion should be addressed, and components that shouldn’t receive paint must be protected or removed. With patience and the right materials, you can achieve a durable, professional-looking finish.
Items to Buy
- Marine-grade primer
- Marine-compatible paint
- Degreaser
- Marine-safe cleaner
- Fine-grit sandpaper
- Medium-grit sandpaper
- Sanding pads
- Wire brush
- Plastic scraper
- Clean microfiber cloths
- Painter’s tape
- Masking paper or plastic
- Drop cloth
- Disposable gloves
- Safety glasses
- Respirator appropriate for your paint system
- Tack cloth
- Paint mixing containers
- Paint stirrers
- Spray gun or suitable spray cans
- Rust/corrosion treatment if needed
- Replacement masking materials
- Small detail brushes
- Clear coat, if compatible with the paint system
Why Paint an Outboard Motor?
An outboard motor spends much of its life exposed to harsh conditions.
Saltwater, freshwater, sunlight, dirt, and moisture can gradually affect the exterior finish.
Painting can help:
- Refresh faded paint
- Improve the motor’s appearance
- Cover cosmetic scratches
- Restore an older engine
- Protect properly prepared metal surfaces
- Coordinate the motor with a boat restoration
- Give a used engine a cleaner appearance
A fresh finish can make an older outboard look dramatically newer.
However, paint should be considered a cosmetic and protective finish, not a substitute for mechanical maintenance or corrosion repair.
Can You Paint an Outboard Motor?
Yes, an outboard motor can be painted, particularly its appropriate exterior components.
The important distinction is that you shouldn’t simply spray paint over the entire assembled engine.
Certain areas need to remain free of paint, including components where paint could interfere with:
- Movement
- Cooling
- Electrical connections
- Fastener engagement
- Sealing surfaces
- Mechanical operation
- Water flow
- Identification markings
The exact areas that can be painted depend on the motor’s construction and the manufacturer’s specifications.
What Type of Paint Should You Use?
Choose a paint system designed for marine or automotive exterior use and compatible with the motor’s substrate.
The appropriate system may depend on whether you’re painting:
- Aluminum
- Steel
- Composite material
- Fiberglass
- Previously painted surfaces
A typical system may include:
- Surface preparation
- Corrosion treatment when needed
- Compatible primer
- Marine-grade color coat
- Compatible clear coat, if recommended
Avoid choosing paint solely because the color looks right.
Compatibility between the surface, primer, color coat, and clear coat is more important than color alone.
How to Paint an Outboard Motor Step by Step
Step 1: Choose a Suitable Workspace
Start by finding a clean, dry, well-ventilated workspace.
Ideally, the area should be:
- Protected from rain
- Relatively dust-free
- Well ventilated
- Away from open flames
- Large enough to work comfortably
- Suitable for overspray control
If you’re using spray paint or a professional spray system, follow all ventilation and respiratory protection requirements for the specific product.
Avoid painting outdoors on a windy day.
Wind can carry dust into wet paint and distribute overspray onto surrounding surfaces.
Step 2: Decide Whether to Remove the Motor
For the best cosmetic result, removing appropriate exterior components can make preparation and painting easier.
However, removing an entire outboard motor is a substantial mechanical task.
If you aren’t experienced with marine engine removal, it may be safer to leave the motor installed and carefully mask the surrounding boat.
If components are removed, photograph and label connections before disassembly.
This can make reassembly much easier.
Step 3: Clean the Outboard Thoroughly
Cleaning is one of the most important stages.
An outboard can accumulate:
- Grease
- Oil residue
- Salt deposits
- Dirt
- Fuel residue
- Water spots
- Old wax
- Road grime
- Marine growth
Use a suitable marine-safe cleaner or degreaser.
Work methodically from the outside inward.
Avoid forcing water into electrical components, sensitive openings, or areas where it could create mechanical problems.
Allow the motor to dry completely.
Step 4: Remove Loose Paint
Inspect the existing finish.
Look for:
- Peeling paint
- Flaking paint
- Bubbling
- Cracking
- Loose coatings
- Corrosion underneath the paint
Use an appropriate scraper or sanding method to remove loose material.
Don’t simply paint over peeling paint.
The new coating will only be as stable as the surface underneath it.
Step 5: Address Corrosion
Corrosion is one of the biggest concerns when painting an outboard motor.
Aluminum outboards can develop oxidation and corrosion, especially after repeated exposure to saltwater.
Inspect carefully around:
- Lower-unit areas
- Mounting brackets
- Fasteners
- Seams
- Scratches
- Edges
- Areas where paint has failed
Remove loose corrosion using appropriate mechanical methods.
For deeper corrosion or structural damage, stop and have the affected area evaluated.
Painting over active corrosion won’t solve the underlying problem.
Step 6: Sand the Existing Finish
Sanding creates a suitable surface for primer and paint to adhere to.
The exact grit depends on the existing finish and the paint system you’re using.
You may need a coarser abrasive for removing damaged paint and a finer abrasive for smoothing the surface.
The goal is to create an even, stable surface rather than aggressively removing good original material.
Pay particular attention to:
- Edges
- Scratches
- Paint transitions
- Rust or oxidation spots
- Previously repaired areas
Step 7: Smooth the Surface
After the damaged coating has been removed, gradually refine the surface.
Run your hand carefully over the prepared area.
You’re looking for:
- Sharp edges
- Deep sanding marks
- Paint ridges
- Uneven transitions
- Remaining loose coating
A smooth transition between old and repaired areas will produce a much better final appearance.
Step 8: Clean Away Sanding Dust
Sanding creates fine particles that can interfere with adhesion.
Remove dust using an appropriate cleaning method.
A clean microfiber cloth can help with remaining surface dust, while a suitable tack cloth may be appropriate immediately before painting if compatible with your paint system.
Avoid leaving oily residue on the surface.
Step 9: Mask Everything That Shouldn’t Be Painted
This is where a professional-looking paint job is often won or lost.
Protect components such as:
- Electrical connectors
- Wiring
- Hydraulic components
- Rubber seals
- Moving joints
- Control cables
- Propeller
- Shaft areas
- Anodes
- Identification labels
- Water passages
- Intake openings
- Exhaust-related openings
Use high-quality painter’s tape and masking paper.
Don’t rely on loose plastic bags alone.
Make sure the masking is secure before spraying.
Step 10: Protect the Anodes
This deserves special attention.
Sacrificial anodes are designed to help protect underwater metal components from galvanic corrosion.
Do not casually paint over anodes.
If an anode is being replaced or removed for the painting process, reinstall or replace it according to the manufacturer’s specifications.
Painting the wrong surfaces can interfere with corrosion protection.
Step 11: Apply the Correct Primer
Primer helps establish adhesion and provides an appropriate foundation for the color coat.
The primer must be compatible with:
- The substrate
- Existing paint
- Corrosion treatment
- Topcoat
Aluminum surfaces can require specialized primers.
Don’t assume that a general-purpose household primer is suitable for an outboard motor.
Apply thin, even coats according to the product instructions.
Avoid creating heavy buildup around edges and seams.
Step 12: Allow the Primer to Cure
Don’t rush this stage.
Primer needs adequate drying or curing time before sanding or topcoating.
Temperature, humidity, ventilation, and film thickness can affect curing.
Follow the product’s recommended recoat window.
If you paint too soon, you may trap solvents or create adhesion problems.
Step 13: Lightly Smooth the Primer
Once properly cured, inspect the primer.
If the paint system calls for sanding between coats, carefully smooth the surface using the recommended abrasive.
Remove dust afterward.
The primer should provide a uniform foundation for the color coat.
Step 14: Apply the First Color Coat
Mix the paint according to the manufacturer’s instructions.
If you’re spraying, maintain a consistent distance and movement.
Keep the spray pattern moving.
Avoid stopping directly over one area because this can create runs.
The first coat should generally be controlled rather than excessively heavy.
Step 15: Apply Additional Coats
Allow the first coat to reach the appropriate recoat stage.
Then apply additional thin coats as recommended.
Several controlled coats usually produce a more even result than one extremely heavy coat.
Pay attention to:
- Edges
- Corners
- Curved surfaces
- Recessed areas
- Undersides
Don’t try to achieve maximum coverage in a single pass.
Step 16: Inspect for Runs and Uneven Coverage
After the paint has settled, inspect the surface.
Look for:
- Runs
- Sags
- Dry spray
- Thin spots
- Uneven color
- Dust particles
- Overspray texture
Don’t immediately touch wet paint.
If you find a serious defect, allow the paint to cure sufficiently before correcting it according to the coating system’s instructions.
Step 17: Add a Compatible Clear Coat
If your selected paint system calls for a clear coat, apply it according to the manufacturer’s instructions.
A compatible clear coat can add:
- Additional protection
- Color depth
- UV resistance
- Improved durability
However, not every paint system requires a separate clear coat.
Don’t mix products from unrelated paint systems without confirming compatibility.
Step 18: Let the Finish Cure
Curing is different from simply being dry to the touch.
The coating may continue to harden after it appears dry.
Keep the motor protected during the recommended curing period.
Avoid unnecessary handling, water exposure, or aggressive cleaning until the finish has properly cured.
How to Paint an Outboard Motor Without Removing It
You can paint an outboard while it’s still installed, but masking becomes much more important.
Start by protecting the boat around the motor.
Cover:
- Transom
- Deck
- Nearby upholstery
- Cables
- Fuel lines
- Electrical connections
- Controls
- Propeller
- Surrounding hardware
The main advantage is avoiding major mechanical removal.
The disadvantage is that access can be more limited.
For a simple cosmetic refresh, leaving the motor installed may be practical.
For a complete restoration, removing appropriate components can produce better access.
How to Paint an Aluminum Outboard Motor
Many outboard motors contain aluminum components, so surface preparation matters.
Aluminum can develop oxidation that affects paint adhesion.
A typical process involves:
- Thorough cleaning
- Removal of loose oxidation
- Careful sanding
- Cleaning again
- Aluminum-compatible primer
- Compatible color coat
- Optional compatible clear coat
The exact preparation depends on the paint manufacturer’s recommendations.
Don’t skip the primer simply because the old paint looks smooth.
How to Paint the Lower Unit
The lower unit is exposed to particularly demanding conditions.
It encounters:
- Water
- Debris
- Sand
- Mud
- Salt
- Impact
- Constant immersion
For this reason, use a coating system specifically suitable for the environment and substrate.
Pay close attention to corrosion around damaged areas.
Avoid painting surfaces that must remain functional, including areas involved with seals, moving parts, water passages, and other mechanical interfaces.
How to Paint an Outboard Cowling
The cowling is usually one of the easiest parts to repaint because it is primarily an exterior cosmetic surface.
Remove or mask appropriate hardware.
Then:
- Clean the cowling
- Remove loose paint
- Sand the existing finish
- Repair imperfections if appropriate
- Clean the surface
- Apply compatible primer
- Apply color coats
- Add compatible clear coat if required
- Allow full curing
A freshly painted cowling can make the entire motor look significantly newer.
How to Get a Smooth Spray-Painted Finish
If you’re using spray paint, technique matters.
Keep the Can or Spray Gun Moving
Don’t stop over the surface.
Use Consistent Passes
Overlap passes slightly according to the product instructions.
Avoid Excessive Thickness
Heavy coats can create runs.
Maintain Consistent Distance
Too close can cause pooling.
Too far away can create dry, rough spray.
Control the Environment
Dust, wind, humidity, and temperature can all affect the result.
Allow Proper Flash Time
Don’t rush between coats.
Common Mistakes to Avoid
Painting Over Dirt
Even a small amount of grease can cause adhesion problems.
Ignoring Corrosion
Paint won’t repair corrosion underneath it.
Skipping Primer
The correct primer can be especially important on aluminum and repaired areas.
Painting the Anodes
Keep sacrificial anodes free of inappropriate coatings.
Painting Moving Parts
Paint buildup can interfere with mechanical movement.
Spraying Into Openings
Mask sensitive areas carefully.
Applying Heavy Coats
Thick paint can sag, run, or cure poorly.
Rushing the Recoat Time
Each coating needs appropriate time before the next stage.
Using Incompatible Products
Primer, paint, and clear coat should work as a compatible system.
Rushing Curing
A finish that feels dry isn’t necessarily fully cured.
How to Make an Outboard Paint Job Last
A durable paint job starts with preparation.
After the coating has cured:
- Wash the motor regularly
- Remove salt deposits
- Avoid abrasive cleaners
- Inspect chipped areas
- Repair coating damage promptly
- Follow proper marine maintenance procedures
- Keep the motor clean after saltwater use
- Inspect for new corrosion regularly
If the motor is used in saltwater, rinsing it appropriately after use can help reduce salt accumulation and corrosion risk.
How Often Should You Repaint an Outboard Motor?
There isn’t one universal repainting schedule.
The lifespan of the finish depends on:
- Paint quality
- Surface preparation
- Saltwater exposure
- Sun exposure
- Storage conditions
- Mechanical wear
- Cleaning habits
- Existing corrosion
A well-prepared finish may remain attractive for years, while a poorly prepared surface can begin failing much sooner.
Instead of repainting according to a fixed schedule, inspect the finish regularly and address problems when they appear.
Should You Use Spray Paint or a Spray Gun?
Both can work.
Spray Cans
Advantages:
- Easy to use
- Affordable
- Convenient for small repairs
- No compressor required
Disadvantages:
- Less control
- Smaller coverage
- Potentially more overspray
- Matching old paint can be difficult
Spray Gun
Advantages:
- Better control
- Larger coverage
- Professional finish potential
- Easier to achieve consistent application
Disadvantages:
- Requires more equipment
- Requires practice
- Requires proper ventilation and safety precautions
- More cleanup
For a complete restoration, a spray gun can offer better control if you already have experience using one.
How to Match the Original Outboard Color
Color matching can be surprisingly difficult.
Paint may have faded over time because of:
- UV exposure
- Oxidation
- Weather
- Saltwater
- Previous repairs
If you want a factory-style restoration, look for the appropriate paint code or manufacturer color information when available.
For an older motor, a paint professional may be able to help match the existing finish.
When Should You Hire a Professional?
Consider professional help if:
- The motor has severe corrosion
- Structural aluminum is damaged
- The paint is extensively failing
- You need an exact factory color match
- The motor is valuable or collectible
- You aren’t experienced with spray equipment
- You need extensive disassembly
- You’re unsure which surfaces can safely be painted
A professional can also determine whether a damaged component needs repair or replacement rather than simply covering the problem with paint.
FAQs
Can you paint an outboard motor?
Yes. Appropriate exterior components can be painted after proper cleaning, preparation, priming, and coating.
What kind of paint should I use on an outboard motor?
Use a marine-grade or otherwise manufacturer-approved coating system compatible with the specific substrate and intended environment.
Can I paint an aluminum outboard?
Yes. Aluminum requires appropriate surface preparation and a compatible primer and topcoat.
Do I need to sand an outboard motor before painting?
Usually, yes. Sanding helps remove damaged material and creates a suitable surface for primer and paint to adhere to.
Can I paint over old outboard paint?
You can paint over stable existing paint when the coating system allows it. Loose, peeling, heavily oxidized, or contaminated paint should be addressed first.
Should I remove the outboard before painting?
Not always. A cosmetic refresh can sometimes be performed with the motor installed, while more extensive restoration may benefit from removing appropriate components.
Can I spray paint an outboard motor?
Yes. Spray cans can work for smaller projects, while a spray gun can provide greater control for larger restorations.
Should I use primer on an aluminum outboard?
A compatible primer is generally important when refinishing aluminum. Use the primer recommended for the particular substrate and paint system.
Can I paint the lower unit?
Yes, appropriate exterior surfaces of the lower unit can be refinished with a suitable marine-compatible coating system. Keep seals, moving interfaces, water passages, and other functional areas free of inappropriate paint.
Can I paint over corrosion?
You should remove and properly address loose or active corrosion before painting. Simply covering corrosion may allow the problem to continue underneath the new finish.
Should I paint the sacrificial anode?
No. Don’t coat a sacrificial anode with ordinary paint because doing so can interfere with its intended corrosion-protection function.
How long should paint cure before using the boat?
Follow the paint manufacturer’s specified curing time. Drying and full curing aren’t necessarily the same thing.
Can I paint an outboard motor at home?
Yes, provided you have an appropriate workspace, ventilation, safety equipment, and the ability to control overspray and fumes.
How can I prevent the new paint from peeling?
Thorough cleaning, proper sanding, appropriate corrosion treatment, compatible primer, correct paint application, and adequate curing are the biggest factors.
Final Words
Learning how to paint an outboard motor can turn a faded, scratched, or weathered engine into a much cleaner-looking part of your boat. The process is mostly about preparation rather than simply spraying on a new color. Clean the motor thoroughly, remove failing paint, address corrosion, sand the surface properly, protect components that shouldn’t be painted, and use a coating system designed for the specific material and marine environment.
Take your time with every stage, especially masking and primer application. Avoid painting sacrificial anodes, mechanical interfaces, water passages, and other functional surfaces. With careful preparation, controlled coats, proper curing, and regular maintenance, you can achieve a durable finish that refreshes the appearance of your outboard while helping the exterior withstand demanding marine conditions.