
Learning how to paint curly hair can make your portraits more realistic and expressive. Curly hair has unique shapes, highlights, and shadows that require a different approach than painting straight hair. By understanding its texture and movement, you can create lifelike curls with confidence.
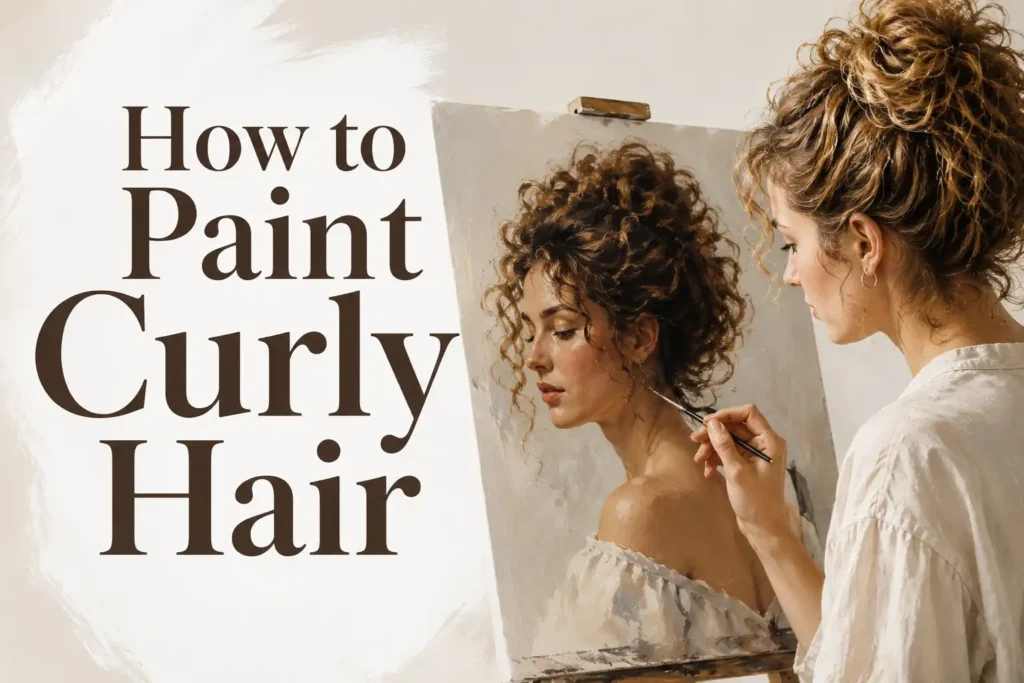
Whether you’re using acrylics, oils, watercolors, or digital painting tools, the same core principles apply. This guide covers the essential materials, techniques, and step-by-step process to help you paint beautiful, natural-looking curly hair.
Items to Buy
Before you begin, gather these painting supplies:
- Canvas or watercolor paper
- Acrylic, oil, or watercolor paints
- Paintbrushes (flat, round, filbert, and detail brushes)
- Palette
- Palette knife (optional)
- Pencil
- Eraser
- Reference photo
- Water container (for acrylics or watercolor)
- Paper towels
- Easel (optional)
- Finishing varnish (for acrylic or oil paintings)
Understanding the Structure of Curly Hair
Unlike straight hair, curly hair forms loops, spirals, and waves that overlap each other. Instead of painting individual strands, focus on the larger shapes and flow of the curls.
Observe how curls group together into sections. Breaking the hair into manageable masses creates a more natural and believable appearance.
Choosing the Right Color Palette
Hair is rarely made up of a single color. Even dark hair contains warm and cool tones depending on the lighting.
Mix several shades for your base color, shadows, and highlights. Using multiple tones adds richness and depth while making the curls appear more realistic.
Tips Before You Start Painting
Use a high-quality reference photo with clear lighting. Strong light helps reveal where highlights and shadows naturally fall across the curls.
Resist the urge to paint every strand immediately. Establish the overall hairstyle first, then gradually build the finer details.
How to Paint Curly Hair Step by Step Guide
Step 1: Sketch the Hair Shape
Lightly draw the outline of the hairstyle and the main curl groupings.
Keep the sketch loose, focusing on the overall silhouette rather than tiny details.
Step 2: Paint the Base Color
Apply a flat base color across the entire hair area.
This first layer creates the foundation for later shadows and highlights.
Step 3: Block in the Shadow Areas
Identify the darkest sections between curl clusters and underneath overlapping hair.
Paint these areas using darker tones to establish depth.
Step 4: Build the Curl Shapes
Using medium tones, paint the major curls with curved brushstrokes that follow their natural direction.
Think of painting ribbons or spirals instead of individual hairs.
Step 5: Add Highlights
Mix a lighter version of your hair color and apply highlights where light naturally hits the curls.
Leave some darker areas untouched to maintain contrast.
Step 6: Refine the Texture
With a smaller brush, add selective strands, flyaway hairs, and subtle transitions between curls.
Avoid overworking every section to keep the hair soft and natural.
Step 7: Finish with Final Details
Review the entire painting and strengthen highlights or shadows where needed.
Blend harsh edges while keeping some crisp lines to emphasize texture and movement.
Techniques for Painting Realistic Curly Hair
Layering is one of the most effective techniques for curly hair. Build color gradually with several thin layers instead of trying to complete everything at once.
Use curved, flowing brushstrokes that follow the direction of each curl. These strokes help create volume and make the hair appear full and dynamic.
Common Mistakes to Avoid
Painting individual strands before establishing the larger forms often results in flat, messy hair. Start with broad shapes and gradually refine the details.
Using only one shade throughout the hair can also make it look lifeless. Incorporating highlights, midtones, and shadows creates realistic depth and dimension.
How to Paint Different Curl Types
Loose waves require soft curves and gentle transitions between highlights and shadows. Their texture is subtle and less defined than tighter curls.
Tight curls and coily hair benefit from stronger contrast and smaller, layered brushstrokes. Focus on grouped curl patterns instead of outlining every spiral individually.
FAQs
Is curly hair harder to paint than straight hair?
Curly hair can be more challenging because of its texture and overlapping forms, but breaking it into larger shapes makes it much easier to manage.
What brushes work best for painting curly hair?
Round brushes are excellent for curved strokes, filbert brushes create soft edges, and detail brushes help add fine strands and highlights.
How do I make curly hair look realistic?
Use multiple values, paint curl groups instead of individual hairs, and follow the natural direction of the curls with your brushstrokes.
Should I blend every brushstroke?
No. Some visible brushstrokes help create texture and make curly hair appear more natural.
Can beginners learn to paint curly hair?
Absolutely. Starting with simple curl shapes and gradually adding details is an excellent way to build confidence and improve your skills.
How do I create shiny-looking hair?
Place highlights only where light naturally strikes the curls, and keep strong contrast between bright highlights and deep shadows.
Final Words
Mastering how to paint curly hair takes observation, patience, and practice. By focusing on the overall shape first, building layers of color, and gradually refining the curls, you can create portraits with realistic texture and movement.
Don’t worry about making every curl perfect. Natural curly hair has variation and personality, so embrace those differences while practicing your techniques. With time and consistency, you’ll develop the skills to paint beautiful, lifelike curls in any artistic style.