An old dresser doesn’t have to look outdated forever. With the right supplies, a little patience, and some creativity, you can give almost any dresser a beautiful new look. Whether you’re updating a thrift store find, refreshing a hand-me-down, or matching furniture to a new room design, learning how to paint a dresser is an affordable way to transform your space.
The best part? You don’t need to be a professional furniture painter to achieve stunning results. By following a few simple steps, you can create a durable, professional-looking finish that lasts for years.
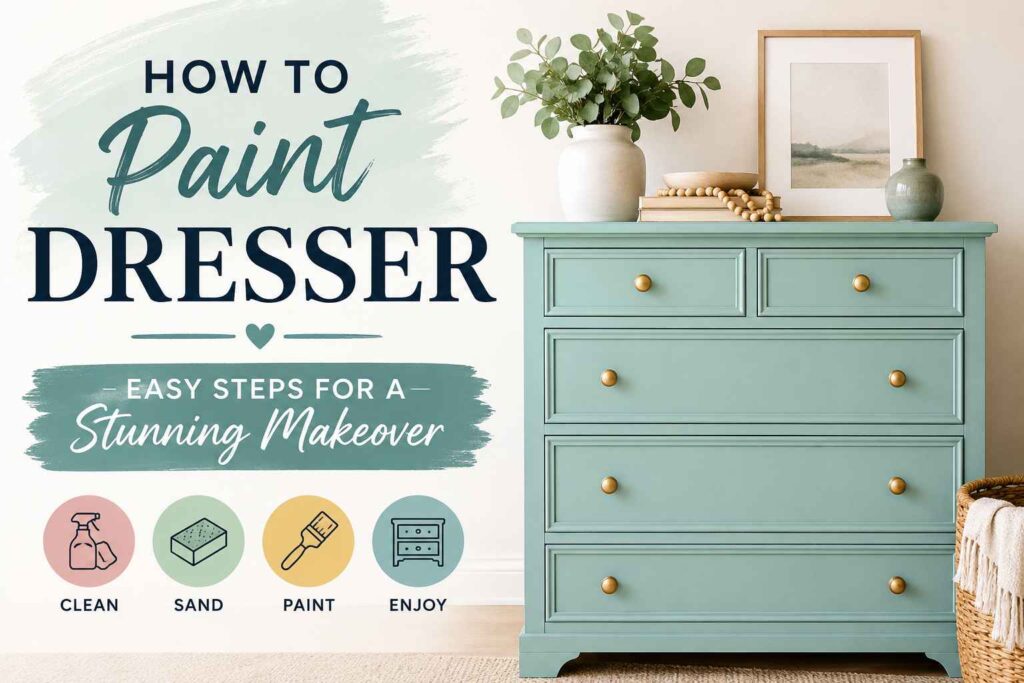
Things You’ll Need to Paint a Dresser
Before getting started, gather all your materials to make the project easier and more efficient.
Essential Supplies
- Dresser
- Screwdriver
- Drop cloth
- Sandpaper (120-grit and 220-grit)
- Tack cloth or microfiber cloth
- Wood filler
- Putty knife
- Primer
- Furniture paint
- Paintbrushes
- Foam roller
- Painter’s tape
- Protective topcoat
Optional Supplies
- Orbital sander
- Paint sprayer
- Furniture wax
- Decorative stencils
- Replacement drawer pulls or knobs
Having everything ready before you start will help you avoid interruptions during the painting process.
Different Ways to Paint a Dresser
Before choosing your paint color, consider the overall look you want to achieve.
Classic Painted Dresser
A single color throughout the dresser creates a clean, timeless appearance. White, black, navy blue, and gray remain popular choices.
Distressed Farmhouse Style
Paint the dresser and lightly sand corners and edges after drying to create a worn, rustic finish.
Two-Tone Dresser
Use one color for the dresser frame and another for the drawers. This modern approach adds visual interest and depth.
Chalk Paint Finish
Chalk paint offers a soft, matte appearance that works beautifully in vintage, cottage, and shabby chic interiors.
Modern High-Gloss Look
A glossy finish creates a sleek, contemporary appearance that reflects light and makes furniture stand out.
Natural Wood and Paint Combination
Leave the dresser top or drawer fronts exposed wood while painting the rest of the piece for a trendy designer-inspired look.
Ombre Drawer Design
Paint each drawer a different shade of the same color family to create a unique gradient effect.
Why Paint a Dresser Instead of Replacing It?
Painting a dresser offers several advantages:
- Saves money
- Reduces waste
- Allows complete customization
- Updates outdated furniture
- Extends the life of existing pieces
A fresh coat of paint can make an old dresser look brand new for a fraction of the cost of replacement.
How to Paint a Dresser Step by Step
Step 1: Remove Hardware and Drawers
Start by removing all knobs, handles, and decorative hardware. Take out the drawers and label any pieces if needed.
This makes it easier to paint every surface evenly.
Step 2: Clean the Entire Dresser
Furniture often collects dirt, dust, grease, and furniture polish over time.
Use warm water and mild soap or a degreasing cleaner to thoroughly clean all surfaces.
Allow the dresser to dry completely before moving on.
Step 3: Repair Imperfections
Inspect the dresser for:
- Scratches
- Dents
- Nail holes
- Chips
Fill damaged areas with wood filler and smooth them with a putty knife.
After the filler dries, sand the repaired areas smooth.
Step 4: Sand the Surface
Sanding helps primer and paint adhere properly.
Use:
- 120-grit sandpaper for initial sanding
- 220-grit sandpaper for smoothing
Focus on removing glossy finishes rather than sanding down to bare wood.
Wipe away dust with a tack cloth.
Step 5: Apply Primer
Primer creates a solid foundation for paint and helps prevent stains from bleeding through.
Apply a thin, even coat using:
- Foam roller for flat surfaces
- Paintbrush for corners and details
Allow the primer to dry fully before continuing.
Step 6: Choose the Right Paint
Several paint options work well for furniture.
Chalk Paint
Pros:
- Minimal prep
- Matte finish
- Easy distressing
Acrylic Furniture Paint
Pros:
- Durable
- Smooth finish
- Quick drying
Latex Furniture Paint
Pros:
- Easy cleanup
- Wide color selection
- Excellent durability
Choose a paint that suits both your desired style and the amount of wear the dresser will receive.
Step 7: Apply the First Coat of Paint
Use long, even strokes and paint with the wood grain whenever possible.
Avoid applying paint too heavily, which can cause drips and uneven drying.
Allow the first coat to dry completely.
Step 8: Sand Lightly Between Coats
For an extra-smooth finish:
- Let the paint dry.
- Sand lightly with 220-grit sandpaper.
- Remove dust.
This step helps eliminate imperfections and brush marks.
Step 9: Apply Additional Coats
Most dressers require two to three coats of paint for complete coverage.
Continue applying thin coats until the finish appears even and consistent.
Step 10: Seal the Paint
Protect your hard work with a durable topcoat.
Popular options include:
- Polycrylic
- Polyurethane
- Furniture wax
A protective finish helps prevent scratches, chips, and daily wear.
Step 11: Reattach Hardware
Once everything is dry, reinstall the original hardware or upgrade with new knobs and pulls for an instant style refresh.
Best Paint Colors for Dressers
Need inspiration? Consider these popular choices:
White
Bright, clean, and timeless.
Sage Green
Perfect for farmhouse and cottage-style spaces.
Elegant and sophisticated.
Soft Gray
Versatile and modern.
Black
Bold and dramatic.
Dusty Blue
Relaxing and stylish for bedrooms.
Warm Beige
A neutral option that complements almost any decor style.
Common Mistakes to Avoid
Skipping Surface Preparation
Proper cleaning and sanding are essential for long-lasting results.
Applying Thick Paint Coats
Thin coats dry more evenly and produce a smoother finish.
Forgetting Primer
Primer improves adhesion and durability.
Rushing Dry Times
Patience helps prevent smudges and imperfections.
Skipping the Protective Topcoat
A sealer helps keep painted furniture looking beautiful for years.
How Long Does It Take to Paint a Dresser?
Most dresser painting projects take between two and four days, depending on:
- Drying time
- Number of paint coats
- Type of finish
- Weather conditions
While the process requires patience, the results are well worth the effort.
Final Thoughts
Learning how to paint a dresser is one of the easiest ways to update furniture without spending a fortune. With proper preparation, quality materials, and a little creativity, you can transform an old dresser into a stylish piece that looks custom-made for your home.
Whether you prefer a classic painted finish, a rustic farmhouse look, or a modern two-tone design, painting a dresser allows you to create a unique piece that reflects your personal style.
Frequently Asked Questions
Do I need to sand a dresser before painting?
Yes. Light sanding improves paint adhesion and helps create a smoother finish.
What is the best paint for a dresser?
Furniture-specific acrylic paint, chalk paint, and high-quality latex paint are all excellent options.
Can I paint laminate furniture?
Yes. Use a bonding primer and paint designed for slick surfaces.
How many coats of paint should I use?
Most dressers require two to three coats for complete coverage.
Should I seal painted furniture?
Yes. A protective topcoat helps prevent scratches, chips, and everyday wear.
How long should I wait before using a painted dresser?
Although paint may feel dry within hours, full curing can take several days or even a few weeks depending on the product used.