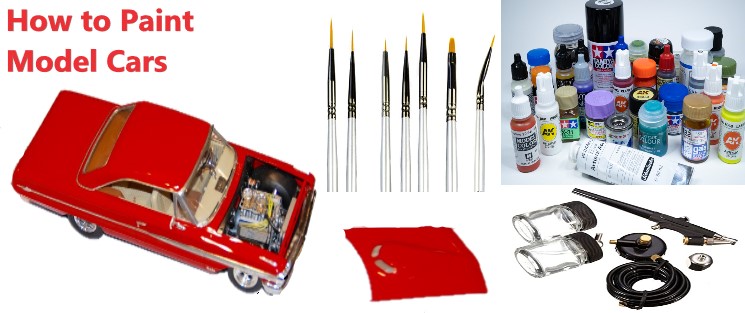
Constructing model cars is a fun little hobby that we love to do as a team of painters. We find it pretty engaging and enjoyable at the same time. However, when it comes to constructing model cars, paying attention to small details is pretty crucial. That is where our painting skills come into play.
However, we found that not all of our members knew how to paint model cars properly. Some were leaving streaks of paint at places where they should not be. And even though there are plenty of guides available on the internet, most fails at one crucial thing: keeping the whole guide simple.
So, we have decided to take things into our hands. And in this article, we will go through the most straightforward guide on painting model cars. We will also cover each of the details that most of the guides usually skip. So, if you want to know all about the topic, read through the entire thing.
What Kind of Paint to Use on a Model Car?
Before we go into describing the process of painting a model car, we would like to answer some of the preliminary questions. Firstly, you would need acrylic modeling paint to paint a model car. Other methods do work, but the acrylic offers the luster that the model car owners usually look for.
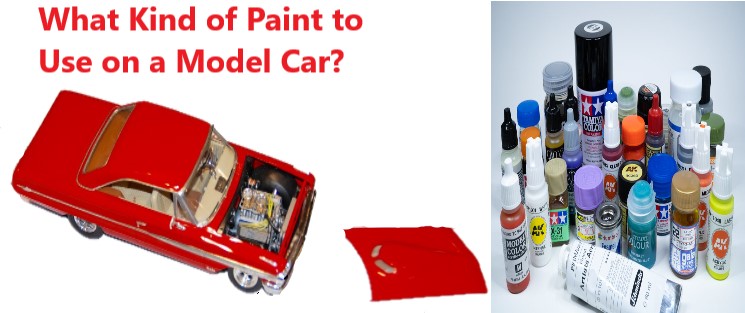
Nonetheless, we will describe both the process of using acrylic paint and spray cans in this article. So, even if you do not have one or the other, you do not really have that much to worry about.
How to Paint Model Cars: 2 Method & Step-by-Step Guide
Contents
Method 1: Painting Model Cars with a Brush
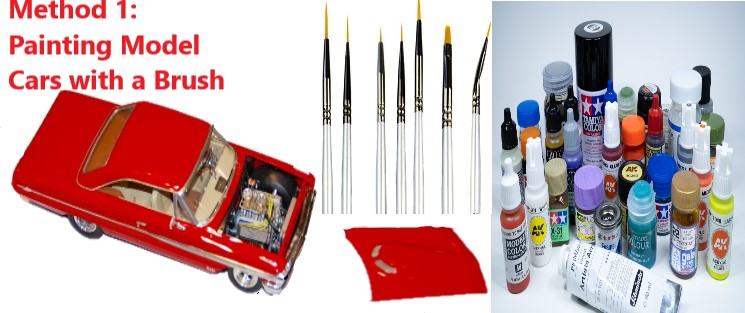
If you would like to work with acrylic paint, these are the steps that you would need to follow:
Step 1: Mix the Paint with Thinner
First and foremost, you need to thin out the paint a little. Acrylic paints, on their own, are too thick. The amount of thickness they have will make it hard to spread on the surface of the model car. For that reason, you need to thin them out a little bit.
Just opt for a paint thinner that is specifically for model cars. However, we would recommend using the thinner that is from the same brand of paint. That will ensure that the mix is appropriate and it spreads effectively on the surface. Follow the guidelines stated on the tube of thinner and mix the paint with it inside a jar.
Nonetheless, if you can not find a paint thinner, you can make it on your own. You will need distilled water and propyl alcohol. Mix these two in a 1:1 ratio. In other words, 50 percent of the solution will be distilled water, while the rest 50 percent will be propyl alcohol. Mix this solution with the paint accordingly.
Step 2: Prepare the car for the paint
Next, you would need to prepare the surface of the car for accepting the paint. The process is pretty simple for acrylic paints. All you need to do is clean the surface with cold water and dish soap. Use a rag to wash the car properly.
Additionally, ensure all of the dust and dirt particles are off the surface. Then, wipe the car dry with a clean and dry cloth.
Step 3: Paint the Small Pieces
You would need to disassemble the car in this process. Take apart as many parts as possible because that will make the whole painting process easy and hassle-free. Then, dip the brush into the paint and stroke out the intricate pieces of the model first. Use a wide variety of brush sizes to paint these pieces effectively.
While handling the disassembled pieces, ensure that you do not paint over the connector ports. The paint will block the ports and eventually make the assembly process a pain.
Step 4: Handle the Larger Pieces
Once you are done with the small pieces, it will be time to move along to the large pieces. Use the same brushes you were using for the small parts and continue painting over the entire surface. Do not scrape or dab with the brush unless you are planning to do a specific detailing on the surface.
Instead of scraping or dabbing, make long and even strokes to achieve an even coat on the surface.
Step 5: Let the Parts Dry
Now that you are done handling both the large and the small pieces, you need to leave them out in the air to make the paint dry. We would recommend leaving them like for at least 12 hours. That amount of time is more than enough to make the acrylic paint dry to the very bone.
If you want to work on the finishing details, we recommend using painter’s tape on the areas you do not want the additional paint to be. After that, assemble the whole thing together and take off the painter’s tape.
Read Next: How to Paint Cinder Block Walls
Method 2: How to Spray Paint a Model Car
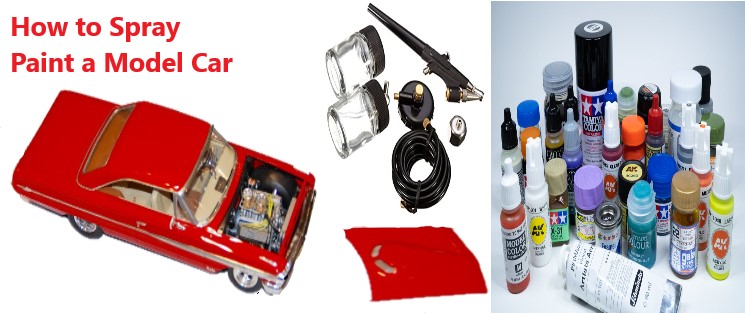
Another popular method that is followed by loads of people is the spray painting method. The steps that you would need to carry out for this method are as follows:
Step 1: Hang the Model Car
First and foremost, you would need to use a wire coat hanger. Shape it in a way that looks like a diamond. Flatten both sides in a way that they run vertically. After that, bend the hanger over to create a stand-like structure for your car. It should look like the letter C at this point.
Then, tape the model car to the very top. Ensure that you are using good tape, or else the model will fall when you are spray painting.
Step 2: Scrape the Car
Next, you would need to get the old finish out of the surface. For this, we usually use sandpaper that is from 1200 grit to 1500 grit. Sand the entire surface and take off the old paint totally.
Step 3: Wash the Car
Sanding and scraping will make all of the fine dust reside on the very surface of the car. You would need to wash them off before applying any coats to the car. Use mild dish soap and cold water to make a cleaning solution. Then, use a damp cloth to clean the residues off the surface properly.
Step 4: Spray Protective Primer
After washing the car, you need to apply protective primer on the surface. There are model-car-specific primers out there. If you can not get your hands on one of them, get the regular primers that are opaque. Also, make sure that the coats are even on the surface.
Step 5: Apply the Paint on the Car
Once the car is fully prepared to accept the paint, start applying the paint. Make sure that you shake the car properly before using it, or else the paint coming from the can will not have the same consistency. Also, ensure that you are putting even coats on the surface.
When putting second or third coats, make sure that the previous layers are dried off properly. And after all the layers are done, leave the car in an open space to dry overnight.
Step 6: Wash and Sand the Car
After the paint dries off, you need to do a final washing and sanding. Use the 36000 grit sandpaper to lightly sand the surface. It will offer a luster and shine that will make the whole thing look good. Wash the residues and dust particles using water. And reassemble the model car.
Read Next: Painting a Metal Bed Frame
Final Words
Learning to paint model cars is not that hard at all. However, most of the guides make it seem like rocket science. But we hope that you find our guide simple and easy to follow. Nonetheless, if you follow the steps correctly, you are sure to end up with a new-looking model car.