It is a well-known fact that metal bed frames are comparatively more durable than their wooden counterparts. That is why they are the go-to options for people looking for a new bed. Nonetheless, the problem with metal is that it catches rust and can corrode over time. And that ruins the overall aesthetics of the bed.
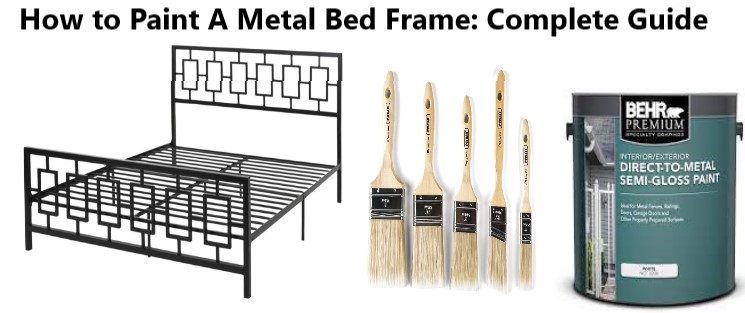
As most of the metal beds we own started chipping their paint, we decided to repaint them and bring them back to life. However, we did not know about how to paint a metal bed frame in the correct way. That is where we got into researching.
Well, most of the guides that are out there made this simple task complicated. They include unnecessary steps and make us go through a good amount of hassles. For that reason, we have decided to create a hassle-free version of the guide, which is where this article steps in.
How to Prepare a Bed Frame for Painting?
We will discuss three different procedures in this article. And for the first two procedures, the preparation process will be the same. In other words, no matter which method you follow among the first two, you need to carry out these preliminary steps:
Step 1: Clean the Frame
First and foremost, you need to clean the structure. If the frame is new, then you would need to remove the grease. Use mineral spirits for that. After that, to remove all of the rusts, apply a rust primer. Also, when the surface is in good condition, you would need to use a cloth to get rid of the dust.
Then, use a low-grit sanding paper to lightly sand the frame. It will de-gloss the surface and make the paint easily adhere to the surface. However, you would still need to apply mineral spirits to increase the adhesion capability.
When the dirt refuses to budge, use a mild detergent. Also, you would need to use a tack cloth to remove any of the dust and debris from the sanding.
Step 2: Disassemble the Pieces
It would be easy to work with disassembled pieces rather than working with the whole frame. For that reason, we would highly recommend unscrewing and loosening up the bolts and take the entire thing apart. And after you take the parts apart, move along to the next steps.
Step 2: Remove the Peeling or Loose Paint
Now, you would need to remove any loose or peeling paint on the surface. This task will be a bit labor-intensive but is a crucial part. Without peeling the old paint away, the new paint will not adhere to the surface properly. And that will make the results look unprofessional. Use a scraper, sander, or wire brush for this.
Step 3: Fix the Dents and Holes
Prepare a solution with degreaser and mineral spirits. Use that to sand down to the bare metal. For the larger holes, use line epoxy filler. Cut some wire glass mesh roughly about an inch larger than the hole and press them into the filler. Apply the epoxy starting from the very edge and work towards the center.
Then, you would need to work with epoxy-based composite to fix the smaller holes. Follow the same application process as you did for the larger holes.
Step 4: Prime the Metal
The last step would be to prime the frame for painting. If the structure is of aluminum, choose a galvanized primer. However, if the surface is of regular steel and iron, the zinc chromate and iron oxide primers will work like wonders. Use a painting brush and apply even coats of the primer to each part of the frame.
Read Next: Guide on Metal Garage Door Paint
How to Paint A Metal Bed Frame: Step by Step
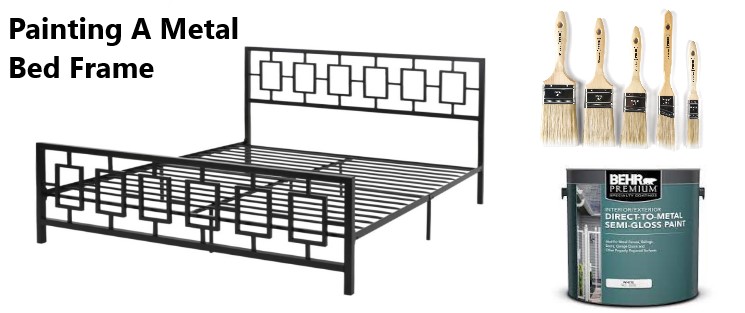
Let us first go through the normal process of painting. For this, you would need to follow the preliminary steps that we have mentioned above and follow these steps afterward:
Step 1: Spray Paint the Frame
Before you open up a can of spray, shake it well to mix up the paint inside. Hold the can about 8 to 10 inches away from the frame, cover all spots with the sprayer. Move-in one direction, which is either the horizontal or the vertical way. That will lower the chances of the paint dripping.
Leave that coat to dry. Once it dries, turn the frame over and cover the other side. Add a second coat after that coat is dried. Finally, you would need to repeat the process to add a third coat to the surface. This third coat will offer a smoother finish and make the whole paint look professionally done.
Ensure that you have sprayed the nuts and bolts of the structure, or else they are going to stick out.
Step 2: Paint a Coat of Sealer
After you are done spraying the frame, you would need to work with a sealer spray. You would basically have to apply a coat of this sealer on the surface. And this layer will ensure that the paint does not chip that easily and its luster and shininess are long-lasting.
Painting a Metal Bed Frame Shabby Chic: Step by Step Guide
For the shabby chich, you would still need to follow the same preliminary steps mentioned above. And once you are done carrying them out, follow these steps:
Step 1: Use a Commercial Antiquing Patina
Once the primer dries up, get yourself a sponge and dip it inside the antiquing patina. Run the sponge throughout the entire surface of the frame and make sure that you are paying extra attention to the decorative elements. Small spaces and corners need to be taken care of properly as well.
Then, use a cloth to wipe off the patina stain. However, do not touch the places where the stain has gathered and streaked. Allow the whole coat to dry for at least 24 hours.
On that note, we are not using any regular paint sprays because the bed frame shabby chic usually looks good with patinas. You use paint sprays if you want to, but it is not recommended.
Step 2: Apply a Coat of Clear
After the patina has dried, you would need to apply a coat of clear spray to the surface. This clear coat will protect the painting from chipping and make it last for an extended amount of time. However, you would also need to leave this clear coat to dry for at least 24 hours.
Once the coat dries up, you can carry all of the pieces together to the bedroom and reassemble the whole thing.
Read Next: Step by Step Guide on Painting Cinder Block Walls
How to Paint Your Metal Bed Frames Without Sanding?
So, you want to paint the frame without going through the hassle of sanding? We got your back! Just follow the steps that we will mention in this segment.
Step 1: Clean Frame
First and foremost, you need to clean the entire surface. Use a cloth to take care of the debris and dirt first. Then, use a rust primer to get rid of all the rust from the structure. Again, we would highly recommend disassembling each of the parts while cleaning and carrying out the next steps.
Step 2: Scrape the Surface
Even though sanding is not necessary, you would still need to scrape the entire surface. That will get rid of the old paint that is on the frame. So, get yourself a scrapper and move along to the entire surface of the structure. Make sure that you get each of the layers of old paints out of the surface.
Step 3: Spray the Paint
After scraping the old paint away from the surface, it would be time to move along with the spray paint. Move the parts to a place where there is a good amount of ventilation. And carefully put three even coats on the surface.
If the frame does not look smooth enough after these three coats dry up, you might have to opt for a fourth coat. Once all of the coats dry up, reassemble the pieces in your bedroom.
Final Words
There is really no need to opt for a new bed frame once the old paint starts scraping. All you need to know is the right way to paint a metal bed frame, which we hope that we could explain properly.