
Painting walls with epoxy paint is an excellent way to create a tough, durable, and easy-to-clean surface. If you’re wondering how to paint walls with epoxy paint, you’re likely looking for a finish that can withstand moisture, stains, chemicals, and heavy wear. Epoxy paint is commonly used in garages, basements, workshops, laundry rooms, commercial kitchens, and other high-traffic areas where ordinary wall paint may not provide enough protection.
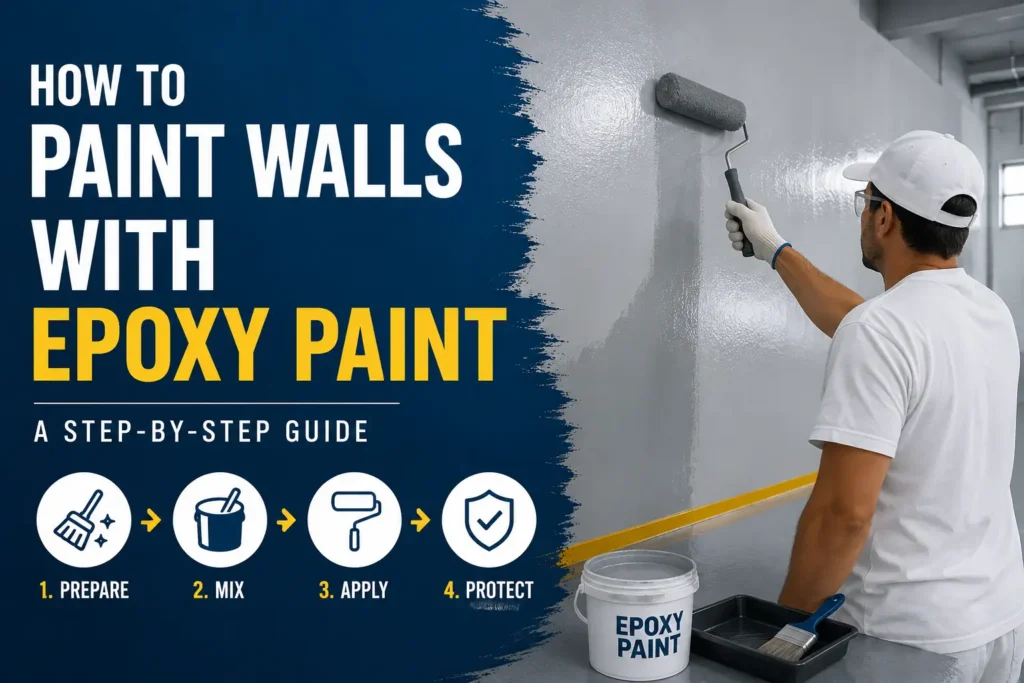
Unlike traditional wall paints, epoxy paint forms a hard, resilient coating that adheres strongly to properly prepared surfaces. While the application process requires careful preparation and attention to detail, the long-lasting results make it well worth the effort. This guide covers everything you need to know, from choosing supplies to applying a professional-quality epoxy finish.
Items to Buy
- Epoxy wall paint
- Epoxy primer
- Degreasing cleaner
- Mild detergent
- Bucket
- Sponge
- Microfiber cloths
- Paint roller
- Epoxy roller covers
- Angled paintbrush
- Paint tray
- Paint mixer
- Painter’s tape
- Drop cloths
- Putty knife
- Wall filler
- Fine-grit sandpaper
- Protective gloves
- Safety goggles
- Respirator mask
- Extension pole
What Is Epoxy Paint?
Epoxy paint is a coating made by combining epoxy resin with a hardening agent. Once mixed, a chemical reaction occurs that creates an exceptionally durable finish.
This type of paint is known for its resistance to moisture, chemicals, abrasion, and stains. Because of these qualities, epoxy paint is frequently used in demanding environments where standard latex paint may wear out quickly.
Its smooth finish is also easy to clean, making it a popular option for utility spaces and commercial settings.
Benefits of Painting Walls With Epoxy Paint
Epoxy paint offers several advantages over conventional wall paints.
One of the biggest benefits is durability. Epoxy-coated walls resist scratches, scuffs, and impacts better than many standard paints. They also perform well in humid environments because they resist moisture penetration.
Another advantage is easy maintenance. Dirt, grease, and stains can often be wiped away with minimal effort.
For high-use areas, epoxy paint provides long-term protection and an attractive finish.
Best Places to Use Epoxy Paint
Epoxy paint is especially useful in areas exposed to heavy wear or moisture.
Popular applications include:
- Garages
- Basements
- Laundry rooms
- Utility rooms
- Workshops
- Commercial kitchens
- Storage areas
- Industrial facilities
- Mudrooms
- Maintenance rooms
These environments benefit from epoxy’s durability and resistance to damage.
Understanding Surface Preparation
Proper preparation is the most important factor in a successful epoxy paint project.
Unlike standard wall paint, epoxy requires a clean, stable surface for optimal adhesion. Dirt, grease, dust, and loose paint can interfere with the bonding process.
Taking time to prepare the walls correctly helps prevent peeling, blistering, and premature failure.
Good preparation often determines the overall success of the project.
Choosing the Right Epoxy Paint
Several types of epoxy paint are available.
Water-based epoxy paints are often easier for homeowners to use and produce fewer odors. Solvent-based products typically offer greater durability but may require additional ventilation and safety precautions.
Choose a product specifically designed for wall applications whenever possible.
Reading manufacturer instructions carefully helps ensure compatibility with your project.
How to Paint Walls With Epoxy Paint Step by Step Guide
Step 1: Clear the Work Area
Remove furniture, decorations, and other items from the room whenever possible.
Cover remaining objects and flooring with drop cloths. A clean workspace improves safety and makes painting easier.
Protecting surrounding surfaces also simplifies cleanup later.
Step 2: Ensure Proper Ventilation
Open windows and doors if possible.
Use fans to improve airflow throughout the room. Proper ventilation helps reduce fumes and promotes safer working conditions.
Always follow safety recommendations provided by the paint manufacturer.
Step 3: Clean the Walls Thoroughly
Wash the walls using a degreasing cleaner or mild detergent solution.
Remove dirt, grease, dust, mildew, and other contaminants. Pay special attention to areas near appliances, workstations, or utility equipment.
Allow the walls to dry completely before moving forward.
Step 4: Repair Surface Imperfections
Inspect the walls carefully for holes, cracks, dents, or damaged areas.
Use wall filler or patching compound to repair imperfections. Smooth repairs with a putty knife and allow them to dry fully.
Proper repairs contribute to a smoother finished appearance.
Step 5: Sand Problem Areas
Lightly sand repaired sections and rough spots using fine-grit sandpaper.
Sanding helps create a more uniform surface and improves primer adhesion. Remove sanding dust using a microfiber cloth.
The wall should feel smooth and clean.
Step 6: Apply Painter’s Tape
Use painter’s tape to protect trim, ceilings, outlets, switches, and other areas that should not be painted.
Careful masking creates cleaner edges and a more professional-looking result.
Double-check tape placement before continuing.
Step 7: Mix the Epoxy Primer
Prepare the epoxy primer according to the manufacturer’s instructions.
Some products require mixing multiple components before use. Mix thoroughly to ensure proper chemical activation.
Follow all recommended mixing ratios.
Step 8: Apply the Primer
Use a roller and brush to apply an even coat of epoxy primer.
Work systematically and maintain consistent coverage throughout the wall surface.
Allow the primer to dry completely according to product instructions.
Step 9: Prepare the Epoxy Paint
Mix the epoxy paint components thoroughly.
Many epoxy products include a resin and hardener that must be combined before application. Once mixed, the paint often has a limited working time.
Prepare only the amount you can use within the specified period.
Step 10: Apply the First Coat
Using an epoxy-compatible roller, apply the first coat evenly.
Work in manageable sections and maintain a wet edge to reduce visible lap marks.
Use a brush for corners, edges, and detailed areas.
Step 11: Apply Additional Coats
After the first coat has dried according to manufacturer recommendations, apply a second coat if needed.
Multiple thin coats typically provide better coverage and durability than one thick application.
Inspect the finish carefully between coats.
Step 12: Allow the Epoxy to Cure
Once painting is complete, allow the epoxy finish to cure fully.
Drying and curing are not the same process. While the paint may feel dry within hours, full curing often takes several days.
Avoid heavy contact with the walls until the curing period is complete.
Best Colors for Epoxy-Painted Walls
Epoxy paint is available in a variety of colors.
Popular choices include:
- White
- Light gray
- Charcoal gray
- Beige
- Off-white
- Industrial gray
- Soft blue
- Sage green
- Tan
- Black
Lighter colors often make utility spaces feel larger and brighter, while darker shades may hide dirt and scuffs more effectively.
Common Mistakes to Avoid
One of the most common mistakes is inadequate cleaning.
Even small amounts of grease or dust can reduce adhesion. Another issue is failing to mix epoxy components correctly, which may prevent proper curing.
Applying epoxy too thickly can also lead to uneven finishes and longer curing times.
Ignoring ventilation requirements may create uncomfortable or unsafe working conditions.
Careful preparation helps avoid these problems.
Tips for a Professional Finish
Work methodically and avoid rushing the process.
Use high-quality rollers designed for smooth coatings. Maintain consistent pressure while rolling to reduce texture differences.
Follow all manufacturer instructions regarding mixing ratios, drying times, and curing schedules.
Good lighting can help identify missed spots and uneven coverage before the paint dries.
How Long Does Epoxy Paint Last?
When applied properly, epoxy paint can last for many years.
Its durability depends on factors such as surface preparation, environmental conditions, and usage levels. In residential settings, epoxy-coated walls often remain attractive and functional for a long time with minimal maintenance.
Routine cleaning can further extend the life of the finish.
Maintaining Epoxy-Painted Walls
Epoxy walls are generally easy to maintain.
Clean them periodically using a soft cloth, sponge, and mild cleaning solution. Avoid abrasive scrubbers that could dull the finish.
Promptly remove stains and spills to preserve appearance.
With proper care, epoxy-coated walls can continue looking fresh and professional for years.
FAQs
Can epoxy paint be used on walls?
Yes. Epoxy paint is commonly used on walls in garages, basements, workshops, and commercial spaces.
Do I need a primer?
Most epoxy wall projects benefit from a compatible epoxy primer for improved adhesion.
Is epoxy paint waterproof?
Epoxy paint is highly moisture-resistant, making it suitable for damp environments.
How many coats are needed?
Most projects require one primer coat and one to two paint coats.
Can epoxy paint be applied over existing paint?
In many cases, yes, provided the existing paint is clean, stable, and properly prepared.
How long does epoxy take to cure?
Curing times vary by product but often range from several days to a week.
Is epoxy paint safe indoors?
Yes, when used according to manufacturer instructions and with proper ventilation.
Can epoxy-painted walls be cleaned?
Absolutely. One of epoxy paint’s main advantages is its easy-to-clean surface.
Final Words
Learning how to paint walls with epoxy paint can help you create an exceptionally durable and attractive finish that stands up to moisture, stains, and everyday wear. While epoxy requires more preparation and attention than traditional wall paint, the long-lasting performance makes it an excellent choice for garages, basements, utility rooms, and other demanding environments.
By cleaning thoroughly, repairing imperfections, applying a quality primer, and following proper mixing and application techniques, you can achieve professional-looking results that remain beautiful and functional for years to come.