
Learning how to draw a crystal is a fun way to practice geometric shapes, symmetry, shading, and light effects. Crystals may look complicated because of their sharp edges and reflective surfaces, but beginners can create them by combining simple lines and angular shapes.
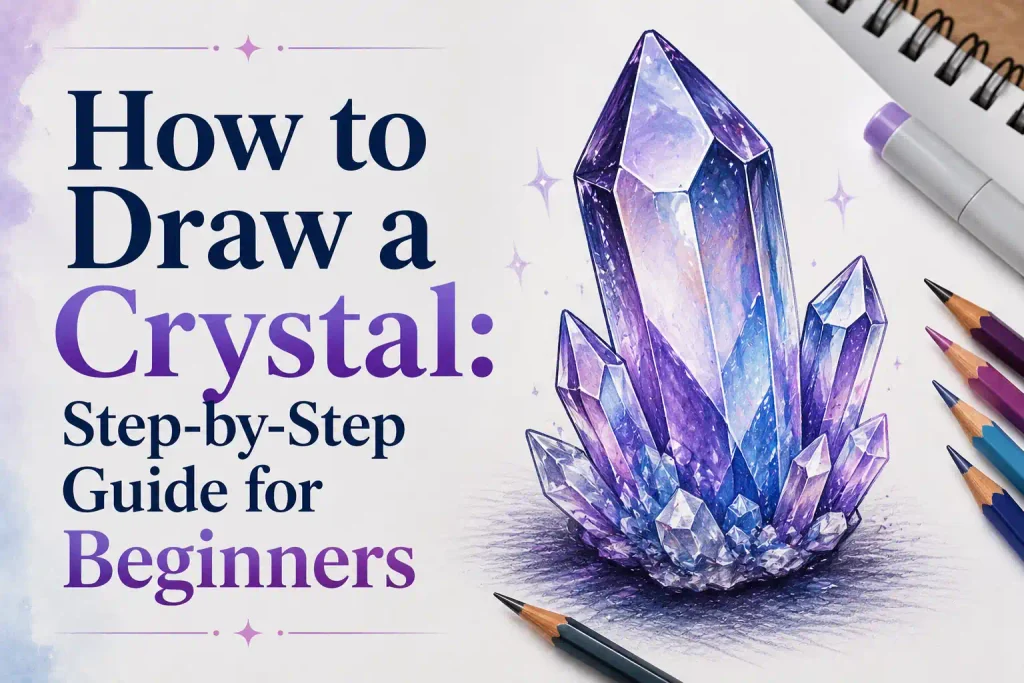
Whether you want to draw a simple crystal, a realistic gemstone, a colorful fantasy crystal, or a crystal cluster, the process becomes much easier when you build it gradually. Start with the outer silhouette, add the crystal faces, then finish with shadows, highlights, and color.
Items to Buy
- Drawing Pencil
- Eraser
- Sketchbook
- Ruler
- Fine-Line Pen
- Colored Pencils
- Markers
- White Gel Pen
- Blending Pencil
- Pencil Sharpener
- Black Colored Pencil
Why Learn How to Draw a Crystal?
Crystals are excellent subjects for beginners because their structures are mostly made from straight lines and simple geometric forms. They help you practice symmetry, proportion, perspective, and the way light interacts with different surfaces.
Crystal drawings are also easy to customize. You can create tiny gemstones, large fantasy crystals, glowing magical stones, or entire clusters. Changing the colors and lighting can completely transform the appearance of the same basic drawing.
How to Draw a Crystal Step by Step
Step 1: Sketch the Basic Crystal Outline
Start by deciding how tall and wide you want your crystal to be. Lightly draw a long, angular outline rather than using a rounded shape.
Create two slightly slanted side lines and connect them with an uneven bottom. The top can be pointed, flat, or slightly angled depending on the crystal style you want.
Keep your pencil pressure light at this stage. The initial shape is only a guide, so you can easily adjust the proportions before adding details.
Step 2: Draw the Crystal Point
Now shape the pointed top of the crystal. Draw several angled lines that meet near the upper portion to create a sharp crystal point.
The point does not have to be perfectly centered. A slightly uneven peak can make the crystal look more natural. If you want a symmetrical fantasy crystal, carefully align both sides around a central guideline.
Step 3: Divide the Crystal into Faces
Crystals have multiple flat surfaces, so divide the main shape into several sections. Draw diagonal and vertical lines from the top toward the lower edges.
These sections represent different crystal faces. Avoid adding too many lines because excessive detail can make the drawing confusing. A few large faces are enough to create a convincing three-dimensional structure.
Step 4: Add the Bottom and Side Details
Refine the lower part of the crystal by adding additional angular edges. If your crystal is standing upright, create a slightly irregular base rather than making it perfectly flat.
Add a few lines along the sides to suggest smaller facets. Make sure these lines follow the overall direction of the crystal so the object still looks solid and three-dimensional.
Step 5: Refine the Crystal Shape
Look over your entire sketch and correct any uneven proportions. Strengthen the outer contour while keeping the interior construction lines slightly lighter.
You can make some edges sharper and more prominent than others. This creates a stronger silhouette and helps the crystal appear like a solid object rather than a flat geometric drawing.
Step 6: Add Shading to the Crystal Faces
Choose an imaginary light source before shading. For example, imagine that light is coming from the upper left side of your drawing.
Make the faces closest to the light lighter and shade the opposite faces more heavily. Use different levels of darkness across the crystal surfaces instead of making every section the same shade.
Step 7: Add Reflections and Highlights
Crystal surfaces are known for their bright reflective areas. Use an eraser, white colored pencil, or white gel pen to add narrow highlights along selected edges and faces.
Do not highlight every section equally. Keeping some surfaces dark while placing bright highlights nearby will create stronger contrast and make the crystal look more reflective.
Step 8: Add Internal Crystal Details
Add a few thin lines inside the crystal to suggest transparency, cracks, layers, or internal reflections. Keep these details subtle so they do not overpower the main facets.
For a magical crystal, you can add glowing lines or small shapes inside the stone. For a natural-looking crystal, use irregular internal marks and softer shading instead.
Step 9: Add Color
Choose a color family for your crystal. Blue, purple, pink, green, turquoise, amber, and clear white can all work beautifully.
Start with light layers and gradually build darker tones on the shadowed faces. Blend neighboring colors where appropriate, but leave some sections sharply divided to preserve the faceted appearance.
Step 10: Add Final Details and Shadows
Finish your drawing by adding a cast shadow underneath the crystal. The shadow should follow the direction of your imaginary light source.
Darken a few edges, strengthen important facets, and add final highlights. Erase any remaining construction lines that should not be visible, then inspect the entire drawing for areas that need more contrast.
How to Draw a Simple Crystal
For a simple crystal, begin with a tall diamond-like outline and add a pointed top. Divide the body into three or four large sections using diagonal lines.
Use only two or three shades to create depth. A light color on one face, a medium shade on another, and a darker shade on the shadowed side can make a simple drawing look surprisingly three-dimensional.
How to Draw a Crystal Cluster
A crystal cluster is made by combining several individual crystals. Start with the largest crystal in the center, then add smaller crystals around it.
Vary their heights, widths, and angles. Some can point upward while others lean sideways. Overlapping the crystals will make the cluster look more natural and visually interesting.
How to Draw a Crystal Gemstone
Gemstones are usually shorter and more compact than tall crystal formations. Begin with a polygonal outline and divide it into multiple triangular or angular facets.
Use strong contrast between the facets. Bright highlights next to deep shadows can create the polished appearance associated with cut gemstones.
How to Draw a Crystal with Colored Pencils
Colored pencils work particularly well for crystal artwork because you can build transparent-looking layers gradually. Begin with light pressure and establish the overall color before adding darker areas.
Use several related shades instead of one flat color. For example, a blue crystal could include pale blue, medium blue, deep blue, and a small amount of purple. Finish with a white pencil or gel pen for sharp highlights.
How to Draw a Realistic Crystal
Realistic crystals depend heavily on accurate perspective and lighting. Pay close attention to the direction of each facet and make sure neighboring surfaces have slightly different values.
Avoid making every edge equally dark. Some edges may catch the light and become bright, while others can almost disappear into the shadows. This variation helps create a more natural appearance.
How to Draw a Glowing Crystal
To create a glowing crystal, make the center or selected edges much brighter than the surrounding areas. Use pale colors such as white, light blue, lavender, or yellow.
Surround the brightest area with gradually darker shades. You can also add a soft halo around the crystal to suggest magical energy or light radiating outward.
How to Draw a Purple Crystal
Start with a basic crystal structure and build several purple shades across its faces. Use lavender for the brightest areas, medium purple for the main surfaces, and deep violet for the shadows.
Add white highlights along a few sharp edges. Small blue or pink accents can also be blended into the purple to give the crystal a more complex appearance.
How to Draw a Blue Crystal
Blue crystals are excellent for practicing transparent and reflective effects. Use pale blue on the light-facing surfaces and darker navy or blue-violet on the shadowed faces.
Leave a few areas almost white to represent reflected light. Small diagonal highlights can make the crystal appear glossy and polished.
Easy Crystal Drawing Ideas
Once you understand the basic structure, try these creative variations:
- Simple crystal
- Blue crystal
- Purple crystal
- Pink crystal
- Green crystal
- Glowing crystal
- Crystal cluster
- Fantasy crystal
- Crystal gemstone
- Crystal cave
- Crystal on a rock
- Magical crystal
How to Make Your Crystal Drawing Look More Realistic
Lighting is one of the most important parts of crystal artwork. Decide where the light is coming from before you begin shading, then keep your highlights and shadows consistent.
Use sharp edges for the crystal facets but softer transitions for reflected light. Combining crisp geometric lines with carefully controlled shading can make the crystal look much more dimensional.
Common Mistakes to Avoid
One common mistake is making every crystal face the same brightness. If all the surfaces have identical shading, the object can appear flat.
Another mistake is adding too many internal lines. Crystal details should support the main structure rather than hide it. Start with a few large facets and add smaller details only where they improve the drawing.
Also avoid making the crystal perfectly symmetrical unless you intentionally want a stylized appearance. Natural crystal formations often have subtle irregularities.
Tips for Better Crystal Drawings
Use a ruler when learning the basic structure, but do not rely on it for every line. Once you understand the geometry, practicing freehand will help your drawings feel more natural.
Experiment with different lighting directions. Try placing the light above, below, or to one side of the crystal and observe how the shadows change.
You can also practice the same crystal in several colors. This is a simple way to learn how different color combinations affect the mood of your artwork.
FAQs
Is drawing a crystal easy for beginners?
Yes. Crystals can be broken down into simple geometric shapes and straight lines. Beginners can start with a basic pointed crystal before attempting detailed clusters or realistic gemstones.
What pencil should I use to draw a crystal?
An HB pencil is useful for the initial sketch, while a softer pencil such as 2B can help create darker shadows. A fine-line pen can be used for selected final outlines.
How do I make a crystal look three-dimensional?
Divide the crystal into different faces and give each face a different level of brightness. Add darker shadows on surfaces facing away from the light and bright highlights on surfaces facing toward it.
What colors are best for crystal drawings?
Blue, purple, pink, green, turquoise, yellow, and clear white are popular choices. You can combine several related shades to create more depth.
How do I make a crystal look shiny?
Use strong contrast between dark facets and bright highlights. A white gel pen or white colored pencil can create sharp reflective marks along selected edges.
Can I draw a crystal without a ruler?
Yes. A ruler is helpful when learning geometric construction, but freehand drawing can produce a more organic and artistic result. Practice both methods to develop control.
How do I draw a glowing crystal?
Use a very bright center or edge and gradually transition into darker surrounding colors. Add a soft halo around the crystal and use small bright highlights to emphasize the glow.
What should I draw after learning how to draw a crystal?
Try drawing crystal clusters, gemstones, caves, rocks, magical staffs, fantasy landscapes, or an entire collection of colorful crystals. These subjects can help you practice different shapes, textures, and lighting effects.
Final Words
Learning how to draw a crystal is an enjoyable way to practice geometric construction, shading, reflections, and color. By starting with a simple outline and gradually adding crystal faces, shadows, highlights, and internal details, you can create an impressive drawing without needing advanced skills.
Keep experimenting with different shapes, colors, and lighting directions. Once you are comfortable with a single crystal, try clusters and fantasy designs to make your artwork even more creative and detailed.