
Bathrooms, laundry rooms, and other moisture-prone areas often require materials that can handle occasional humidity better than standard drywall. If you’re renovating one of these spaces, learning how to paint on greenboard correctly can help you achieve a smooth, durable finish that looks professional and lasts for years.
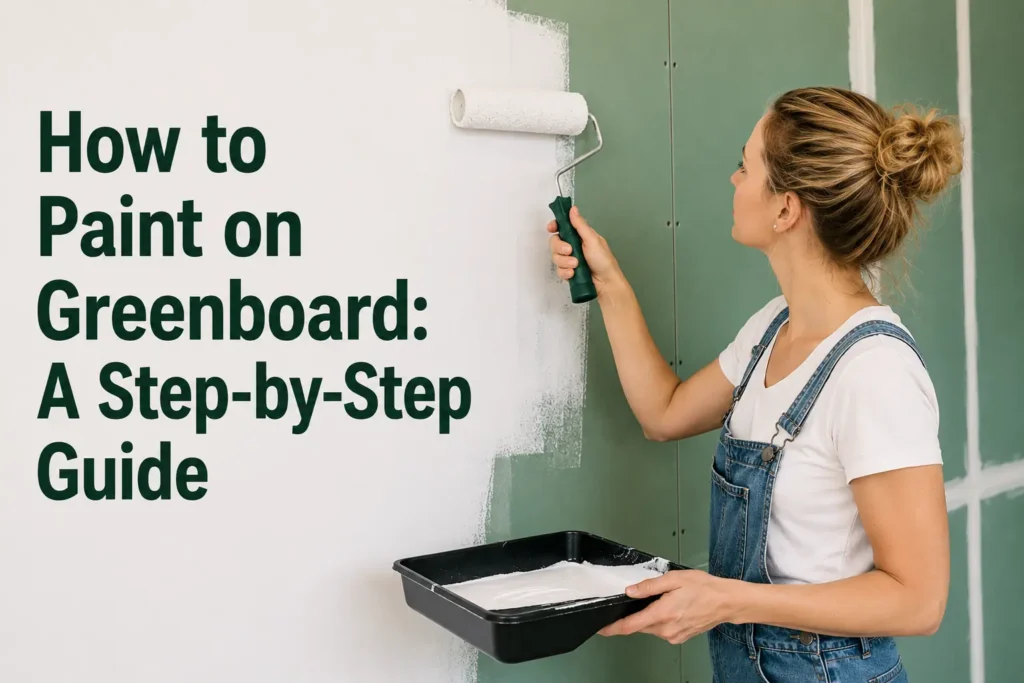
Greenboard has a moisture-resistant paper facing, which means it requires slightly different preparation than regular drywall. With the right primer, paint, and application techniques, you can create a beautiful finish that stands up well to everyday use. This guide explains everything from surface preparation to painting and long-term maintenance.
Items to Buy
- Drywall primer
- Moisture-resistant primer
- Interior latex paint
- Bathroom paint
- Paint roller
- Paint tray
- Angled paintbrush
- Fine-grit sandpaper
- Sanding sponge
- Joint compound
- Putty knife
- Painter’s tape
- Drop cloth
- Microfiber cloth
- Vacuum cleaner
- Mild detergent
- Bucket
- Safety glasses
- Dust mask
What Is Greenboard?
Greenboard is a type of moisture-resistant drywall commonly used in areas where humidity levels are higher than normal. It looks similar to standard drywall but features a green paper covering that provides improved moisture resistance.
While greenboard offers better protection against humidity than traditional drywall, it is not completely waterproof. Proper priming and painting are still necessary to protect the surface and create an attractive finished appearance.
Many homeowners encounter greenboard during bathroom remodels, laundry room upgrades, and basement finishing projects. Understanding its characteristics helps ensure a successful paint job.
Why Proper Preparation Matters
One of the biggest mistakes people make when painting greenboard is treating it exactly like regular drywall. Although the installation process is similar, the moisture-resistant facing can affect how paint and primer adhere to the surface.
Proper preparation helps prevent uneven paint absorption, flashing, peeling, and visible drywall seams. Taking time to clean, repair, sand, and prime the surface can dramatically improve the final results.
A well-prepared greenboard surface also allows paint to maintain its color and finish longer, especially in humid environments where moisture can challenge even high-quality coatings.
Choosing the Best Paint for Greenboard
The type of paint you choose depends largely on where the greenboard is installed. For bathrooms and laundry rooms, moisture-resistant interior paints are often the best option.
Many manufacturers offer paints specifically designed for high-humidity spaces. These products typically contain mildew-resistant additives that help protect painted surfaces from moisture-related issues.
For ceilings and low-moisture areas, standard interior latex paint may be sufficient. However, semi-gloss and satin finishes are often preferred in bathrooms because they are easier to clean and resist moisture better than flat paints.
Understanding the Role of Primer
Primer is one of the most important components of a successful greenboard painting project. It creates a uniform surface that allows paint to adhere evenly while helping conceal drywall repairs and seams.
A quality drywall or moisture-resistant primer also prevents uneven sheen and color variations. This is especially important when painting newly installed greenboard because different areas may absorb paint differently.
Skipping primer may save time initially, but it often results in additional coats of paint and a less professional finish.
How to Paint on Greenboard Step by Step Guide
Step 1: Inspect the Surface
Begin by examining the greenboard carefully for dents, nail pops, cracks, or visible seams.
Addressing these issues before painting ensures a smoother final appearance and prevents imperfections from becoming more noticeable after the paint is applied.
Step 2: Repair Imperfections
Use joint compound to fill holes, seams, and damaged areas.
Apply thin layers and allow them to dry completely. Once dry, sand the repairs until they blend seamlessly with the surrounding surface.
Proper repairs are essential for achieving a professional-looking finish.
Step 3: Clean the Greenboard
Dust, dirt, and construction debris can interfere with primer and paint adhesion.
Vacuum the surface and wipe it down with a slightly damp microfiber cloth. If the greenboard is located in a bathroom or laundry room, remove any soap residue, grease, or grime before painting.
Allow the surface to dry completely before proceeding.
Step 4: Protect Surrounding Areas
Use painter’s tape to mask trim, outlets, fixtures, and adjoining surfaces.
Lay drop cloths over floors, countertops, and furniture to protect them from paint splatters and spills.
Taking a few minutes to prepare the workspace can save significant cleanup time later.
Step 5: Apply Primer
Using a roller for large areas and a brush for corners, apply a high-quality primer evenly across the greenboard.
Work in manageable sections and maintain a consistent application to avoid streaks or uneven coverage.
Allow the primer to dry fully according to the manufacturer’s instructions before moving on.
Step 6: Lightly Sand the Primed Surface
After the primer dries, lightly sand the surface with fine-grit sandpaper.
This step smooths out minor imperfections and creates an ideal base for the paint.
Remove all sanding dust using a vacuum or microfiber cloth before applying paint.
Step 7: Cut In Around Edges
Use an angled brush to paint around corners, ceilings, trim, and other areas that are difficult to reach with a roller.
This process, known as cutting in, helps create clean edges and a professional finish.
Work carefully and maintain consistent coverage.
Step 8: Apply the First Coat of Paint
Use a roller to apply the first coat of paint across the larger wall or ceiling surfaces.
Work in overlapping sections and maintain a wet edge to avoid visible roller marks.
Allow the first coat to dry completely before evaluating coverage.
Step 9: Apply Additional Coats
Most greenboard projects require two coats of paint for uniform color and durability.
Apply the second coat using the same technique as the first. Additional coats may be necessary when using lighter colors over darker surfaces.
Allow each coat to dry fully according to the paint manufacturer’s recommendations.
Step 10: Inspect and Touch Up
After the final coat has dried, inspect the surface under good lighting.
Touch up any missed spots, thin areas, or uneven sections using a small brush or roller.
Careful inspection ensures a polished, professional appearance.
Common Mistakes to Avoid
One common mistake is skipping the primer. Greenboard may absorb paint unevenly without a proper primer coat, leading to inconsistent color and sheen.
Another mistake is painting over dust or unfinished drywall repairs. Even small imperfections can become highly visible after painting.
Using low-quality paint in high-humidity environments can also reduce durability. Investing in products designed for bathrooms and laundry rooms often produces better long-term results.
Best Paint Finishes for Greenboard
Different paint finishes offer varying levels of durability and moisture resistance.
Flat finishes help hide surface imperfections but are generally less resistant to moisture and cleaning. Satin finishes provide a balance between appearance and durability, making them popular for many rooms.
Semi-gloss finishes are especially useful in bathrooms because they resist moisture well and are easy to wipe clean. Choosing the right finish helps maximize both aesthetics and performance.
Maintaining Painted Greenboard
Proper maintenance can extend the life of your painted greenboard surfaces.
Clean walls periodically using a soft cloth and mild cleaning solution. Avoid abrasive cleaners that may damage the paint finish.
Controlling humidity levels through proper ventilation is also important. Exhaust fans in bathrooms and laundry rooms help reduce moisture buildup and protect painted surfaces over time.
Address any signs of water leaks promptly to prevent damage to both the paint and the underlying greenboard.
FAQs
Can you paint directly on greenboard?
While it is possible, applying a quality primer first is strongly recommended. Primer improves adhesion, promotes uniform coverage, and helps create a longer-lasting finish.
What type of primer should I use on greenboard?
A drywall primer or moisture-resistant primer designed for interior surfaces is usually the best choice. These products help seal the surface and provide an ideal base for paint.
Is greenboard waterproof?
No. Greenboard is moisture-resistant but not waterproof. It should not be used in areas with constant water exposure unless properly protected.
What paint works best on greenboard?
High-quality interior latex paint is commonly used. In bathrooms and laundry rooms, moisture-resistant or mildew-resistant paints often provide the best results.
How many coats of paint are needed?
Most projects require two coats of paint after priming. Some colors or surfaces may require an additional coat for complete coverage.
Do I need to sand greenboard before painting?
Light sanding of repairs and primed surfaces can help create a smoother finish. However, aggressive sanding of the green paper surface should be avoided.
Final Words
Learning how to paint on greenboard is a straightforward project when you understand the importance of preparation, priming, and using the right paint products. Although greenboard is designed to resist moisture better than standard drywall, proper painting techniques are still essential for achieving a durable and attractive finish.
By repairing imperfections, applying a quality primer, and using moisture-resistant paint where appropriate, you can create walls and ceilings that look great and perform well for years. Taking the time to follow each step carefully will help ensure professional-looking results in bathrooms, laundry rooms, basements, and other moisture-prone spaces.